What is audio latency? How to reduce latency for recording
Latency can disrupt a musicians workflow at anytime while they’re recording.
Therefore, you need need to be on guard and know how to deal with it when it does.
After all, there isn’t anything that’s much more frustrating than having an idea, setting your equipment up, opening your DAW and … d’oh!
Why is there such a delay in your audio?!
Don’t worry. We’re going to discuss what you can do to solve audio latency right here.
- Audio and MIDI: what is latency in recording?
- How to troubleshoot audio latency
- How to reduce latency
- What is buffer size?
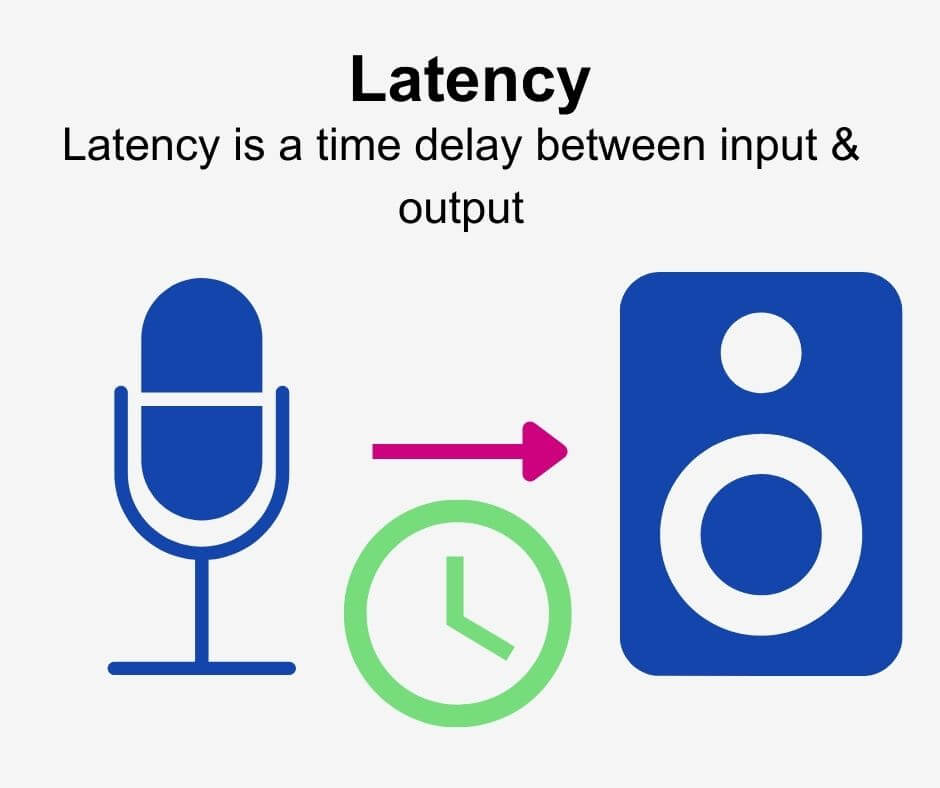
Audio and MIDI: what is latency in recording?
Latency is a time delay (measured in milliseconds) between an input signal entering a recording device, landing on your digital audio workstation timeline, and the output signal leaving speakers or headphones.
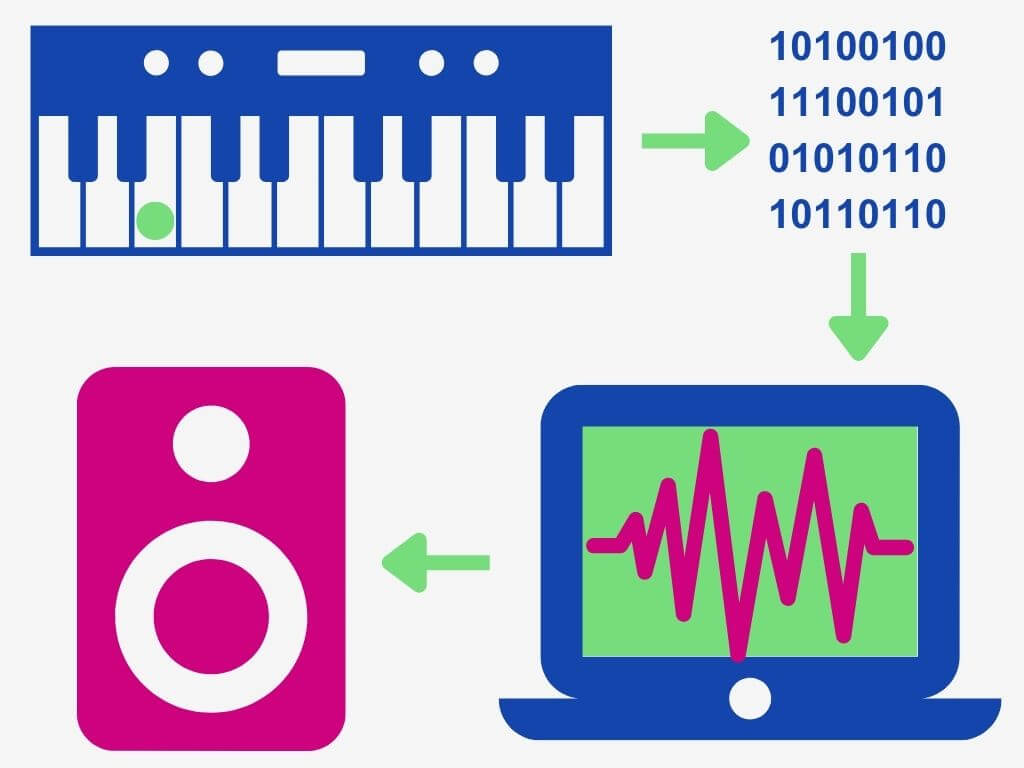
In other words, recording latency is the time it takes for your input audio or DIN MIDI signal to:
- enter your audio interface
- go through the analog to the digital conversion process
- enter your computer and your DAW
- travel back into your audio interface
- go through the digital to analog process
- play through your speakers or headphones
So both DIN MIDI latency and audio latency in digital audio recording is the time difference between input and output. Therefore it’s a delay between playing an instrument into your recording device and hearing the recorded signal while monitoring.
As a result, latency can make recording instruments or performing on MIDI devices pretty difficult.
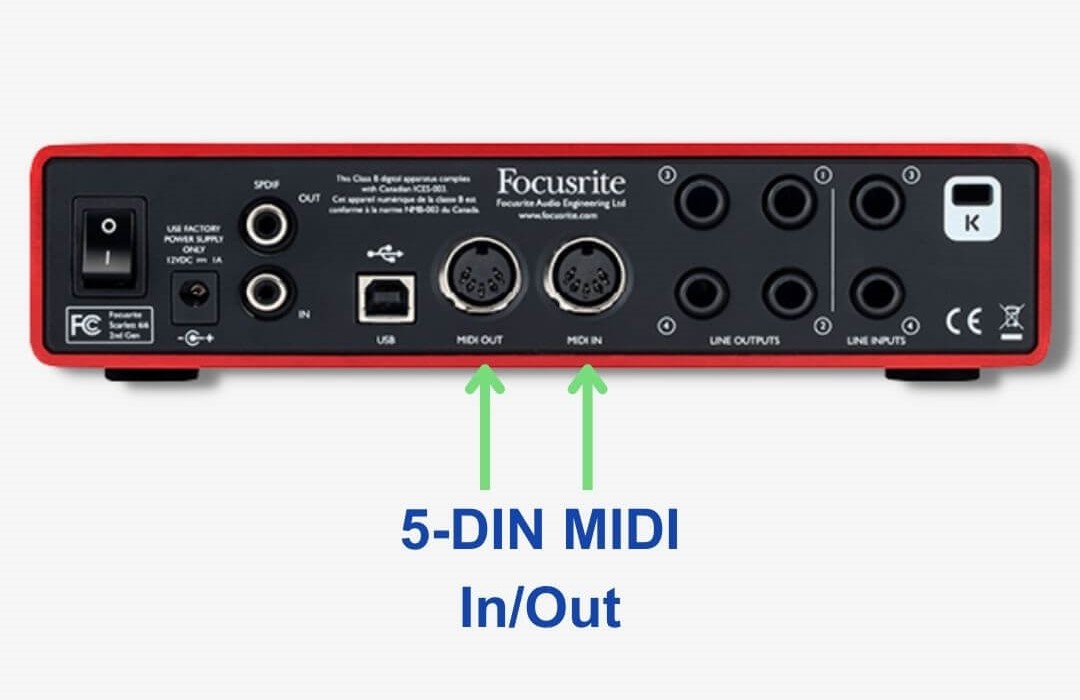
However, some MIDI controllers use USB connections rather than DIN ports.
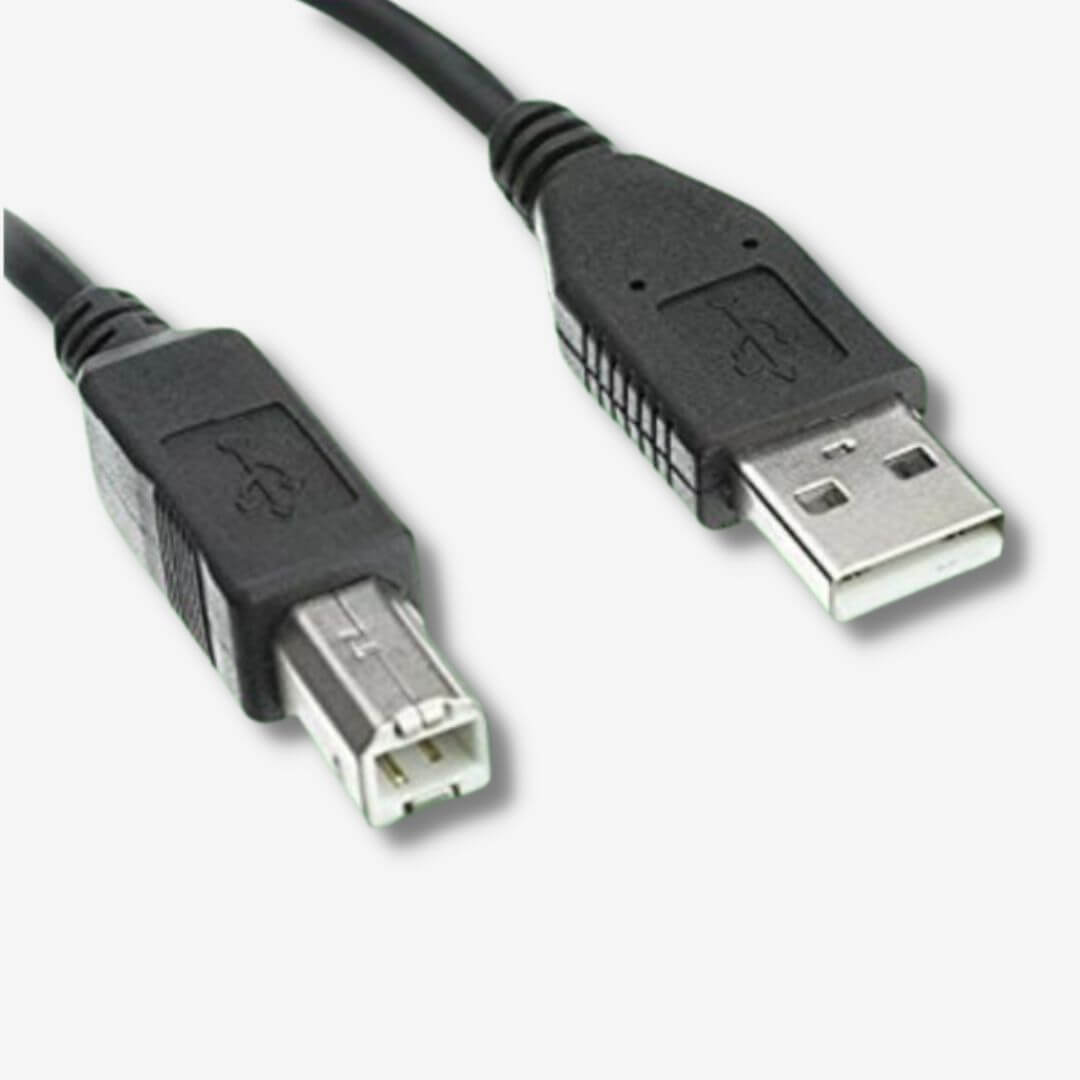
USB MIDI cable 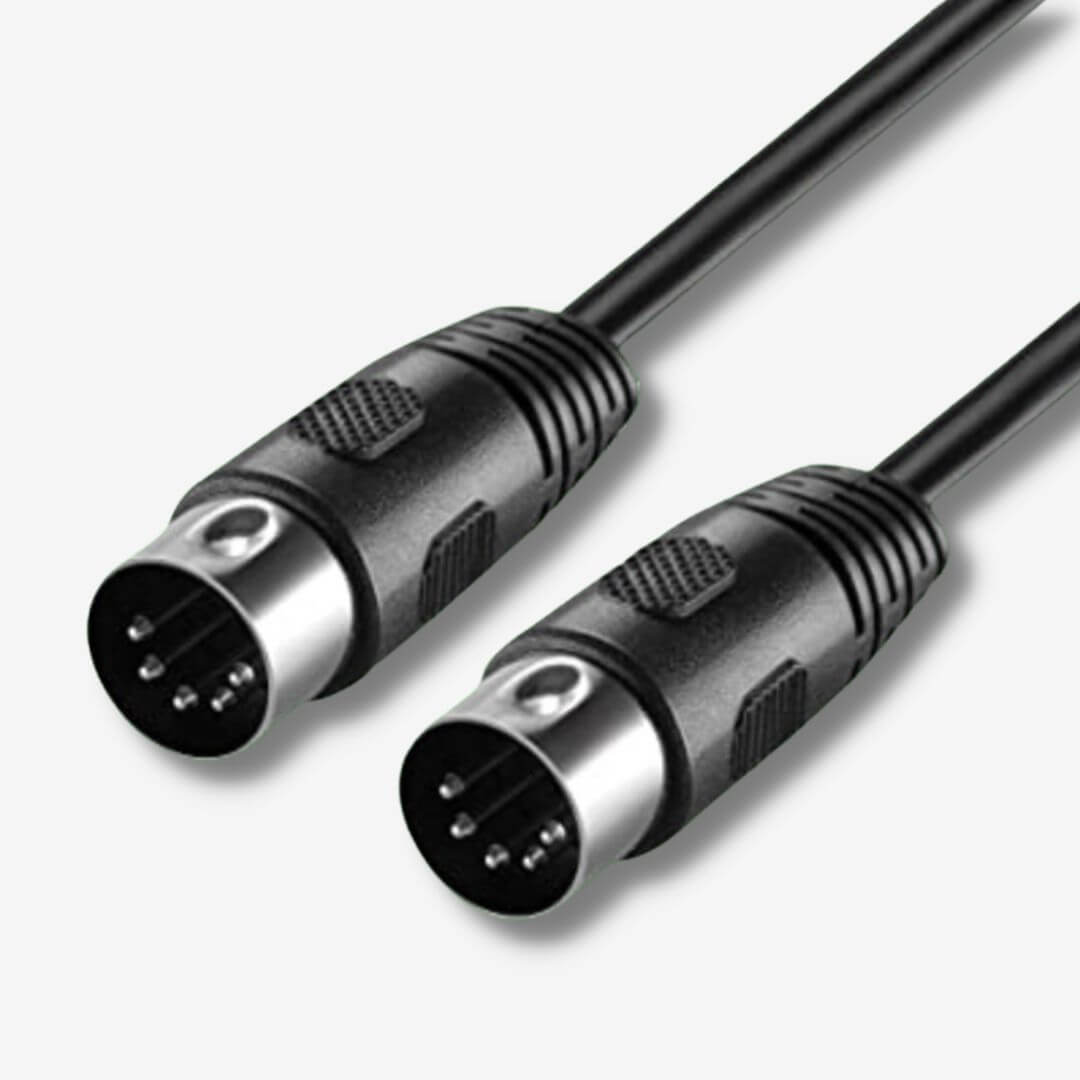
5-DIN MIDI cable
While any latency is still a time delay, these digital USB MIDI signals:
- travel into your computer and into your DAW
- into a virtual instrument
- through any plugins
- out of your DAW and into your audio interface
- go through the digital to analog process
- play through your speakers or headphones
So latency can still occur with these digital signals too!
What causes latency in recording?
Many things can cause recording latency. Potential causes of audio and MIDI latency include:
- Your audio interface settings
- Poor computer specifications (RAM and processor)
- Settings in your DAW
- Faulty cables
- Speakers and headphones
- A plugin chain
While recording, your signal travels through your audio interface and into your DAW. So latency will occur if there is a mismatch of the timing of your hardware and your software.
For example, the time it takes for your interface to convert your analog signal into a digital one can cause latency.
This mismatch in time will affect how your input signal lands on the input channel in your DAW.
Alternatively, recording virtual instruments with a MIDI keyboard typically entails the input signal traveling through your DAW and the instrument itself. Not to mention any plugins you may have loaded on the channel too!
Of course, this is all occurring while your MIDI input is sharing the audio buffer within your DAW with the rest of the project. Additionally, any other apps you may have open are asking for CPU and RAM processing power too.
And these can all affect how speedily your input reaches its destination.
Problems that latency can cause
There is a high chance that latency will affect digital audio recording equipment no matter the cause.
And when it does, we usually have to re-record our instrument because latency messed up our take.
After all, monitoring your performance – whether acoustic or electric – while latency interferes is difficult. Everything is out of time because your DAW registers your input and outputs sound too late.
Let’s use a band as an example. While playing, each performer must stay in time with the drummer. Their instruments will sound disorientingly out of time if they don’t.
Consequently, they’d need to re-record their performance and work harder to stay in time with each other.
Therefore, audio or MIDI latency in digital recordings will massively interrupt your recording sessions.
And if you want to avoid these problems before they arise, learning to recognize latency will allow you to record your instruments seamlessly.
How to troubleshoot audio latency
Here are a few ways that you can detect what’s causing recording latency.
- Check your computer specifications and make sure your computer can process data fast enough to record audio.
To do so, an Intel i5 or equivalent processor and 8GB of RAM are the minimum specifications you should look to meet.
However, higher RAM & CPU specifications will further minimize latency. For example, 16GB of RAM and an i7 or equivalent processor will make it easier to avoid latency. - Make sure you’re recording with a lower sample rate and bit depth.
We recommend the following settings for computers with an Intel i5 processor and only 8GB of RAM:
Sample rate: 441. kHz
Bit depth: 16-bit
A high sample rate and bit depth require more processing from your computer. In other words, you’re asking your computer to take more time to process more data.
If your RAM and processor are limited in specification then this isn’t feasible. - Double-check that your audio interface drivers are up to date.
- Investigate the buffer size in your DAW and audio interface settings.
A lower buffer size means less latency. However, it also means more processing for your computer which can result in audible glitching for computers with less processing power.
We’re exploring the audio buffer in more detail here. - Check your cables and speakers
Your hardware may be the issue from time to time too. Latency can occur if your cables and/or speakers are a bit old and battered. So swap out/replace them if needs be.
Additionally, it may be worth trying a new pair of headphones if you’re experiencing headphone monitoring latency.
The best latency for recording: how much audio latency is noticeable?
Any latency higher than 10ms will be audibly noticeable. Therefore a good latency for recording is 10ms or less.
How to reduce latency
Ultimately, there is no way to completely eradicate recording latency so it’s not possible to record without a bit of latency. After all, digital processing takes time. So latency is an inherent part of digital signal processing!
But there are a number of things that you can do to reduce latency in your digital recording setup.
How to reduce latency in your DAW
- Reduce the buffer size in your DAW.
Buffer size is the main cause of latency in 9/10 cases. Therefore, reducing the audio buffer will reduce the delay time. But if your buffer size is too low for your computer to handle then you’ll experience audible glitching. - Invest in better equipment if yours is faulty. If you have speakers, headphones, or cables that aren’t overly efficient at distributing signals (common with low-priced cables) then upgrading these will reduce latency.
However, only do this once you are confident that the latency you’re experiencing isn’t a software issue. - Download and ASIO audio drivers for Windows.
Audio drivers such as ASIO4ALL and ASIO latency fixer configure the sound settings of Windows computers and is compatible with the vast majority of sound cards. - Upgrading your CPU and RAM.
Though this is usually the least feasible option, utilizing a CPU that’s equivalent to Intel’s i7 and upgrading your RAM to 16GB will go a long way in improving the processing capabilities of your computer.
The more processing power that you can take advantage of the better.
Reducing latency in your audio interface
One problem causing audio latency may be your audio interface itself.
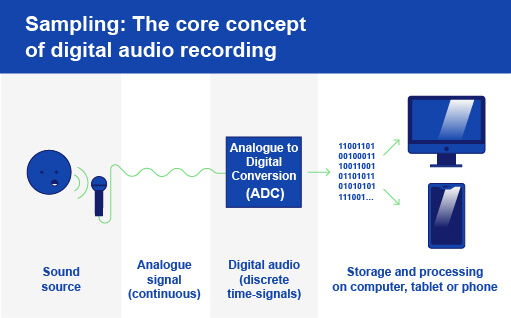
As we explored earlier, an audio interface receives analog signals from a microphone cable, converts that signal into a digital one, and sends it to your computer. This is known as analog to digital conversion (ADC).
And your computer will send the digital signal back to the interface upon playback. Speakers can’t play digital signals, so we need to re-convert them back into an electrical signal.
So the interface converts the signal back into an analog signal, and this is known as digital to analog conversion (DAC).
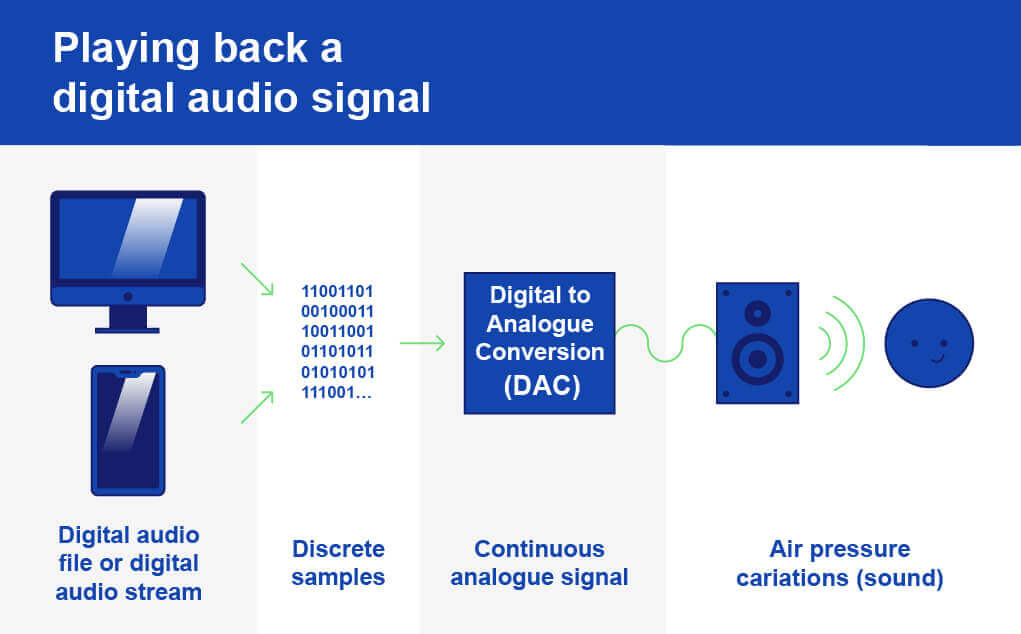
Finally, the interface sends the signal through speaker cables to your studio monitors.
That’s quite a bit of processing. So it’s understandable why an audio interface can create or add to your recording latency problem! But there are a few things that you can do to reduce audio interface latency.
- Reduce the buffer size in your interface software
But be cautious. Too low a buffer size will cause glitches. In contrast, too high will cause audible latency. Therefore you’ll need to experiment with different settings.
In general, the more powerful your computer’s CPU and RAM are, the fewer issues you’ll encounter when decreasing the buffer size. - Utilize zero-latency monitoring if your interface offers it.
Audio interfaces that offer zero latency monitoring bypass computer-based latency. As a result, you can directly listen to your input signal through your monitors or headphones before the signal enters the ADC processes. - Make sure your audio interface audio drivers are up to date.
How to reduce latency with MIDI controllers
Reducing the buffer size in your DAW will reduce MIDI latency with USB over MIDI cable connections.
However, if you’re using a DIN MIDI connection to your interface, you can reduce latency by reducing the buffer size in your audio interface software or using zero latency/direct monitoring.
What is buffer size?
Buffer size is the number of samples your computer needs to process an incoming signal.
Therefore, a higher buffer size requires more samples. And because it needs more samples to process your audio, it increases latency time.
And the more you increase your buffer size, the more noticeable latency becomes.
In contrast, a lower buffer size means your computer needs fewer samples – and therefore less time – to process your input. As a result, it decreases latency.
Why a lower buffer size isn’t always possible
Reducing your buffer size asks your computer to use more of its processing power in a short space of time to process your input.
Consequently, you need to balance buffer size with what you’re computer can handle.
Ideally, you want the lowest buffer size. But because this taxes your computer heavily, not all systems are up to the challenge. Errors and audible glitches are the results of too low a buffer size when a computer can’t keep up.
Therefore you’ll require a higher buffer size while recording and mixing if you have a less powerful computer.
So experiment with the audio buffer settings and see which is the smallest buffer your computer will process with no errors.
How to measure latency in your audio interface or DAW
You can calculate how much recording latency you’re experiencing in an audio interface or DAW like this:
Buffer size / sample rate = latency time
But why? Because buffer size is measured in samples and sample rate is measured in samples per second.
The sample rate (measured in kHz) determines the number of times your system measures your input signal per second.

Therefore, by dividing the two you get the physical time of the latency your experiencing, measured in milliseconds (ms).
As a result, recording with a lower buffer size at a higher sample rate captures audio in better quality. However, this will actually increase latency time as capturing more samples means more processing for your computer.
But recording with a larger buffer size at a lower sample rate offers a lower latency time but with a reduced quality.
What I/O buffer size and sample rate should you use?
The buffer size and sample rate you can record at efficiently depends on how powerful your computer is.
Here are the most common buffer size settings:
- 32
- 64
- 128
- 256
- 512
- 1024
For computers with 8GB of RAM, a buffer size below 128 may begin to cause problems.
Next, here are the common sample rates for computers with only 8GB of RAM:
- 44.1kHz
- 48kHz
But computers with more RAM and processing power can utilize higher sample rates of:
- 88.2kHz
- 96kHz
- 176.4kHz
- 192kHz
So if your computer only has 8GB of RAM, you will struggle to record with these higher sample rates.
Both digital audio workstations and audio interface software often display the amount of latency your chosen settings offer. And if yours doesn’t, now you know how to work it out for yourself! (See here).
Finally, there isn’t an industry standard buffer size. It’s entirely subjective, and you should base your chosen settings on the capabilities of your equipment.
But modern technology usually permits computers to record with a buffer size between 128 and 256 at a maximum sample rate of 48kHz with no problems.
Final thoughts
Latency isn’t going away anytime soon. Because it’s an inherent part of digital audio, you need to learn to recognize it and deal with it there and then.
Imagine playing live music with your laptop and MIDI controller and audible latency interferes? If you don’t know how to deal with it then your performance is compromised.
This digital nuisance can crop up anywhere in your signal chain. But now you know how to both troubleshoot and reduce latency in your digital recording setup.
Have you sussed where that delay is coming from?
Inspire yourself and download TEN FREE SOUNDS for your music with RouteNote Create today!