What are virtual instruments? How to make digital music
Virtual instruments have been taking the music industry by storm since the 2000s.
Since then, they’ve become essential for independent artists composing at home and high-profile music producers writing in studios.
These powerful music composition tools allow us to write music in any style without the use of any real instruments. We can write anything “in the box”!
To understand virtual instruments, how they work and which type is right for you, we’re discussing the following topics:
- What is a virtual instrument?
- How to build a sample-based virtual instrument
- Which track type would be used for virtual instruments?
- Using virtual instruments live
- How to choose a virtual instrument
- Virtual instrument formats
- Final thoughts
What is a virtual instrument?
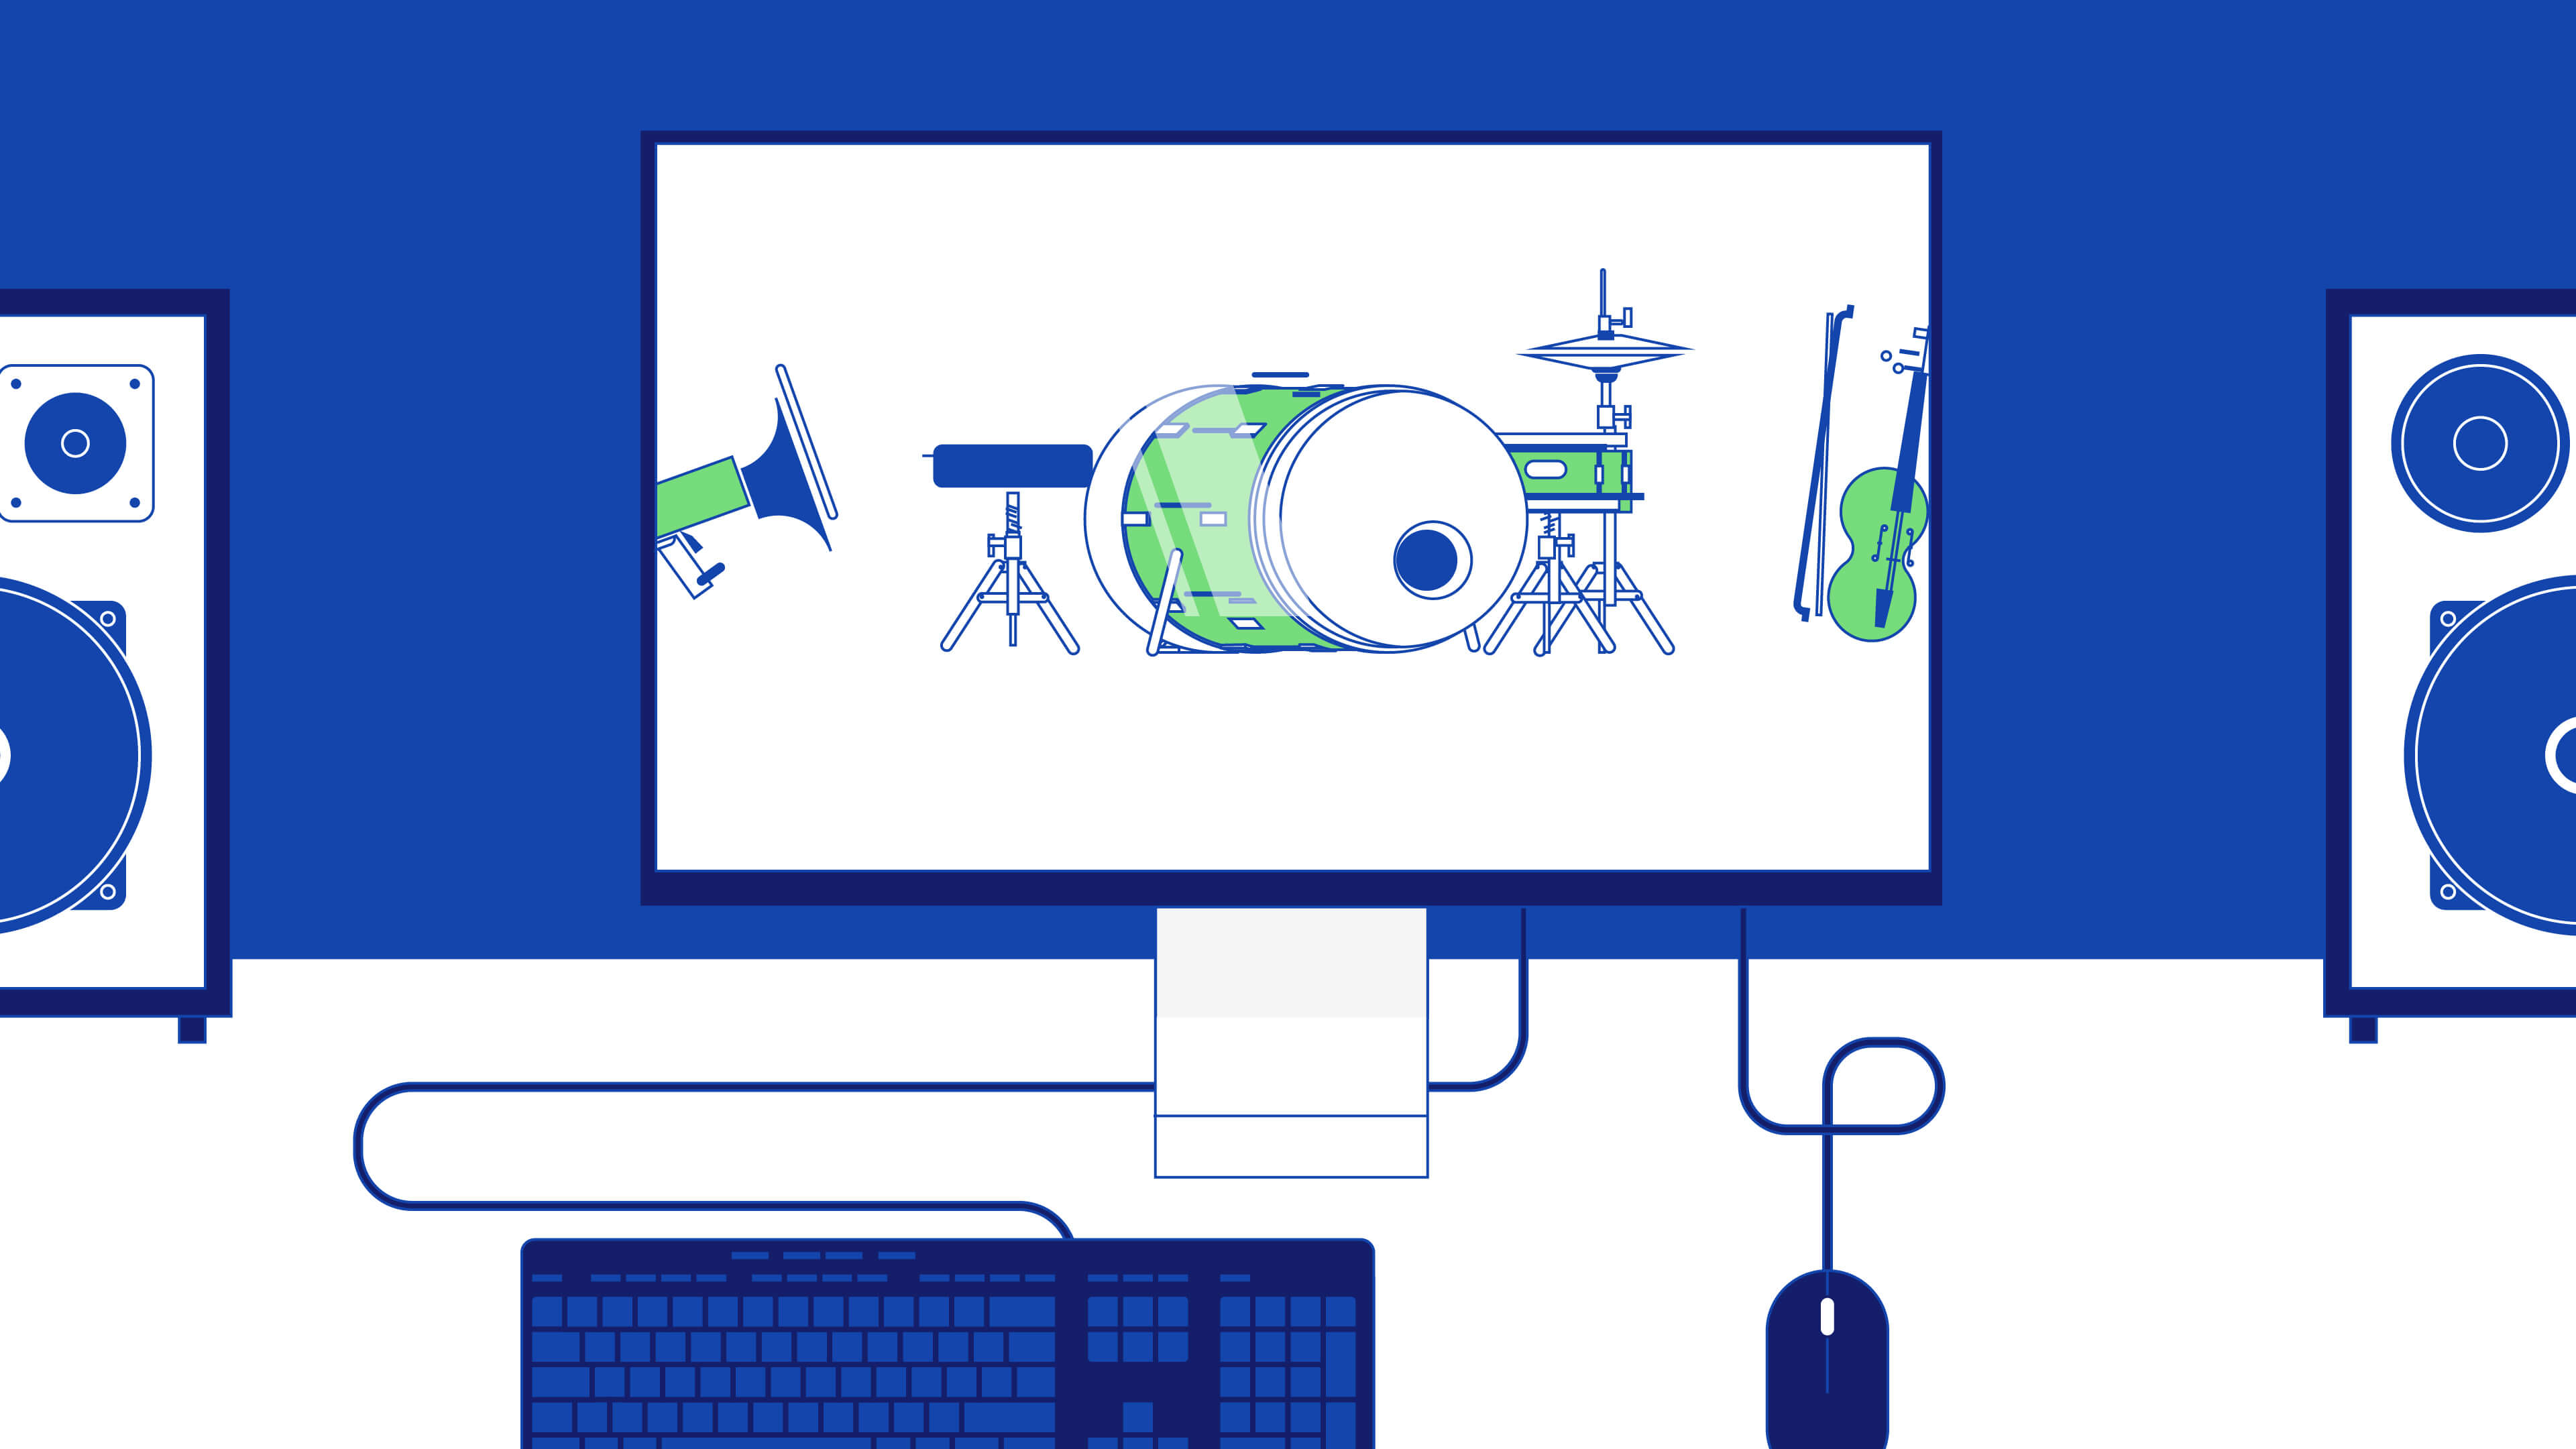
A virtual instrument is a piece of software that generates sound on a computer. Therefore virtual instruments allow us to write music on a computer with instruments that we don’t own in the physical world.
More specifically, virtual instruments are sound modules that can virtually recreate the sound and characteristics of real instruments or produce a digitally synthesized sound.
The virtual instrument market is full of emulations of classic keyboards and pianos, analog synthesizers, orchestral instruments, and so much more.
We can use virtual instruments as plugins inside a host DAW or as standalone instruments too. In any event, virtual instruments use a computer’s CPU, RAM, and disk space to produce sound.
Virtual instruments by type: the difference between software synths and software instruments
Until this point, we have clarified all virtual instruments under one umbrella term.
But we can split these software tools into two types where one relies on sampling and one relies on synthesis.
- Software instruments (sampling)
- Software synthesizers (synthesis)
A software instrument like a virtual piano is very different from a software synthesizer in how it generates sound.
However, both software tools are compatible with DAW software such as Ableton Live, FL Studio, and Logic Pro.
Sampling: how software instruments work
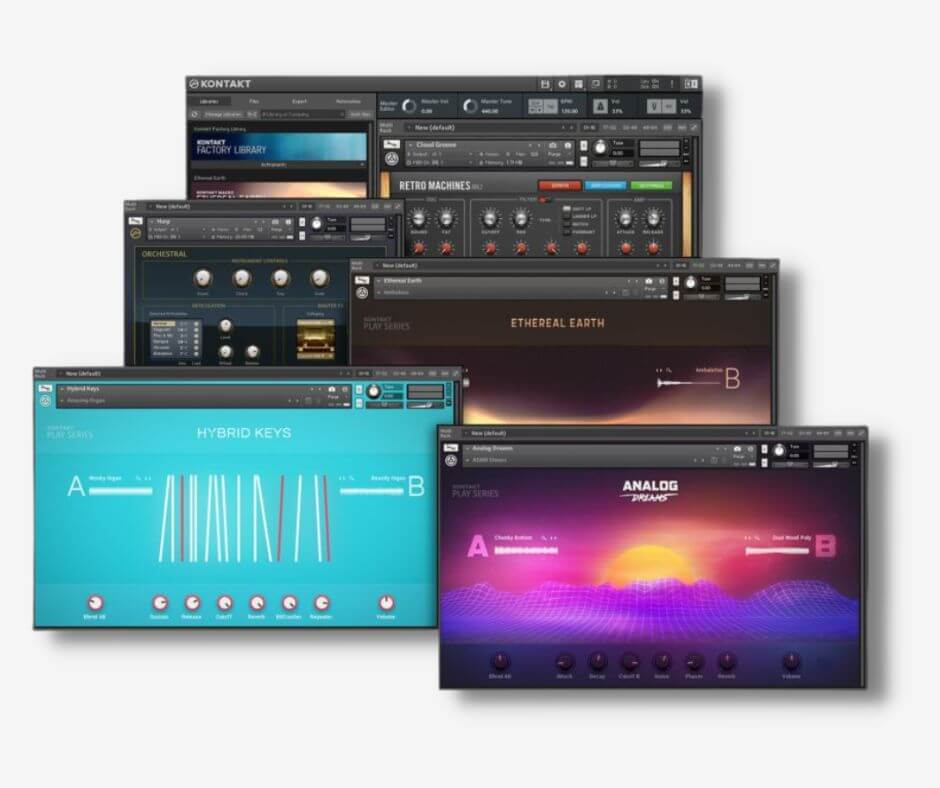
Software instruments like those in Native Instruments Kontakt software use pre-recorded samples of an instrument or multiple instruments to create sound.
Make no mistake, these are actual recordings you’re playing back in real-time. For example, a virtual keyboard emulation houses actual recordings of the real thing.
Software instruments use a collection of samples to recreate the sound of pianos, guitars, drums, entire orchestras, and analog synthesizers too.
These sample collections are known as sound libraries.
Software instruments don’t require much CPU power to function because they use pre-recorded sounds. But they do need plenty of RAM and hard drive space as we need to store those samples to play them.
In fact, one virtual instrument can swallow a lot of gigabytes of disk space – sometimes even hundreds.
That’s why loading multiple sound libraries will slow your computer down.
Synthesis: how software synthesizers work
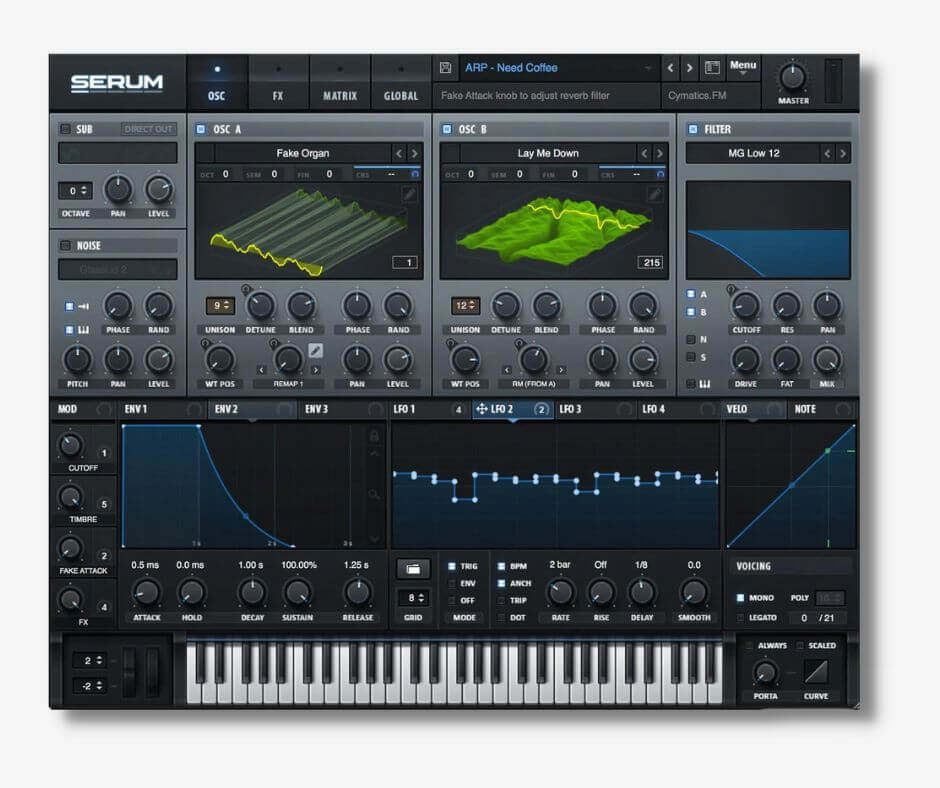
Software synthesizers use algorithms and mathematical formulas to create sound from code.
In practice, the process of sound design with a software synthesizer begins with a digitally generated sample of a fundamental waveform that serves as the basic building block of the sound.
Then, we can use synths’ user interface to build a complex calculation that manipulates the sound.
Therefore any virtual instrument that uses code to synthesize sound requires more processing power from a CPU than those that use sampling.
Popular examples of these soft synths include Serum, Massive, and Vital.
On the other hand, some software synthesizers do utilize pre-recorded sound i addition to code though. Examples of these synthesizers include Omnisphere and Absynth.
Sampling vs synthesis: which is better?
Neither sampling nor synthesis is objectively better than the other. And as we mentioned some software instruments use sampling and synthesis.
But some software instruments only use synthesis to generate the sound of a real instrument, but these often don’t sound like the real thing.
And if this matters to you then you’ll want a virtual instrument that utilizes sampling more than synthesis.
Therefore, what determines whether synthesis or sampling is better for you is what you need from your virtual instrument(s).
Virtual instruments vs real instruments
Anyone with a trained ear can usually tell the difference between a virtual instrument and a real one.
However, developers build sample-based software instruments by recording musicians playing real instruments. Then, they convert those recordings into sample libraries.
These samples allow software instruments to closely emulate the expressive power of musical instruments. As a result, a listener thinks they’re listening to a real player on an instrument.
How to build a sample-based virtual instrument
Building a sample-based software instrument requires a team of sound engineers, musicians, and programmers.
Step 1: Recording
Firstly, we must record one or more musicians on the instrument we want to build a software emulation for.
Once in the studio, we’d ask the players to play one note like the note of C – our first sample.
But any instrument can play more than one note. Therefore we’d ask the player to play the full range of notes that the instrument is capable of. This gives us a sample for each note as a result.

However, no player playing the same note twice will get the exact same sound. So asking for only one sample for each note will make our virtual instrument sound pretty unnatural.
Therefore we’d record the player playing each note multiple times. And these multiple samples per each note are known as round robins.
And when a user uses our instrument the software instrument will randomly choose one of the samples per note input for a compelling performance.
But we need more expression
Furthermore, a player can play both long and short notes on instruments. So we’d record them playing these different articulations multiple times for a variety of round robins.
Now it may be becoming clear why software instruments can swallow up a lot of disk space…
But we’re not done yet! We also need to capture the different dynamics of the instrument. Here, we’d ask the player to play the notes again with varying velocities.
Altogether, these varying velocities give us soft and hard notes that lead to quiet and loud samples.
The goal behind capturing so many round robins, articulations, and dynamics is to give our instrument the capability of natural expression that real instruments allow us to utilize.
For example, if the user had no choice but to adjust the volume of our software instrument to achieve loud or quiet notes then their performance wouldn’t sound natural.
Why? Because playing an instrument harder or softer changes the timbre of the instrument respectively. Consequently, we need samples with different dynamics for each note, round robin, and articulation.
Moreover, the number of these nuances available in a sample library is known as the number of dynamic layers. Dynamic layers tend to range from 1-10 in general but this can vary between different virtual instruments.
At this point, it’s not uncommon to record thousands of samples for one instrument!
How we perceive sound at a distance can change everything
The final thing to consider in the recording stage is how we perceive sound when we’re listening to a real instrument. How close are we to the instrument?
While composing with a software instrument, many let us decide this by offering different microphone positions.
We can record the instrumentalist(s) up close, a few meters away from the microphone, and even with a room microphone to capture the ambiance of the recording space.
And on top of that, we can record the instrumentalist with a selection of different microphones for different tones too – taking into account the round robins, articulations, and dynamic layers – and adjust the input level of each microphone so they’re equal.
In fact, some sample libraries even have a variety of samples for different vibratos, attack and release times, and more! These details allow a virtual instrument to emulate the real instrument all the more!
Step 2: Editing
Once we have captured every possible sample we need for our virtual instrument, we need to enter the editing stage.
In this stage, we need to process each sample in a way that cleans them whilst preserving their dynamics.
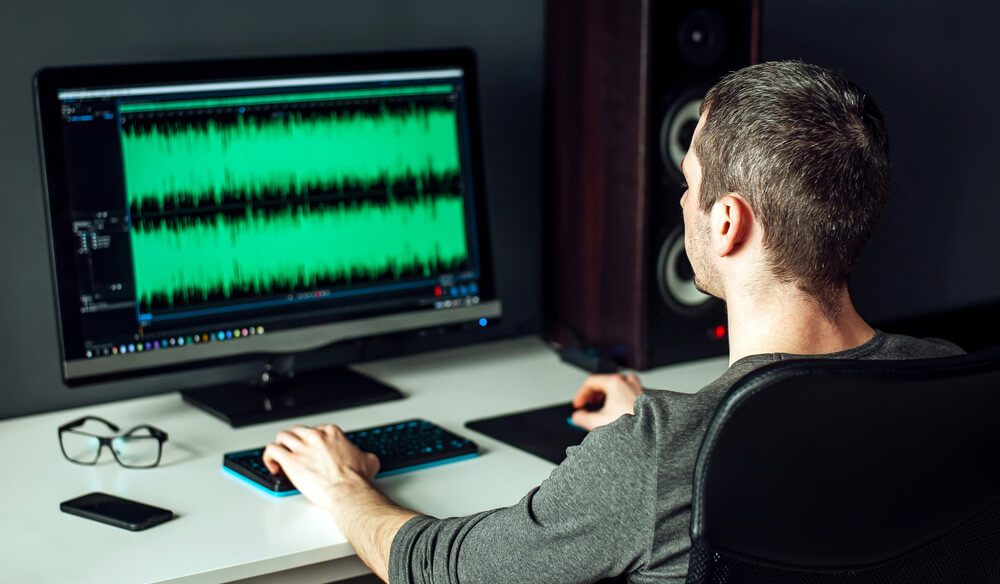
For example, we need to cut them down to length and remove any silence, remove any unwanted artifacts, and fix any glitches.
Step 3: Mapping the audio to MIDI
The final step in creating a virtual software instrument is turning all of these samples into the virtual instrument! Here come the programmers.
The best way for a user to take full advantage of every sample is with a MIDI controller. That’s because a controller sends digital messages to the virtual instrument informing it of what key the user is pressing, the duration, and how much velocity.
Altogether these messages tell the virtual instrument what sample to trigger!
Our interface should allow a user to choose between the microphones we have used and possibly manually choose a round robin. Additionally, our user will want to adjust microphone volume and position, and so on.
So it’s the job of the programmer to map each sample to the right key and create a user interface that allows the user to access every sample we’ve recorded.
To achieve all of this they use what we call a sampler. The most popular sampler for the task is Kontakt by Native Instruments.
Kontakt uses its own programming language known as KSP – Kontakt Script Processor.
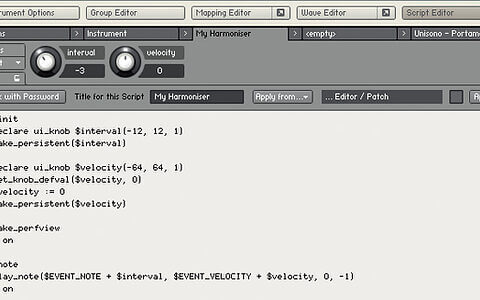
We don’t want to get lost in the details here, but one task a programmer must do is script the legato transitions between notes.
Here, the programmer determines how two connected notes will morph into each other as the user composes with their MIDI keyboard.
Though brief, this segment has given you some insight into how developers create sampled-based software instruments.
Which track type would be used for virtual instruments?
We need to insert our virtual instruments on MIDI tracks in our DAW software. We can then use our MIDI controller to control the virtual instrument.
In a DAW, audio tracks only accept organically recorded audio inputs from microphones or electronic instruments.
But a MIDI track allows you to insert a virtual instrument of your choice and begin playing its sound with your MIDI keyboard controller.
Perhaps the biggest advantage with MIDI tracks is that we can swap out one virtual instrument for another at any time.
In fact, you can load up one virtual instrument, write a melody with a MIDI keyboard, and then swap the instrument for one that may suit the melody better.
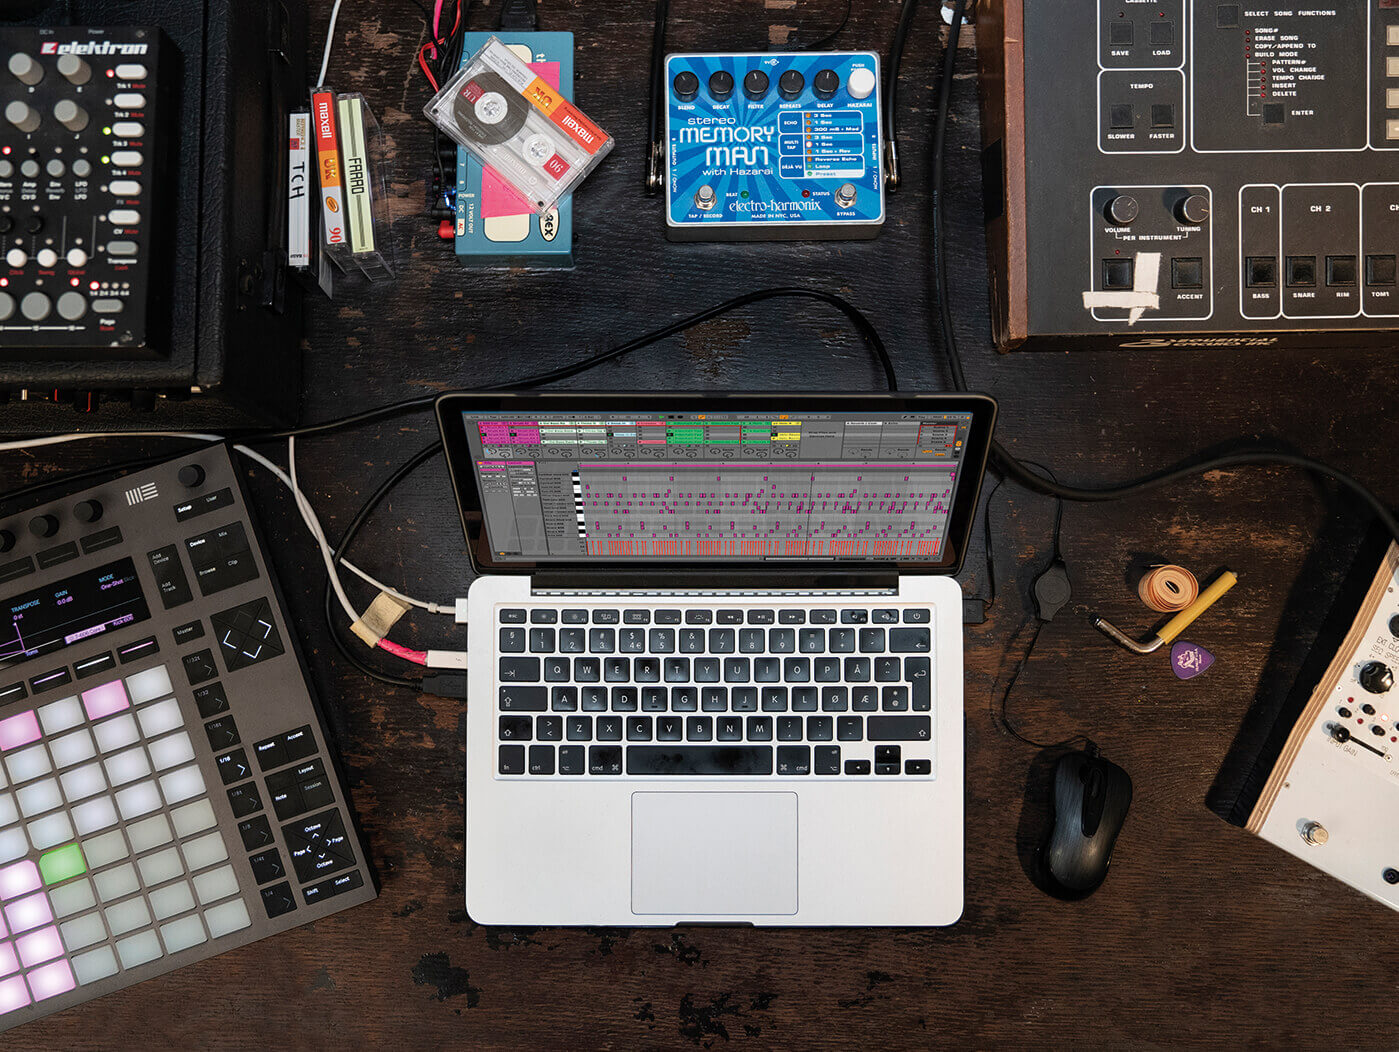
Using virtual instruments live
Now that you know how software instruments and software synthesizers allow you to create a full sonic landscape on one computer, you’re probably thinking “can I use virtual instruments in a live performance?”
The answer, of course, is yes! You can take full advantage of virtual instruments of all kinds in your live setup.
Here’s a list of the things you’ll need to use virtual instruments live:
- A dedicated laptop
Whether a Mac or Windows, a dedicated laptop for your instrument setup that can run all of your instruments acts as your central performance processor. To make the laptop’s job easier, make sure you clear off any software you don’t need for your performance. - A DAW and virtual instruments
Some DAWs are much better for live performance than others. The current favorite of the music community is Ableton Live, though a DAW like Logic Pro also has live performance capabilities. - An audio interface
An audio interface allows your laptop to connect to live PA speakers. Not all audio interfaces are up to this task though. You’ll want to find an audio interface with XLR and 1/4″ speaker outputs that will allow you to connect to speakers or a live mixing desk. - A MIDI controller
We discussed earlier that a MIDI controller allows you to interact with your virtual instruments. Make sure you find a MIDI controller that gives you both the right feel and functions for you.
How to choose a virtual instrument
As when choosing any music gear, you’ll have to consider your needs when choosing a virtual instrument.
Some example questions you could ask yourself include:
- Do you want an instrument that does one thing well – a piano emulation or synthesis – or an instrument with a library of sounds?
- Do you want to design your own sounds or use pre-made sounds (presets)?
- If you’re looking for a sample library then how many round robbins, articulations, and dynamic layers do you want?
Once you’ve answered these questions you can begin to assess individual virtual instruments.
You’ll want to consider:
- The user interface.
- Does the instrument sound good to you?
- The system requirements.
- Will it map it to your MIDI controller?
Make no mistake, a virtual instrument may seem to have everything you could ever need. But if you can’t make sense of its user interface then it’s not the instrument for you.
Should you buy a virtual instrument that you can’t understand then you’ll only be ruining your creative experience.
And if the instrument itself doesn’t sound good to you – does it sound like you want it to? – then it’s not the instrument for you either.
To avoid the risk of buying an instrument that you don’t like the sound of, listen to demos and watch videos on the instruments you’re looking into.
You can usually find these resources on the product pages of the instrument.
Furthermore, it’s crucial that you double-check the system requirements. Here, you’ll want to check its compatibility with both your operating system and your DAW.
Then you’ll want to check whether your system has enough processing power, RAM, and storage space.
Finally, make sure that the parameters on the instrument will map to a MIDI controller seamlessly.
Thanks to MIDI 2.0, this last one is very unlikely to cause you any issues. Originally, instruments utilized a MIDI Learn function that allowed us to map our instrument parameters to controllers.
Now, though, this process is automatic with MIDI 2.0-enabled devices.
Virtual instrument formats
Finally, let’s talk about the different plugin formats that virtual instruments come in.
These various plugin formats allow for seamless integration with different DAWs. However, many instruments don’t actually come in all formats.
- VST format (Virtual Studio Technology)
VST is the most commonly accepted plugin format by DAW software such as Ableton. The vast majority of DAWs support VST instruments, though not all. - AU (Audio Unit)
The AU plugin format is Apple’s own. Their DAWs GarageBand and Logic Pro X accept AU plugin formats. - AAX (Avid Audio Extension)
AAX is Avid’s plugin format for their Pro Tools plugins. - VST3
VST3 is the latest version of the VST format.
You’ll want to keep all of the plugin formats in mind when you’re shopping for a virtual instrument. Make sure that the instrument you’re looking at is compatible with your DAW!
Final thoughts
A virtual instrument is a powerful music composition tool that allows you to make music “in the box” on your computer.
Coupled with a MIDI controller, software instruments allow us to create expressive performances that sound like real instruments. But on the other hand, we can create entirely new sounds with software synthesizers and use MIDI controllers to create captivating performances!
Which type of virtual instrument you choose will depend on your musical style. So, are you going to grab an instrument emulation or begin designing your own sounds?