Why digital clipping occurs and how to avoid it
Budding musicians often find digital clipping to be the boogeyman in music production.
For instance, cranking your input gain too high generates that unsettling noise in digital recording systems. But clipping is an easy problem to solve and avoid altogether.
With that said, what if I told you that you can use audio clipping to your advantage in your DAW?
But what is digital clipping? Is it anything like analog distortion? And why does clipping occur in DAWs?
Why is distortion still a problem in digital audio? Let’s find out!
What is digital clipping? What does clipping even mean?
Digital clipping is the result of recording with too high a gain level or boosting pre-existing audio too much. In other words, you will clip your signal if it exceeds the loudness ceiling in your recording equipment.
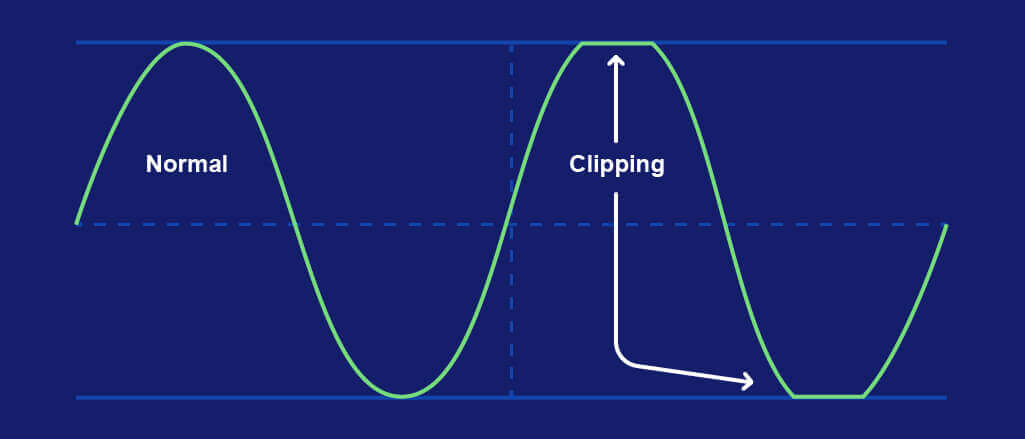
And we call this digital waveform distortion clipping because it clips the peaks and troughs of the sound wave away from the rest of the signal.
Digital clipping occurs in the same way as analog clipping. For example, an amplifier goes into overdrive if you push it over its limits and distorts the signal. And amplifying a signal past the maximum level a speaker can handle will distort the signal and maybe damage the speaker.
Therefore, you can clip analog and digital signals by overdriving recording equipment.
Why does digital clipping occur?
Digital clipping occurs when the level of your input signal is higher than the loudness ceiling in your recording equipment. Therefore, any signal that is breaching the ceiling is cut away which results in a horrible noise infiltrating your signal.
Any signal breaching the ceiling is disregarded, and the horrible sound of digital clipping is your signal breaking apart.
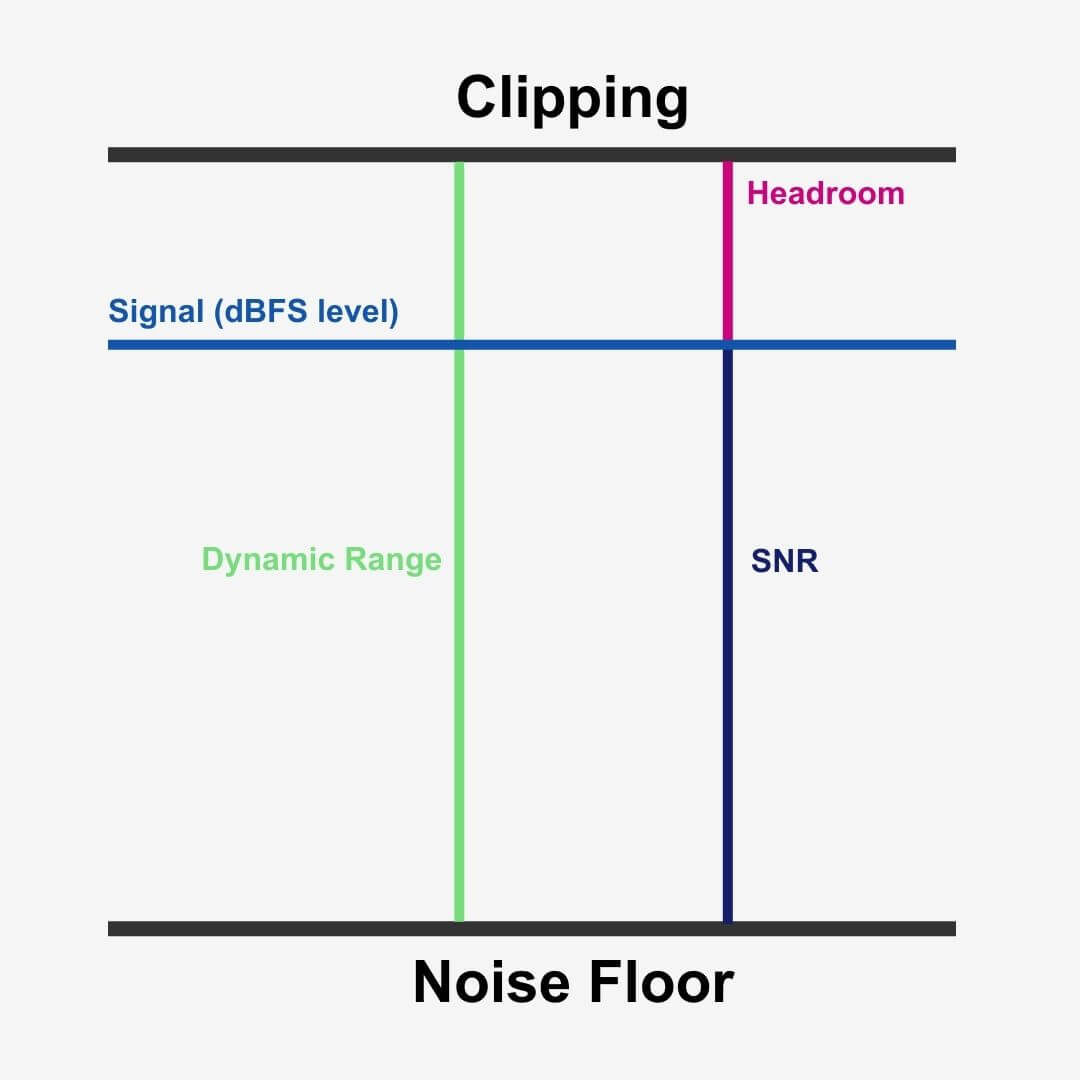
Recording devices like audio interfaces give you a determined amount of ‘headroom’ to record with. Consequently, recording at a level higher than this loudness ceiling clips the peaks and troughs of your sound wave away.
But digital clipping can arise anywhere in your digital signal chan – not just at the input stage. For example, you can boost your signal too much with a plugin, you can boost a virtual instrument too much, and you can clip your master channel if your mixer input channel levels are too high too.
Therefore, adjusting the input level before each stage of recording helps mitigate clipping. But we’ll come back to that later.
Digital clipping vs analog distortion
Analog clipping occurs when we overdrive the electric circuits and transistors in analog equipment.
But where analog signals distort based on the circuitry of hardware equipment, a digital system generates ‘clipping’ with an algorithm.
Furthermore, analog distortion squares off the sound wave, meaning the ceiling and floor flatten the round peaks and troughs into squares. In contrast, digital clipping cut the peaks and troughs clean off.
As another matter, there’s only one type of digital clipping but there are three types of analog distortion. These include:
- Overdrive
- Distortion
- Fuzz
You can notice each type of distortion In a recording session, but distortion and fuzz are far more obvious than overdrive.
Being the lightest of the three, overdrive is a creative effect used in lots of musical genres. But accidental distortion degrades the recording and doesn’t sound so good.
Secondly, distortion noticeably breaks the audio up and can compromise audio quality.
Finally, Fuzz sounds like it’s named – a strong and undesirable fuzz.
Why digital clipping matters to you
First of all, you’re going to hear a horrible noise in your input signal if you clip it. As a result, this noise ruins your recording if you’re overdriving the signal at the input.
You’ll definitely hear it, and it could damage your equipment too.
Secondly, severe clipping begins to break your signal up. So, the more severe the clipping the more you break up your recording until it sounds like a mess of horrendous noise.
However, what’s important to note is the severity of clipping. A lot of professional music uses clipping creatively because you can introduce minor clipping and it won’t be noticeable.
This practice gives you a little more ‘headroom’ in the rest of your mix because a signal doesn’t instantly distort once it reaches the loudness ceiling.
Therefore, you can think of the red clipping indicator as a warning and not a hazardous monster to avoid at all costs. Instead, use your ears and listen for noticeable signal degradation.
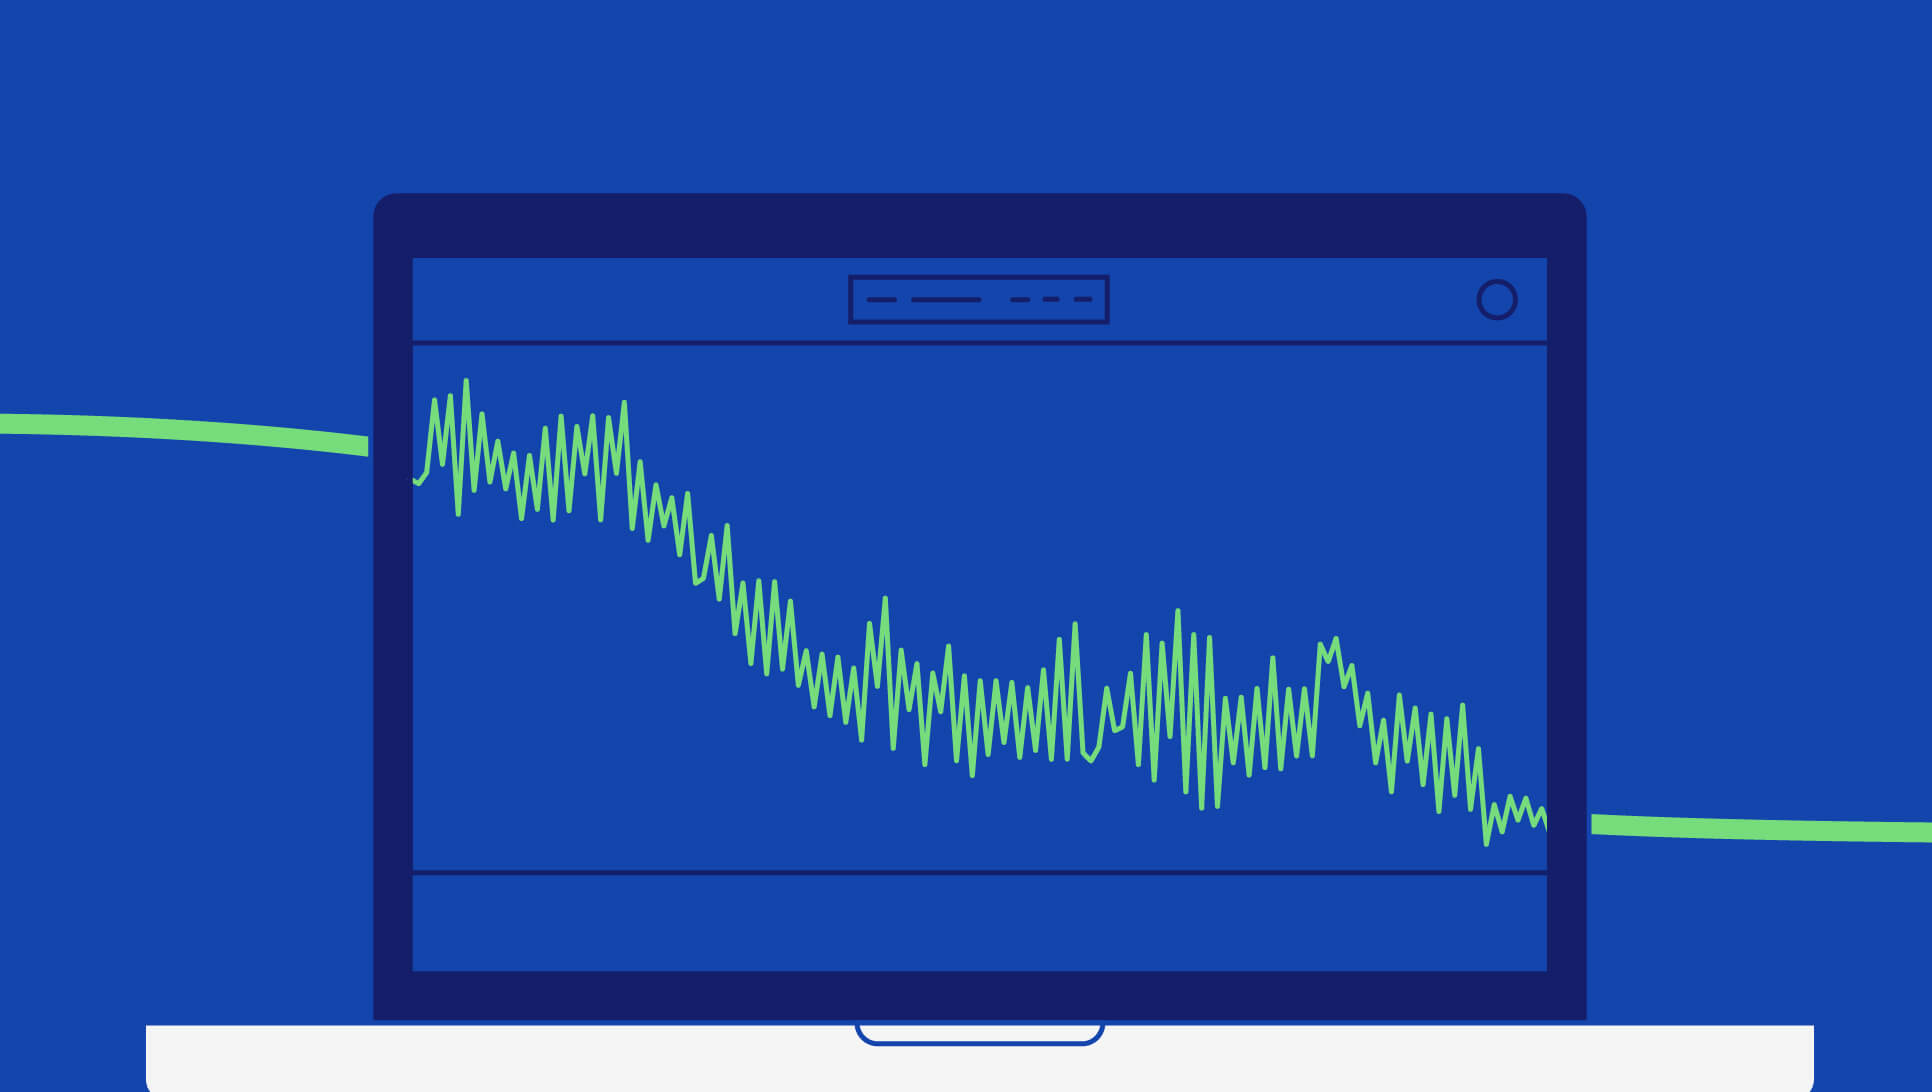
What does digital clipping sound like?
Sever clipping sounds like your recording is breaking up as a horrible noise infiltrates the signal. The higher you breach the loudness ceiling, the more distorted your recording becomes with the noise and loudness.
Despite their benefits, making music on computers has similar limitations to production on analog equipment. There is a limit to how loud your signals can be, so let’s discover why that’s the case.
What does dBfs mean?
We’ve referred to the ‘loudness ceiling’ quite a bit in this post. Well, its actual name is the 0 dBFS ceiling.
dBFS means Decibels relative to Full Scale, and it is a unit of measurement in digital systems that measure the amplitude of signals.
What is 0db?
0 dBFS is the maximum level your input signal can reach in amplitude before clipping occurs. In other words, 0dBFS is the ceiling of the headroom we were talking about earlier. And measurements below the maximum are always negative levels.
Furthermore, affecting a signal by approximately 6dBFS doubles the volume of the signal or halves it – depending on whether you increase or attenuate the fader – and thereby adds or subtracts 10dB.
Your track’s loud, but where are the dynamics?
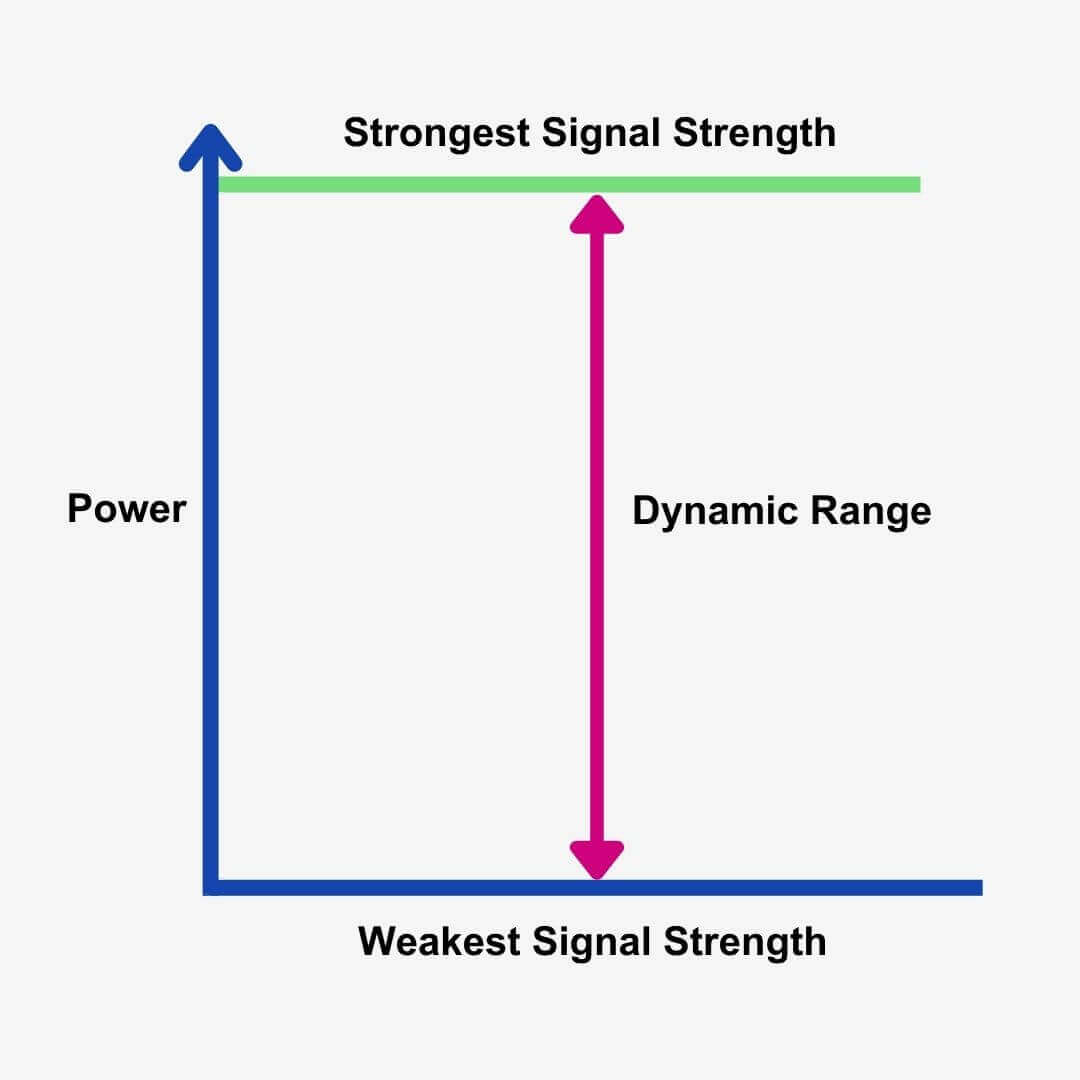
Dynamic range is the difference between the minimum and maximum signal levels a digital recording device can process without distorting the signal, measured in dB (decibels).
So, a greater dynamic range allows for a bigger contrast between loud and quiet sounds in your recording. An audio interface offering 100 dB of dynamic range can register signal strengths between 0 – 100 dB.
But how do digital systems measure sound? They depend on something known as bit depth which determines dynamic range among other things.
Microphone and instrument signals are electrical signals that the interface reads and converts into digital. The louder your gain, the stronger the electrical current. And an interface can’t measure any signal strength (amplitude level) higher than the number of available bits allows it to.
Thereby bit depth determines the dynamic range the interface can process without distorting the input signal. 16-bit offer 96 dB of dynamic range whereas 24-bit offers 124dB of dynamic range!
Back to dBFS
But no matter how much dynamic range your audio interface gives you, your dBFS ceiling is the final boss. And when your input signal exceeds 0dBFS it will clip.
The closer your input signal gets to 0 dBFS, the more full of information the bits of each sample are. As a result, our digital system has no more bits to accurately process our signal.
Then, any excess data is disregarded which results in your song breaking down – clipping.
In summary, while 0dBFS is the maximum signal strength a digital system can process, a higher bit depth allows you to record a louder signal without breaching the 0dBFS ceiling.
32-bit float DAWs
One final stop on the bit depth bus.
Today, DAWs utilize 32-bit float processing. But what does that mean?
Well, 24-bit and 16-bit use whole numbers with no decimal points (fixed-point), to represent data. But 32-bit float does use decimal points (floating-point). Therefore, data in digital audio files use decimal points and exponents (for example “1.4563 x 10⁶“ instead of “1456300”).
As a result, 32-bit float DAWs can process much larger and much smaller data (think of the dynamic range as a reference here).
In fact, A 32-bit float DAW offers 1528 dB of dynamic range compared to 24-bit’s 144 dB! It goes without saying that this is more than we actually need, but it has huge benefits. In short, it’s impossible to clip your signal in a DAW.
It’s still very possible to clip in your audio interface at the recording stage, but a 32-bit float DAW allows us a lot of flexibility once our signal is in.
But as soon as you export your file to a 16 or 24-bit file (as you will for online distribution), the risks of clipping become very real once more. So, should we talk about how to avoid clipping altogether?
How to prevent audio clipping
Okay, so 32-bit float DAWs make clipping your signal in a DAW pretty difficult, but salvageable at the very least.
But when the time comes to export to a 16-bit or 24-bit audio file, the laws of digital audio return. So making channels as loud as you can in your DAW is still a bad idea. And you can still clip your signal before it reaches your DAW too!
Therefore, practicing gain staging in your signal chain will help you avoid clipping forever.
What is gain staging?
Gain staging is the practice of keeping an instrument at a consistent level in its entire signal chain.
For example, let’s look at the signal chain of an electric guitar:
- Guitar sends the signal to an amplifier
- The amplifier boosts the level of the signal and sends it to the guitar cabinet
- A microphone registers the sound from the cabinet, converts it to an electrical signal, and sends it to an audio interface
- The interface converts the electrical signal to a digital one and sends the digital signal to a DAW mixer channel
- The signal goes through numerous effect plugins on the mixer channel
In this example, we’d first need to make sure the amplifier isn’t boosting the signal too much.
Secondly, we can make sure the output volume of our cabinet isn’t too loud. But if you’ve attenuated the amplifier level, the cabinet may need a little boost.
Thirdly, we need to look at our microphone. So we’d attenuate or increase the gain knob – based on the level of your amplifier – on the interface which tells its microphone preamp what to do.
Now it’s time to attenuate the gain fader on the mixer channel. Once this is done, you can finally begin inserting plugins on the channel.
But each plugin you add will affect the level of the signal. So to maintain the level of the channel, you need to attenuate or boost the volume knob of the plugins you insert.
Gain Staging Cheat Sheet
Quality recordings
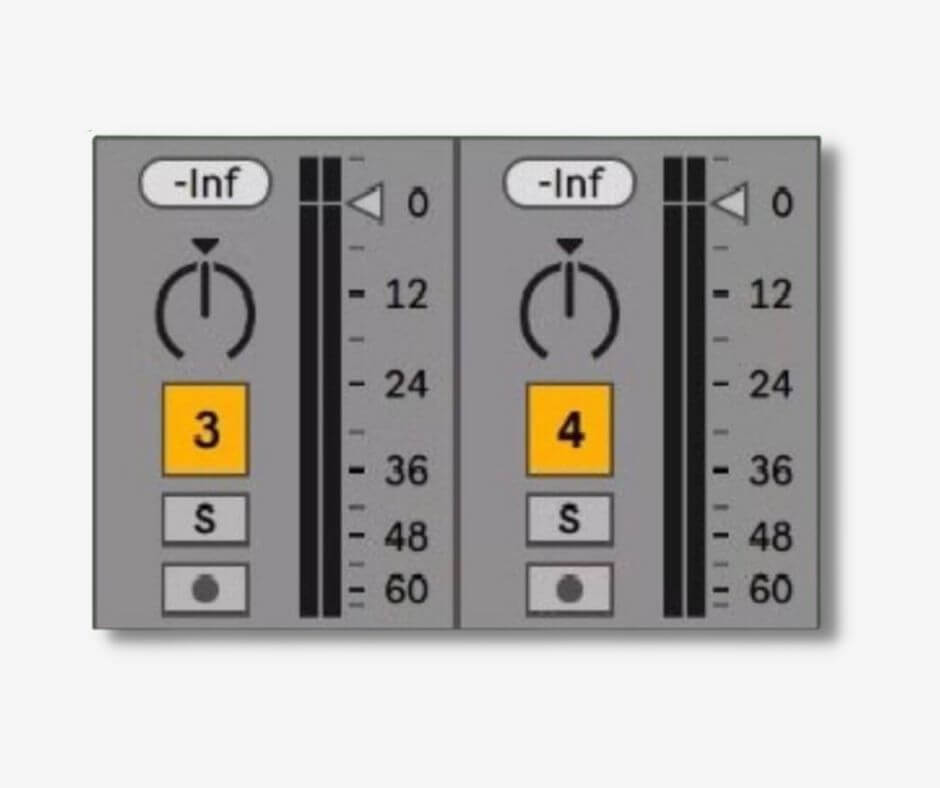
While gain staging, use the dBFS peak meters in your DAW as a reference.
Firstly, avoid recording your instruments too loudly. Using up too much headroom straight off the bat isn’t a great idea!
A general input level to strive for is -18dBFS as an average, and make sure your peaks aren’t going higher than -10 dBFS. Remember to attenuate your signal at its source (amplifier) before you start playing with your DAW faders.
Adjust your plugins as you go
Each plugin you insert needs gain staging because plugins increase or attenuate the signal level at their output.
For example, using a filter or an EQ to remove frequencies attenuates the signal level when it leaves the plugin. Here we’d use the makeup gain knob to replenish those lost levels.
Learn to Use a VU Meter & LUFS Meter
A VU Meter is a metering tool that you can insert on your master bus, where VU stands for Volume Unit.
VU Meters give you a calculated estimate of the level of your signal – a more accurate representation than DAW peak meters give you. So they’re a great tool to use while gain staging to understand the level of your signals all the more.
VU Meters also provide a limiter of sorts. For example, set your VU Meter to -18 dBFS and then the value of 0 in your VU Meter is equal to -18 dBFS, giving you an easy reference point.
On the other hand, LUF Meters give you an accurate representation of how loud your signal is to human ears, and that’s why we call them Loudness Meters.
Loudness Meters analyze audio while considering the duration and frequency content of the signal. In contrast, a peak meter only reads signal strength. Therefore, loudness meters allow you to assess how loud your track actually is.
Moreover, they use Loudness Units (LU) as their unit of measurement, where a difference of one LU is noticeable to your ears.
While VU Meters allow you to measure the average gain levels of your signals, Loudness Meters allow you to dissect your processed signal at the end of your master bus to measure how loud the signal actually is.
In other words, using both of these tools will allow you to avoid clipping while keeping things loud!
Using LUF Meters while gain staging
Going back to our filter/EQ example, you use a LUF meter to measure how much loudness you have lost after removing frequencies.
Before throwing yourself at the makeup gain and guessing, you can measure loudness by soloing the channel and bypassing the filter/EQ. What does the LUF Meter show you? How much gain do you need to apply to get the channel level where it was before the processing frequency cuts?
Avoid low faders
Finally, don’t aim for low faders.
The lower the mixer faders are to the bottom, the less audio resolution the signals have resulting in a less clear mixdown.
One slight attenuation dramatically changed the volume of the sound. So, as we said earlier, aim to gain stage at the sound source rather than with mixer faders as to maintain the resolution of your signal.
Alternatively, you could use a gain plugin at the end of the plugin chain. A gain plugin allows you to decrease the gain and maintain audio resolution.
Final thoughts
Digital clipping isn’t fun but it isn’t the end of the world. Now you know why clipping occurs you can take the necessary steps to remove the risk.
But you can use clipping to your advantage. After all, digital audio workstations provide a flexible workflow that allows you to use clipping as a pragmatic and creative tool.
So, make sure that you experiment with the dBFS ceiling now that you know how to use gain staging. We’ve discussed general guidelines and good practices but experimenting with gain staging and clipping could lead to some interesting results…