
How to make an 808 bass with kick in FL Studio
Get that fat 808 bass sound with a kick in your tracks with this simple tutorial to make your own custom sub in FL Studio.
The holy grail of electronic music is that deep, subby 808 bass sound. Making your own is not only incredibly simple but allows you to customise the sound to get exactly what you’re after in your track.
There are numerous ways you can make your own subby 808 synth bass in FL Studio alone. Today, we’ll be focusing on how to use Sytrus to create that iconic sound and how to make it your own. Sytrus comes included with Producer Edition and up.
Making an 808 Bass in FL Studio: A Step-by-Step Tutorial
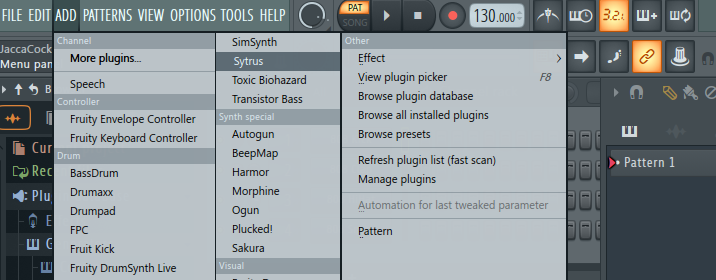
Open up FL Studio and load up a Sytrus synth. You will find it under ‘Synth classic’ in Generators, or simply head to your menus in the top left and open up ‘ADD’ to add Sytrus to your project and open it.
You should now have Sytrus open. You can enlarge it by dragging from the borders of the Sytrus window if you want a larger interface to work with.
Now you want to open Presets from the top-right corner of the Sytrus window and select Default. This should be the very first option, in the far top-left. This will give you a regular sine-wave that we can work from to create your 808 bass sound.
Now open the OP 1 window to open your first oscillator and bring your Frequency Ratio down from 2x to 1x. Simply click and drag down on the figure to reduce it. This will reduce the sound by an octave, bringing it closer to the deep sound we’re after.
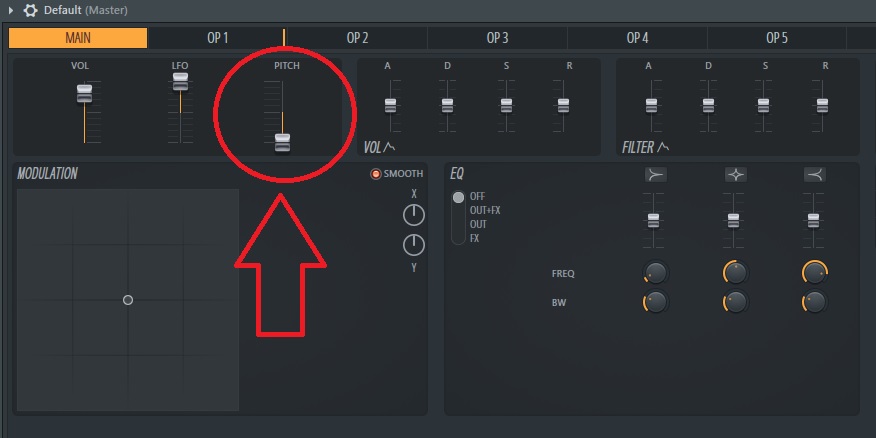
Now head back to the Main window and find the PITCH slider in the top-left. Drag this down to the bottom to bring it another 2 octaves lower and even closer to the bass notes we’re after.
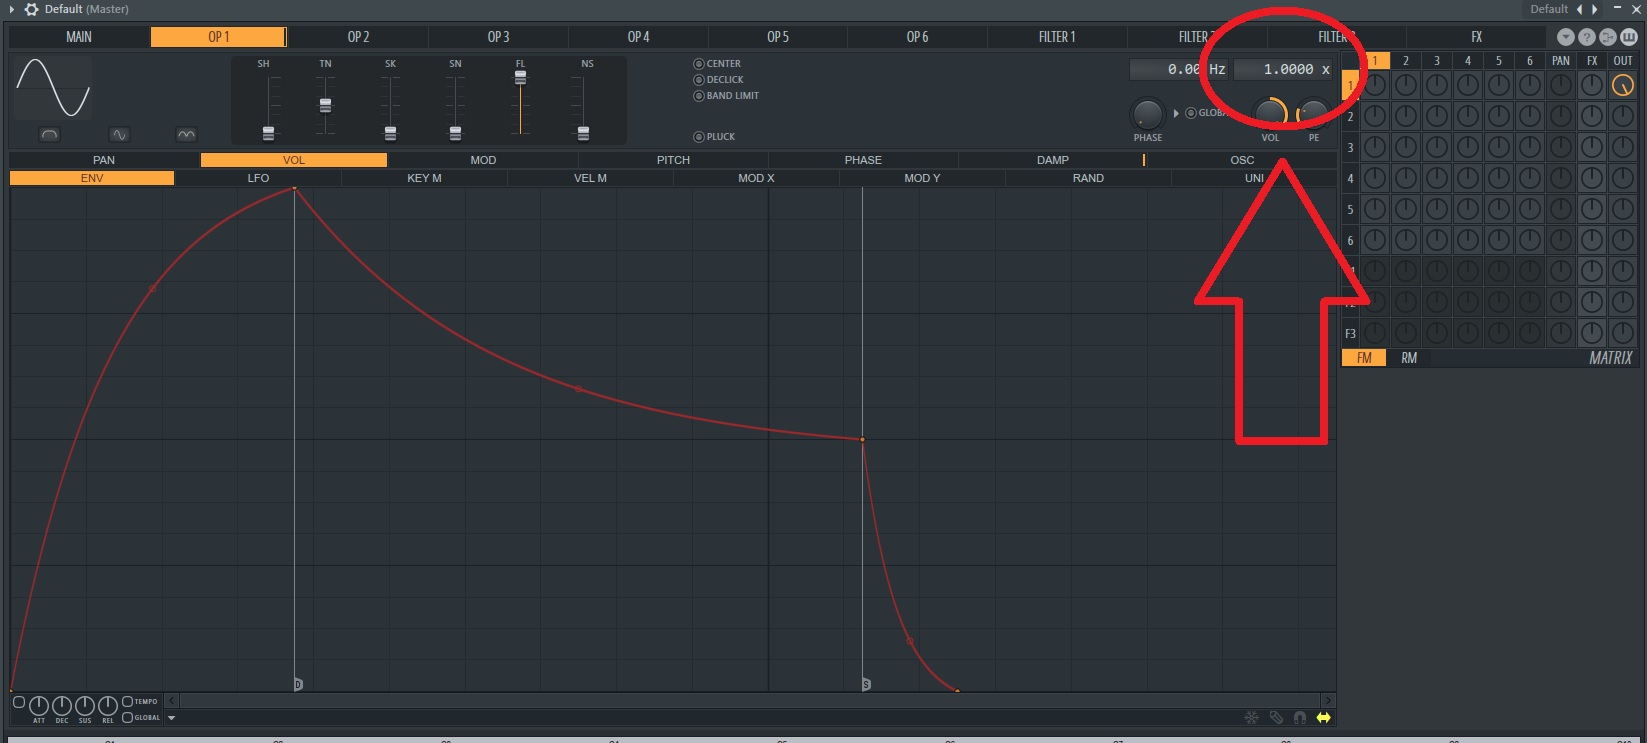
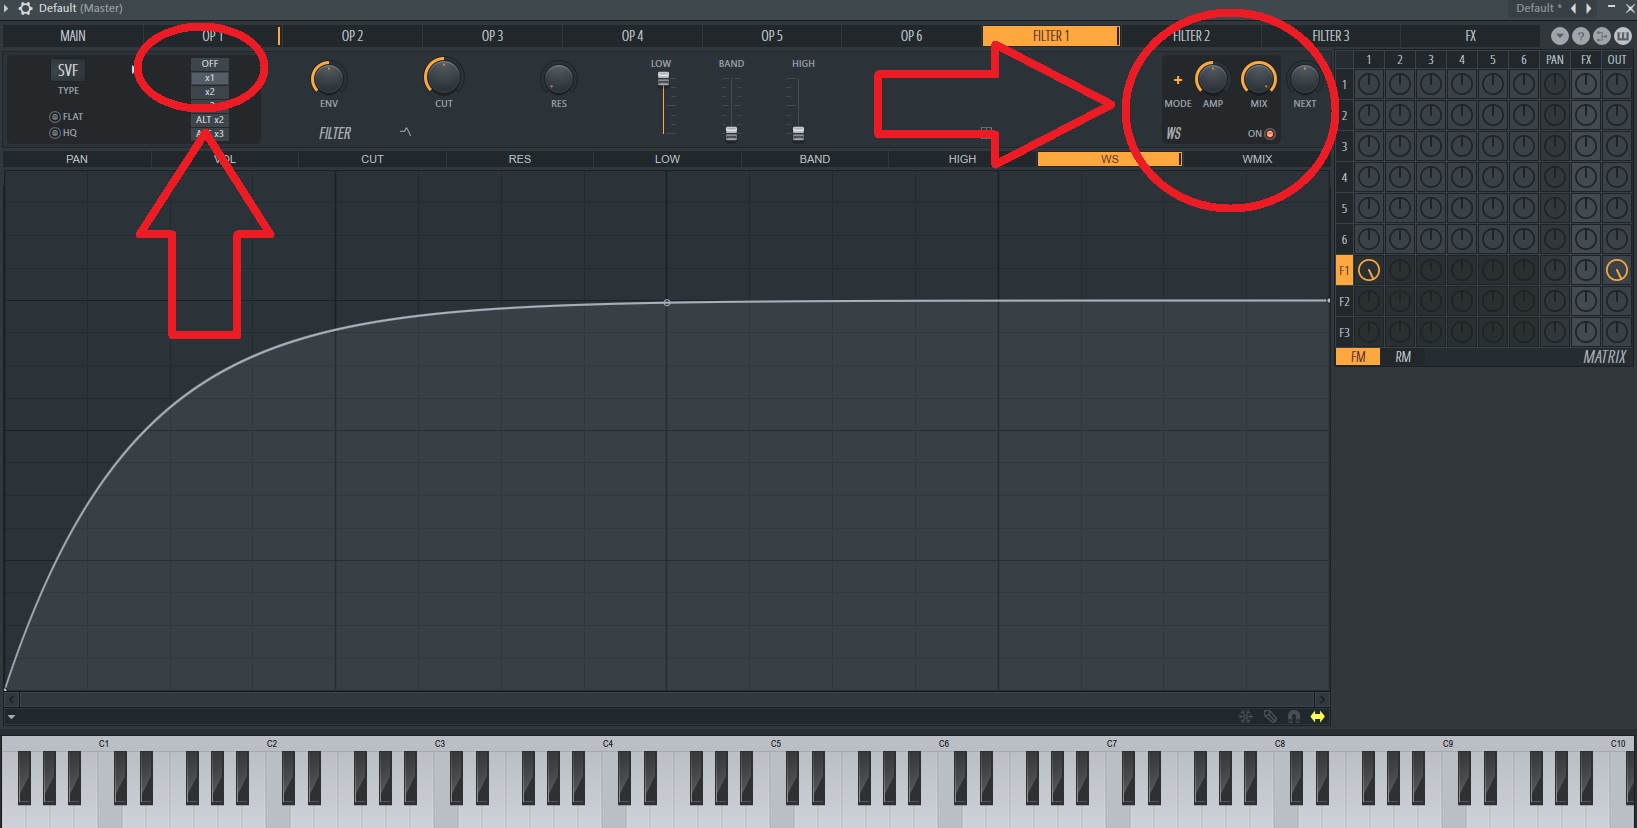
Now we’re going to distort the sound with some effects to bring out the dynamics from our subby sine-wave. First of all, look towards your mixer on the right side of Sytrus. Turn the top-right OUT dial from the first vertical channel down or off. You can right-click to de-select it or drag it down until it is greyed out.
Now we want to head to the F1 dial for the first horizontal channel; this is our first filter. Turn this up all the way and then turn it all the way up in the OUT on the far right. Use the picture below for guidance as to how your mixer should look if you get lost at all.
Now we’re going to adjust the effect to bring our 808 bass sound to life. Head to the FILTER 1 window in Sytrus. Turn off the filter from the small grey button in the top left. We don’t need it.
What we will be using is the waveshaper, which is in the middle box at the top marked WS. Turn that on using the little toggle button. Give it a play, you should have a pretty gnarly sound now!
You can bring the tension up for a bit more grit if you like. Drag the circle in the middle of your wave up for a sharper curve. Give it a try and see which sound you prefer. Remember, you can go off track at any point to experiment and make your sound your own.
Now it’s time to refine our sound and get the 808 bass that suits your track best. Head back to the OP 1 window and select the volume tab which should open straight to the envelope. Enable the envelope by clicking the hollow button in the bottom left, to the left of the knobs. It should fill and then your waveform’s internal space should go softly red.
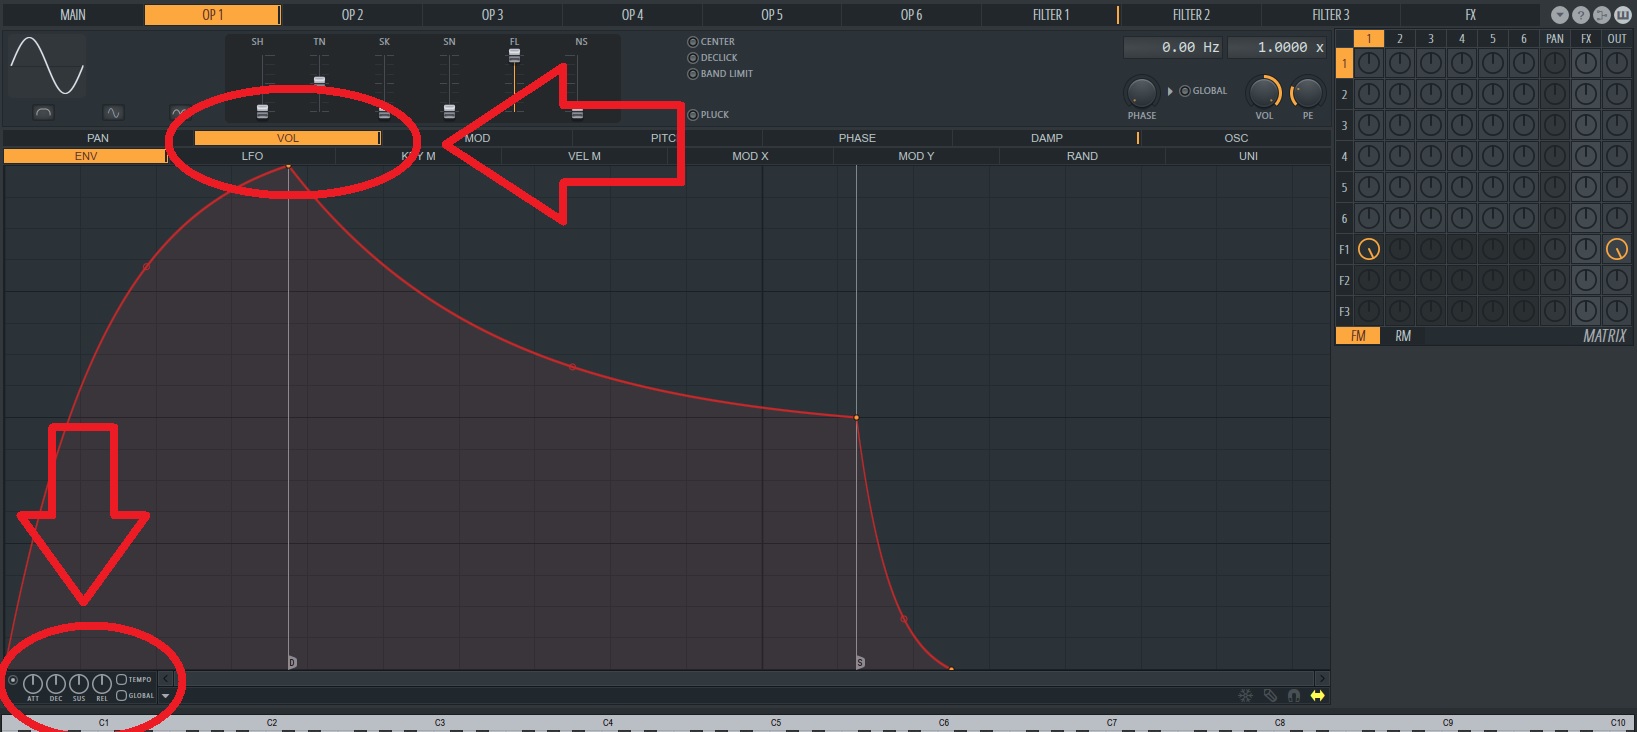
Now, we’ll guide you through the shape of a classic 808 sound but here is where you can really play with the dimensions to decide what works best for the sound you’re after.
Drag the attack back so that it’s steep by grabbing the point in the waveform and pulling it back to the start. Then bring your sustain point down. You want your waveform to look roughly like it does below for that classic, hard-hitting 808 sound.
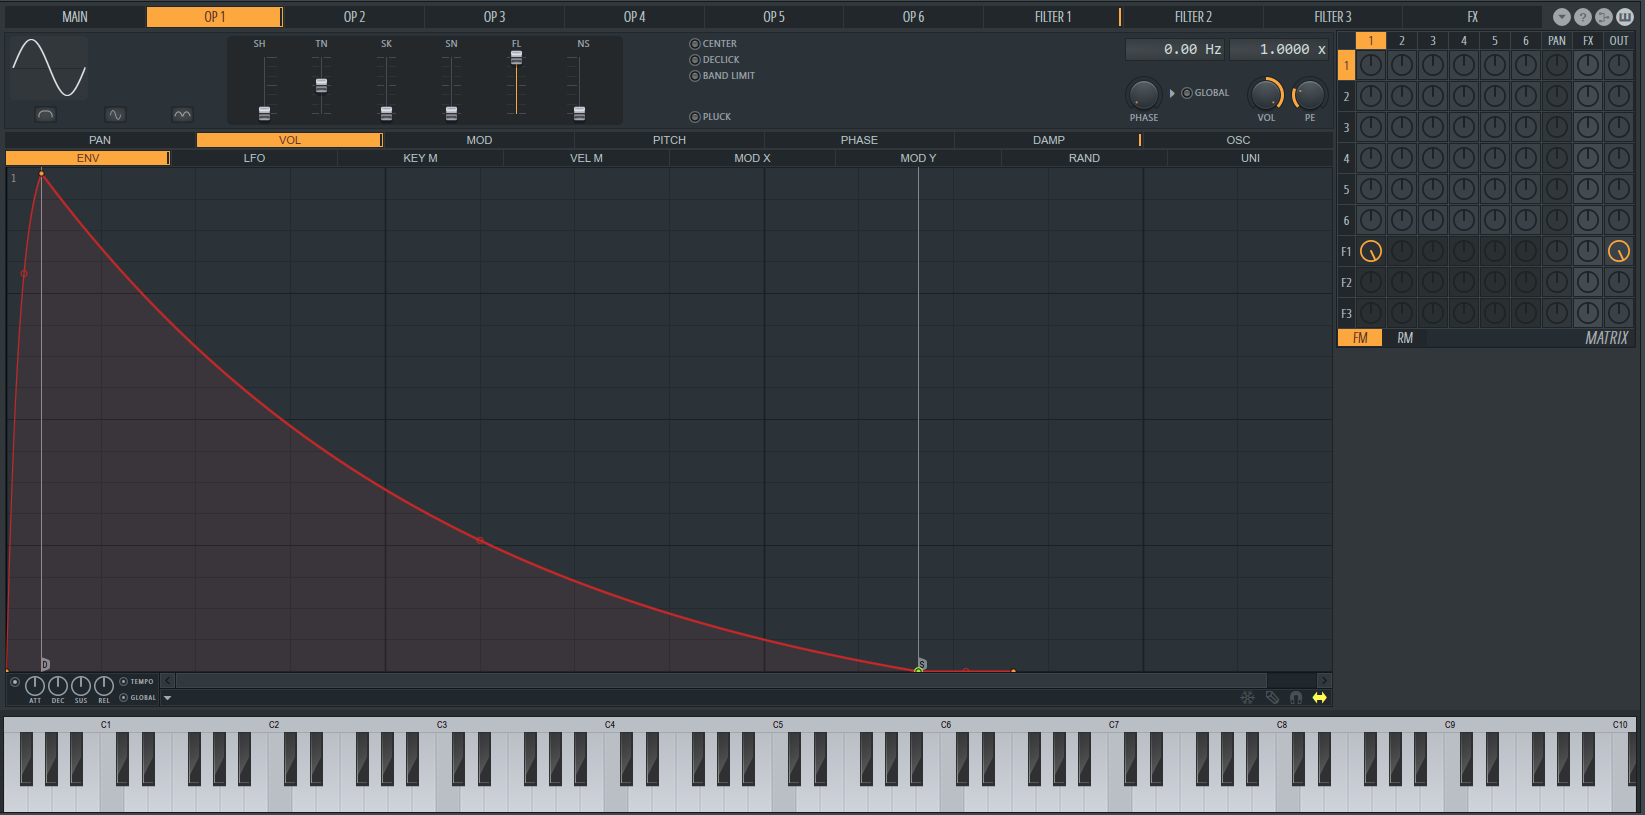
Add another point near the peak of the attack by right clicking the line. You can use this to allow the peak to hit a little harder giving it a little bit more presence and staying power. As we said, play around and see what works for what you’re after. For this effect, it should look like below.
Keep tweaking and playing it to get your sweet spot. The differences can be super subtle but effective. It’s up to you at this point.
Add a Kick to Your 808 in FL Studio
Give your 808 some real punch by adding a subby kick that plays each time your 808 plays a note. This is a great way to bring even more power to your synth that helps to really drive a beat hard.
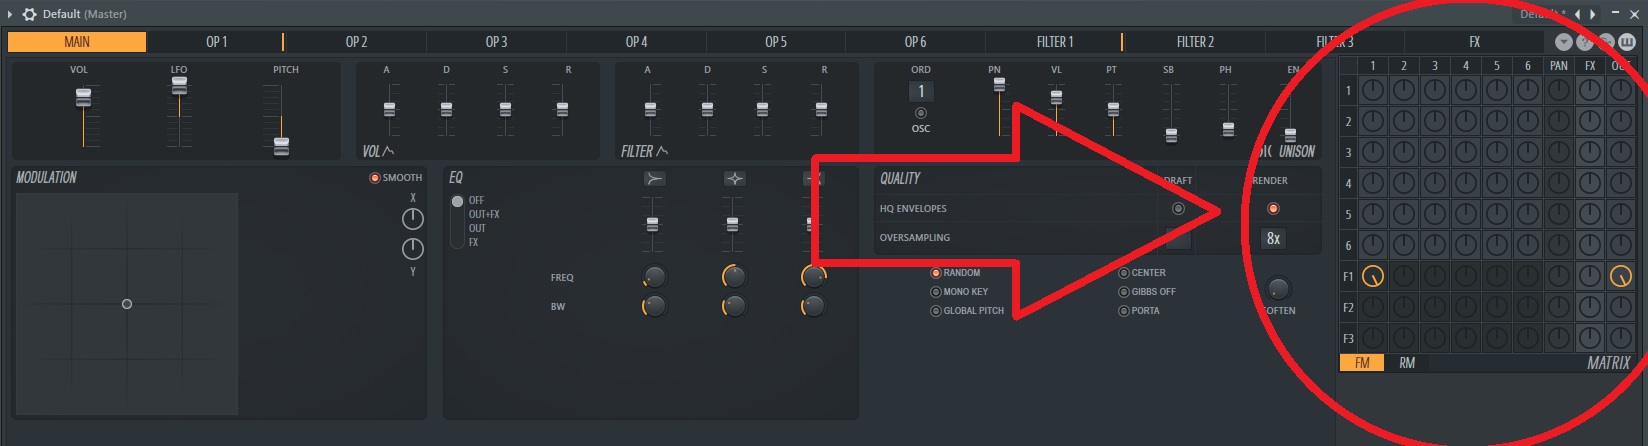
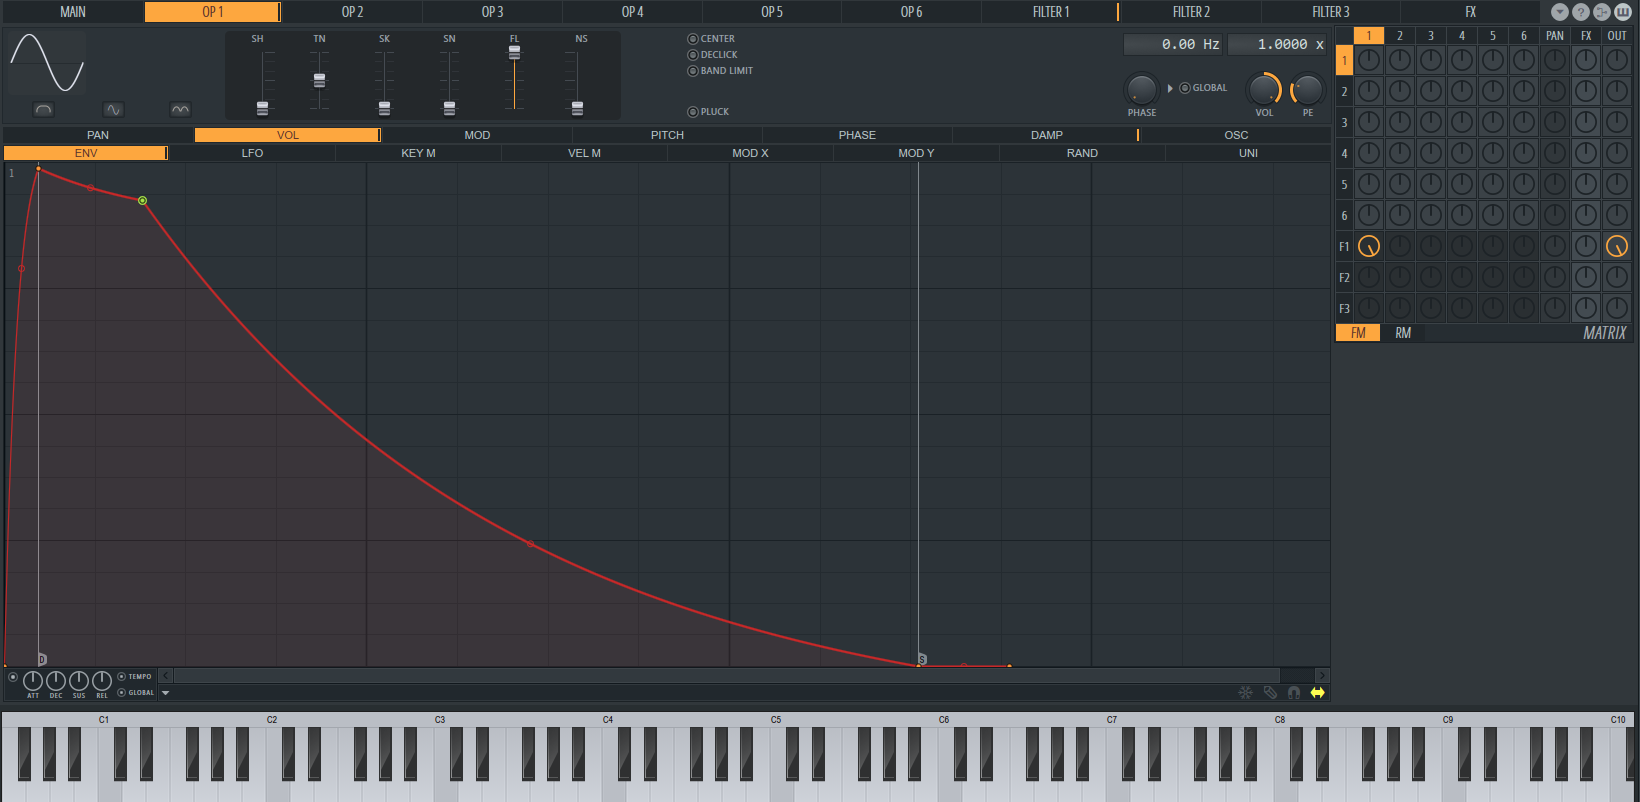
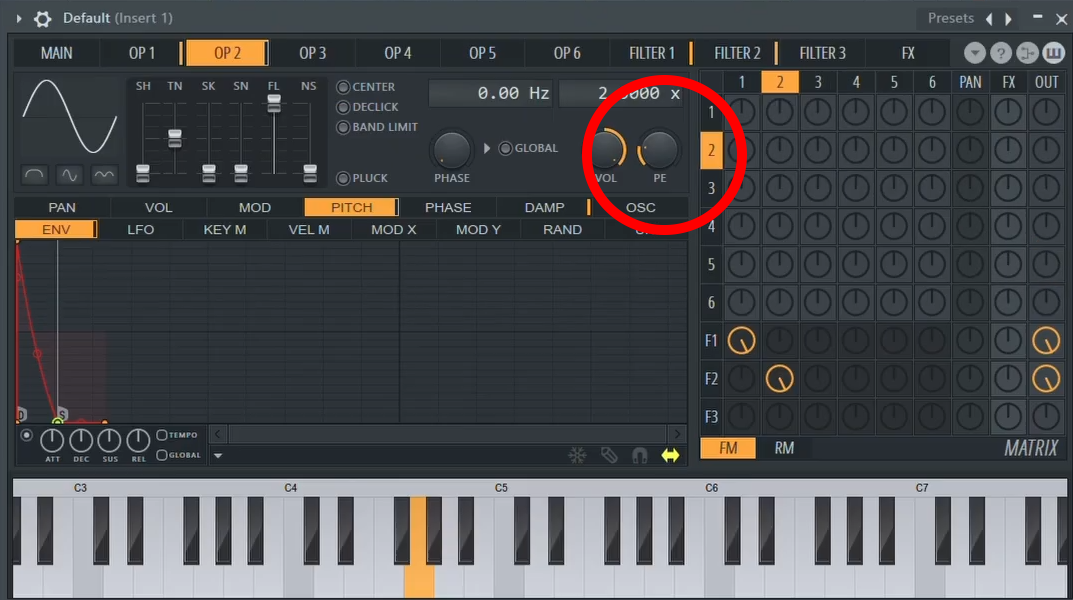
To begin with, you want to activate the second oscillator. So, let’s begin by turning up the dial for oscillator 2 on filter 2. Head to pitch and then in the bottom left, activate your waveform to customise the sound.

Make sure you’ve also turned the output dial up for filter 2 on the right of the dial section, as is circled below. Then bring the attack and sustain back on the waveform for a really quick hit that fades quickly. This produces a kick-like effect.
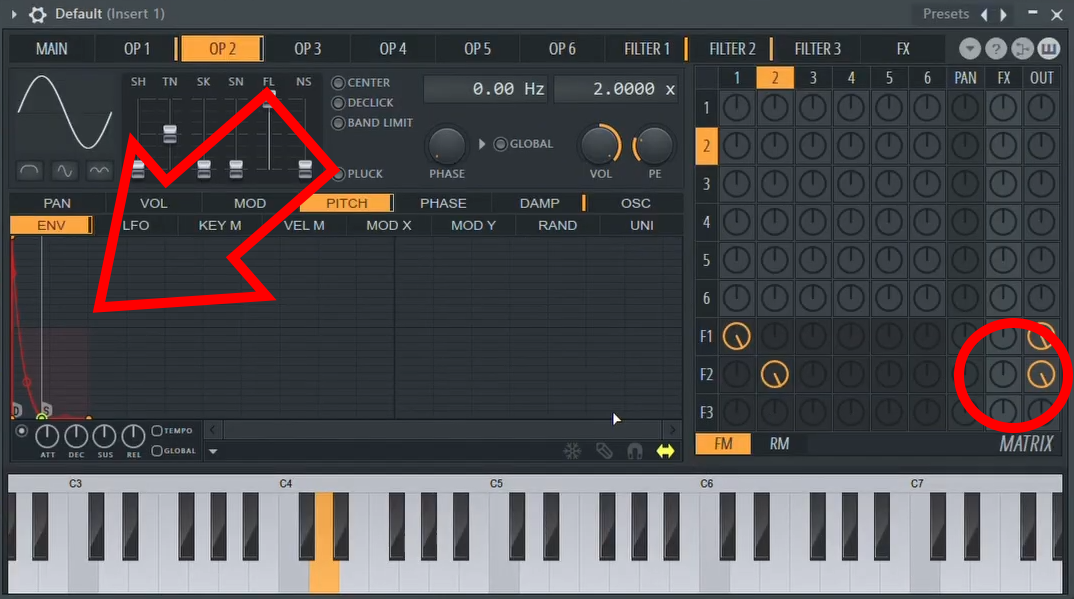
You should be able to hear the impact of this extra oscillator immediately. You can then tweak the pitch of the second oscillator using the PE dial to the right of the center. Raising it raises the pitch and lowering it brings it down for some really powerful subbiness to the synth. Play with it to find a sound that suits your vibe and you’ve completed a well rounded, powerful 808 synth.
Conclusion
There you have it! Now you can make your very own, tasty 808 bass whenever you want that classic sub sound for your hip-hop tracks, your trap mixes, and so much more.
If this tutorial was helpful then let us know by leaving a comment below! Let us know what else you’d like to learn and we’ll do our best to cover it. Of course, save our blog and keep coming back for more on music production, streaming, and general industry goodness.