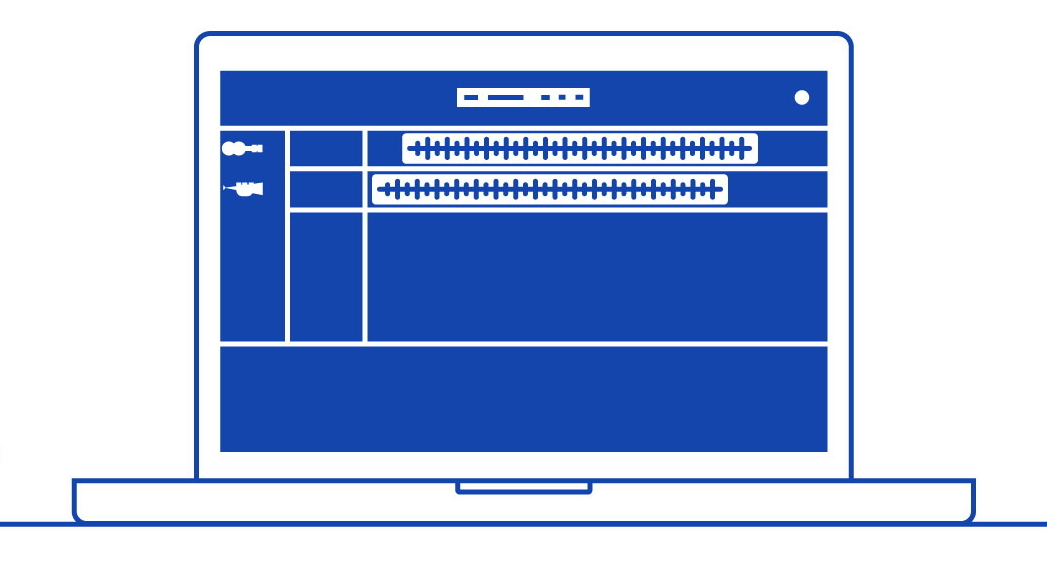
What is bouncing in music production?
With your mix completed, it’s time to prepare your song for mastering. It’s time to bounce your tracks!
Bouncing tracks is the process of bouncing a completed song into audio files. More specifically, bouncing audio is about exporting your finished track into smaller audio groups. For example, your bass is one group; as are your vocals, instruments, and drums. Other groups may include sound effects too!
These audio groups are called stem files. Stems are stereo recordings/audio files derived from a bigger mix of multiple tracks. As we mentioned, A drum stem file includes all of your drums, an instrument stem includes all of your instruments, etc. By playing a stem file on its own, you’ll hear all of your instruments with no drums, bass or vocals. On the other hand, if you play all of your stem files together then you’d hear your whole track playing in unison.
But bouncing tracks also refers to bouncing all of your stem files down to just one audio file too. And that one audio file is your whole track! So, bouncing audio is about “bouncing” your whole project down into audio groups, and then again into the final audio file.
Before we go any further, let’s clear up the obvious hurdle of confusion. The difference between bouncing audio and exporting audio. Bouncing audio is the process of exporting a complete song to a single stereo audio file or a handful of stereo audio files that we call stem files. In contrast, exporting audio refers only to exporting individual audio like a one-shot or a singular melody line to an audio file.
Why do you bounce tracks?
There are a handful of reasons why we bounce our tracks. Firstly, it saves our computer processor a lot of work! To illustrate, let’s compare the sheer data that a virtual instrument consumes compared to an audio file.
Let’s say you’ve got an 8 bar MIDI loop, and its audio source is a VST like Serum. Well, virtual instruments like Serum require more and more processing power with every bit of modulation you add to your sound. And when you build complicated sounds and add multiple sounds to your DAW project, your computer will begin to struggle to dish out enough processing power.
But if you bounce those multiple instruments down into an audio file, or if you export each one individually, all your computer needs to do is supply enough processing power to play those audio files inside your DAW!
In addition to saving your computer processing power, sending audio files to collaborators or friends over the internet is much easier than sending a heavy DAW file. The upload and download speeds are far quicker as a result.
Finally, a sweet little perk is the ease of listening to your own music. Let’s say your pals come over and you want to show them your new track. Would you rather click play on an audio file or wait for your DAW to load up?
Will bouncing audio reduce its quality?
The answer isn’t quite as simple as yes or no. What matters is the audio file type you choose to export to and a handful of other settings.
File Type
A lossy audio file like an MP3 file uses lossy compression. Lossy compression will make your audio files transferable sizes by slicing “unnoticeable” pieces of the original audio away. Therefore, they aren’t the most high-resolution audio around.
In contrast, a lossless audio file type like WAV files doesn’t chop away at the original file. Lossless compression chops the original audio up and essentially reshuffles them so they fit in a smaller space. But they’re reconstructed back to their original size and retrain all sound quality when you play the file.
In summary, lossless audio files like WAVs don’t reduce audio quality but lossy files like MP3s do.
Sample rate
To retain the fidelity of your track, don’t fiddle with the sample rate. DAWs use a default sample rate of 44.1kHz. So, make sure you export at the same sample rate that your song was made in.
To reproduce any signal near-accurately, thousands of samples must be taken from your original signal per second. Metrics measured include signal amplitude and any frequencies too, and samples are measured at particular times (more on this soon). To summarize this brief introduction to sample rates: by measuring enough amplitude values extremely quickly, we can reconstruct the resolution of your signal.
Bit depth
Bit depth is what sets out the number of potential amplitude values that a digital system reads. In turn, this determines the dynamic range of your audio. As a result, a higher bit depth gives you a higher audio resolution. This is because more amplitude values are available! Keep your bit depth at 32 bit for streaming services. Though if you’re making music for a CD, the bit depth should be 16 bit.
For more information about how digital audio works, we wrote this article for you.
How to bounce audio
The process of bouncing audio is almost identical across every DAW. Below are a few videos that demonstrate how to bounce audio in the most popular DAWs.
How to bounce Audio in Garageband
How to bounce audio in Logic Pro X
How to bounce audio in Ableton
How to bounce audio in FL Studio
How to bounce audio in Cubase
How to bounce audio in Pro Tools
Check out some more music production tips here:
Once your track is mastered and sounding incredible, why not let the world hear it?
