7 ways to reduce background noise while recording
There are a few meanings relative to noise floor. And it’s your job as an independent artist and/or producer to understand each meaning and work around them.
Imagine four walls, a ceiling, and a floor. Now imagine there’s a flood of water pouring through the front door. In effect, that water is the slight hum coming through your studio monitors. But it can also be cars rumbling by outside your window. In fact, it can be electrical noise from your gear or any disruptive sound your recording gear picks up…
It goes without saying that you don’t want any water seeping through your front door. However, that’s not possible with electrical devices. And if you live in a busy environment, tackling environmental noise becomes a nightmare.
The definition of the noise floor
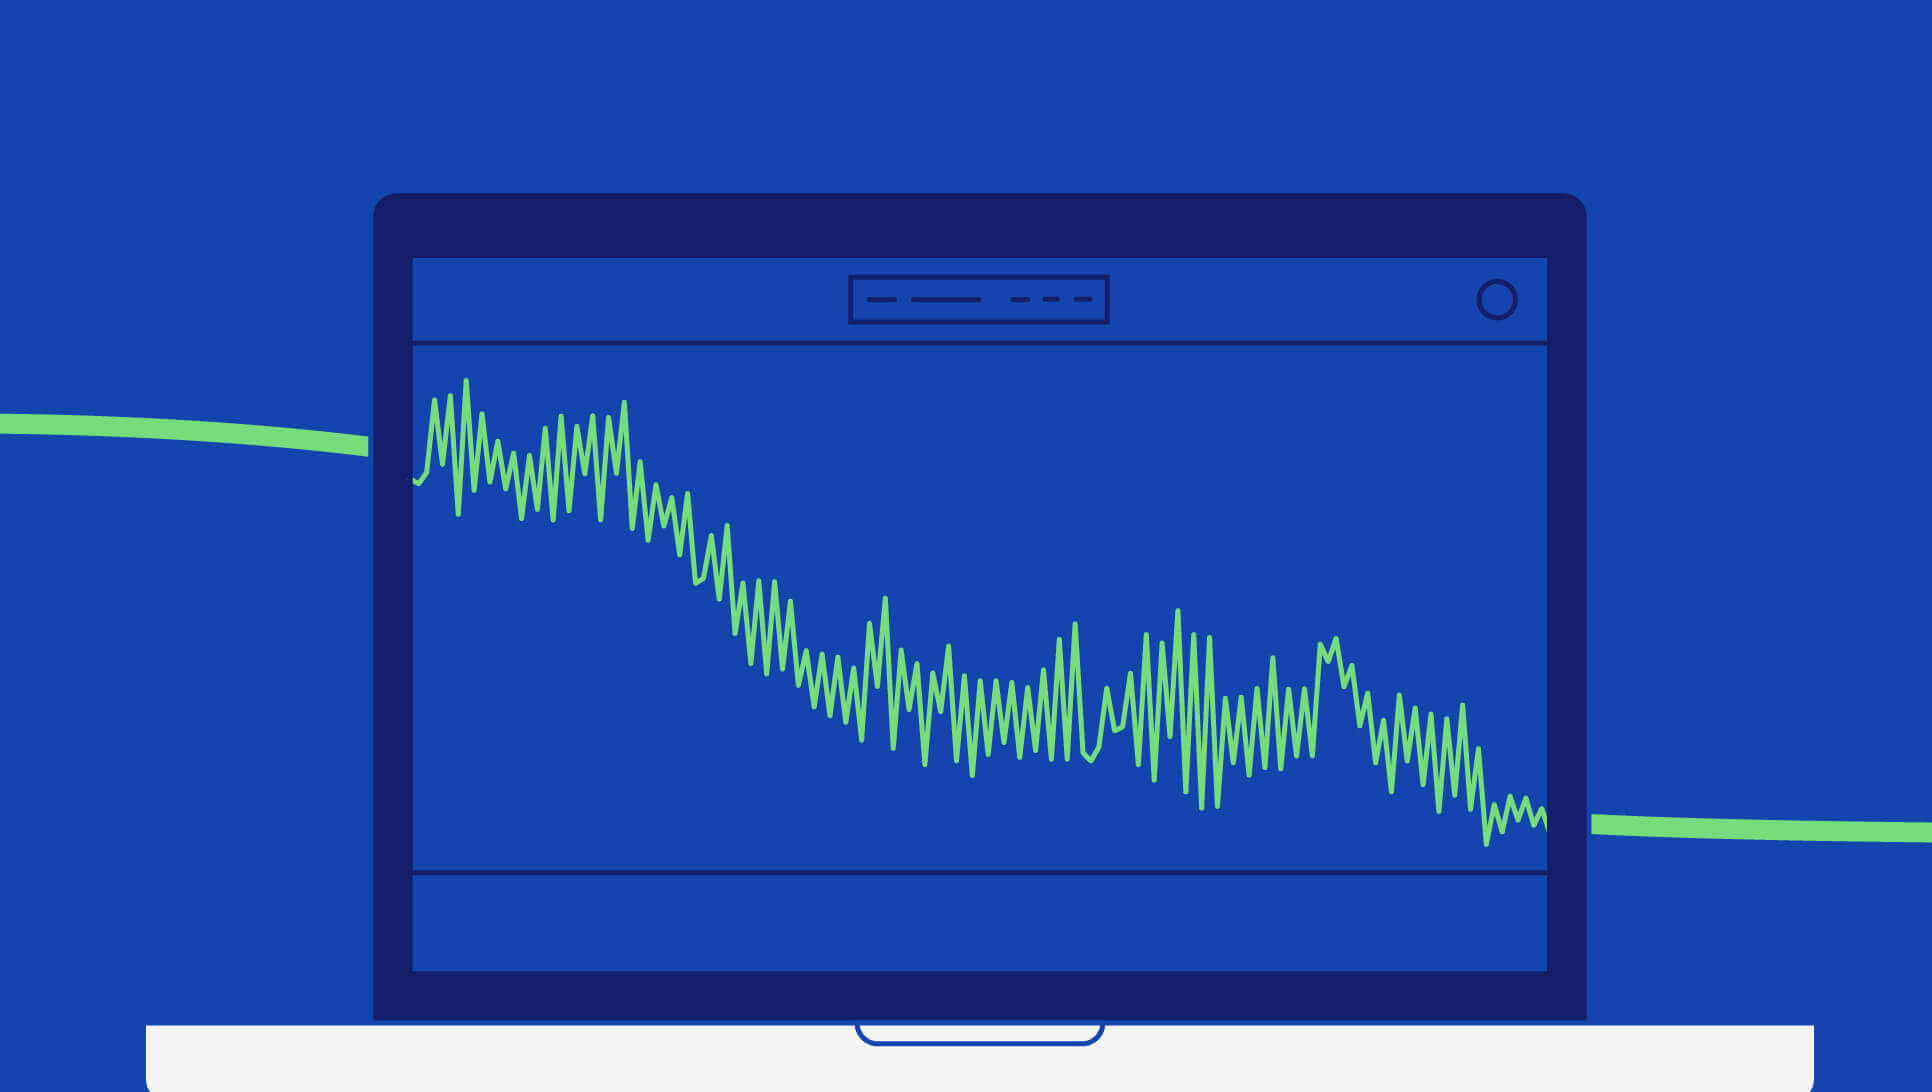
In electrical devices, noise floor is the total amount of noise that your device produces before running any signal through it. In other words, noise floor is the amount of the unwanted signal that your device creates – any signal other than the one you’re monitoring.
And all electronic devices produce some level of noise too. For example, when shopping for audio interfaces and other electrical audio gear, you’ll notice figures next to metrics like THD+N and Signal to Noise Ratio. These metrics refer to the amount of signal that will leave your audio interface that isn’t the signal you’re monitoring – noise.
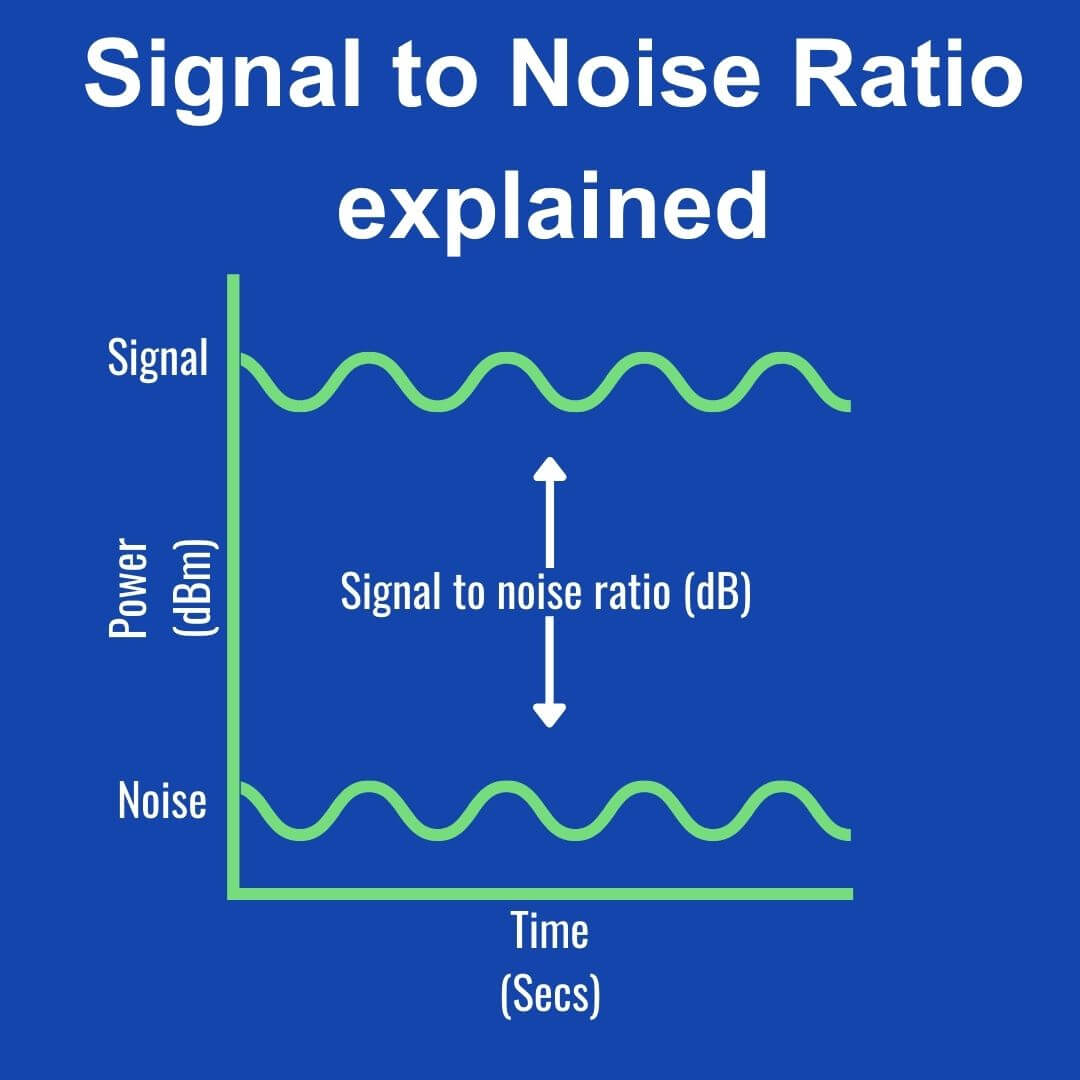
But the Signal to Noise ratio is a little more specific of the two. SNR represents the difference between the level of noise to the level of your signal, expressed in dB.
So in this respect noise floor is a technical difficulty that studio gear gives us to deal with. Your microphone, studio monitors, and audio interface all generate electrical noise as a byproduct.
To summarise, the noise floor is the amount of unwanted signal that a device produces. The amount will usually be so little that you won’t hear it unless you really push the gear to its limits. After all, if your audio interface produces lots of unwanted noise before you input any signal, it’s not a very good audio interface. As a result, the lower the noise floor is, the better your recording will be.
But background noise is a noise floor too…
Though you can’t tame the noise floor of a given piece of gear, you can control background noise. Whether it’s sound bouncing off walls around you and into your microphone, loud neighbours, or cars rumbling outside, background noise is a pest we could all do without.
How to reduce background noise while recording vocals and instruments
You can’t “fix” noise once it’s recorded. Well, unless you understand how to use iZotope RX 9 then you have a shot. But this isn’t always the perfect solution. In any event, it’s super important that you eradicate background noise before you record anything.
Once your song reaches the mastering stage, you’ll turn all of your sounds up. This includes any unwanted background noise too! Therefore you want all of your recordings to be as clean as possible. If you have noisy neighbours or live on a noisy street, there are a few things you can do to minimise and maybe eliminate background noise.
Perform closer to the mic
Recording closer to your microphone will make you more prominent in your recording. As a result, you’ll find it far easier to separate yourself from any unwanted noise that your microphone may register.
However, you should be wary of plosives and sibilance. Plosives (P’s and B’s) and sibilance (S & T’s) will be even more prominent in your recording if you’re closer to your microphone. Invest in a pop filter if this is the case!
Pop filters break up and reduce the speed of air from your mouth before it reaches your microphone. In turn they reduce how prominence of popping plosives.
Acoustic panels & bass traps
Acoustic treatment is about minimising the amount of sound that’s randomly bouncing off of your walls. If you want the acoustics of your room to be totally nuanced, you’ll need a combination of bass traps, acoustic panels, and maybe diffusers.
You don’t need all three to get the job started. The use of just bass traps will improve the acoustics in your room! Foam panels absorb any mid to high frequencies, but (porous) bass traps can actually absorb low, mid and high frequencies. So if you’re looking at treating your room, bass traps should be your first line of defence.
Lay a rug over wooden flooring
Though a fully carpeted room absorbs higher frequencies, lower tones still run wild and lead to feedback. However, placing rugs in strategic places will enable you to experiment and get the acoustics just right for your specific room.
You can discover where rugs will be best placed by using the clap test. Simply clap while standing at every point in your room and take note of where reflections are most prominent.
Record with closed curtains
If you live on a street, you may have experienced rumbles in your recordings caused by cars driving outside…
Close your window and curtains. This may not be a solution, but it will attenuate the amount of noise reaching your microphone. An additional bonus is that sound waves won’t bounce off your curtains and back into your microphone!
Plug your equipment into the same outlet
A difference in the ground value across different plug sockets may lead to hardware generating noise when connected in the same signal chain. Get yourself an extension lead and make sure all power to your gear is coming from the same power outlet.
Check Your Cables
If you’re experiencing an annoying hum in your speakers, your cables may not be perfect. An easy fix may be to replace your cables if wiggling your existing cables doesn’t do the trick.
If wiggling your cables a bit doesn’t work, you may need new ones or a new audio interface!
Final thoughts
As you may have now figured, isolating your recording setup from environmental noise is a key part of getting the right recording.
Furthermore, ensuring your electrical gear isn’t causing en masse of sound problems via electrical hum is important too. If your studio monitors are outputting a little bit too much hum or potentially digital distortion, look at your power sources.
You may find that plugging your speakers into a different power output than the rest of your gear solves the problem. However, in my experience this isn’t always the case.