How to transfer playlists between Spotify and Apple Music on iPhone for free | A step-by-step SongShift guide
With SongShift, it’s free and easy to transfer playlists between music streaming services such as Spotify, Apple Music and more.
If you’re thinking of switching from one streaming platform to another, the process of transferring thousands of songs, albums and entire playlists may turn you off the idea. Streaming services notoriously make this process as difficult as possible so that you continue using and paying for their platform, however there are a few third-party apps that make the transition super easy. An app that synchronizes playlists between services is also a useful tool for label managers and promoters with curated playlists on multiple platforms: “Stream all of my music in this handy playlist, available on Spotify, Apple Music, etc.”
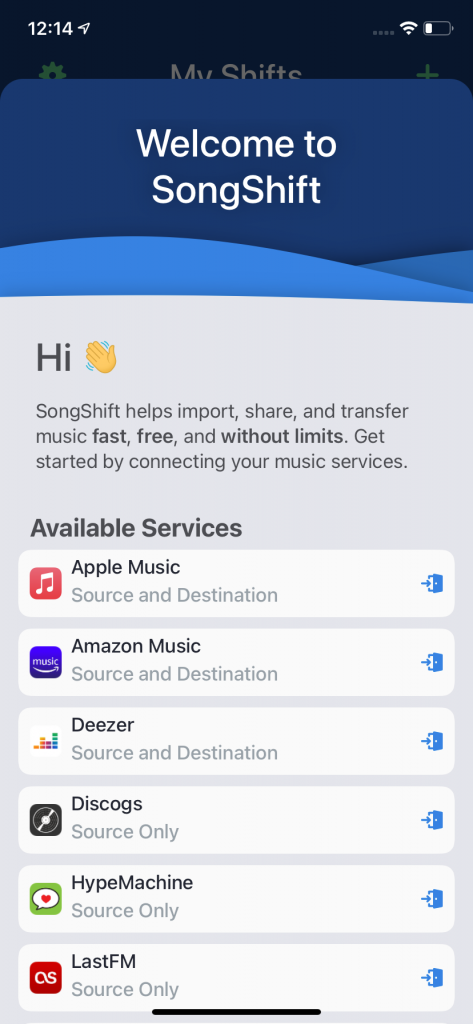
SongShift is a free app on iOS that enables transfers between services including: Spotify, Apple Music, Amazon Music, Deezer, Napster, Pandora, Qobuz, Spotify, TIDAL and YouTube. Plus Discogs, Hype Machine and LastFM can be used as a source only to take music from. SongShift allows users to transfer one playlist at a time between services. To transfer multiple playlists at once and get some additional features, upgrade to SongShift Pro for $4.99 per month.
For this demo, we’ll be transferring an existing Spotify playlist over to Apple Music, but the process is pretty similar across services. Perhaps you wanna give Apple Music spatial or lossless audio a go, without losing all of your carefully curated playlists.
Before we start, you’ll need Spotify, Apple Music (or whatever services you’re using) and SongShift. For Apple Music, you’ll need to ensure Sync Library is turned on in the Settings. Head to Settings on iOS, scroll to Music, then switch on Sync Library.
1. Open SongShift, then tap Apple Music to begin linking services.
2. Tap Continue.
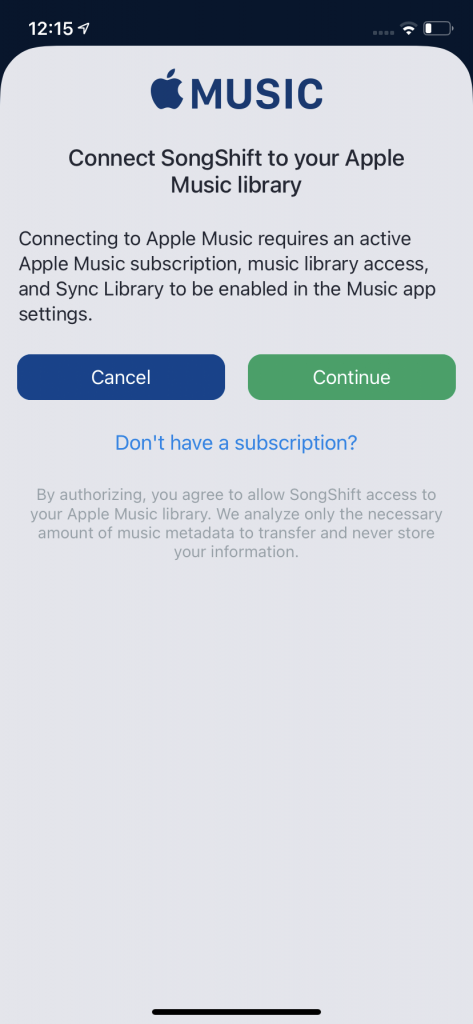
3. Connect both libraries and grant SongShift any necessary access.

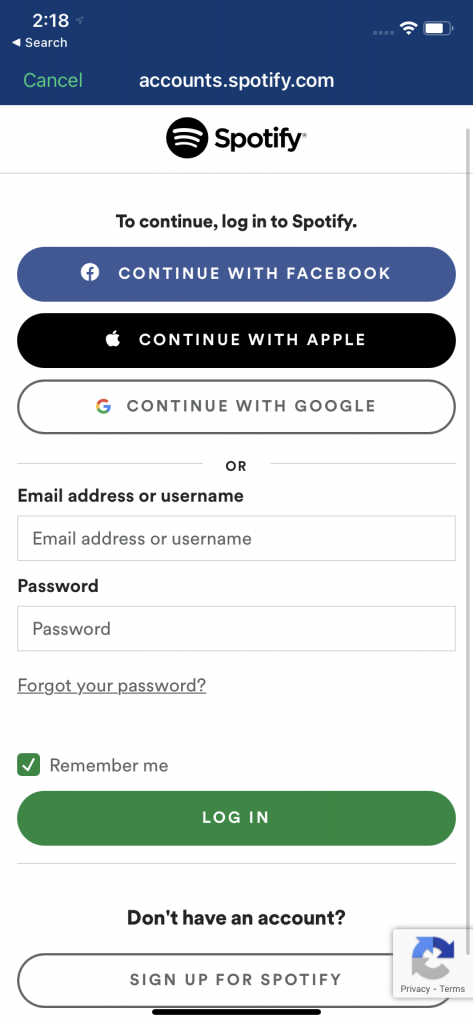
4. Tap Spotify, login and agree to share your library details with SongShift.
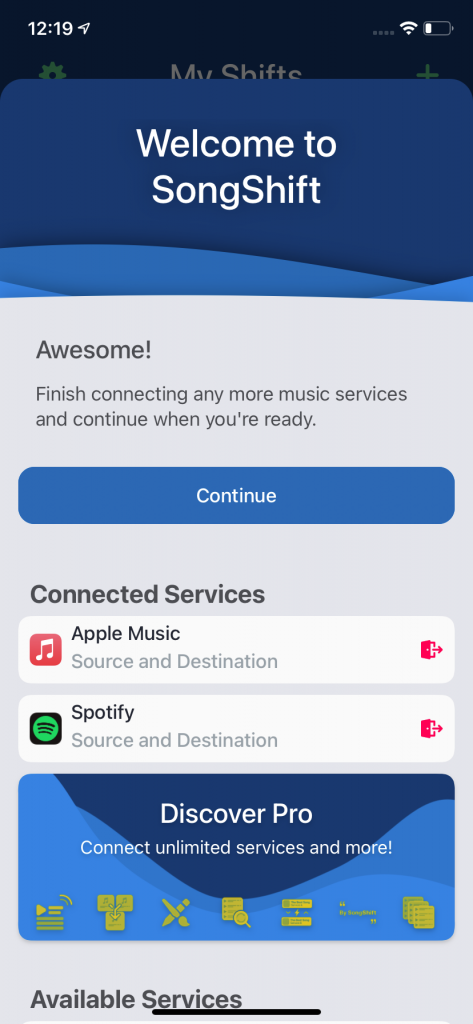
5. Once you’ve connected all of the required services, tap Continue.
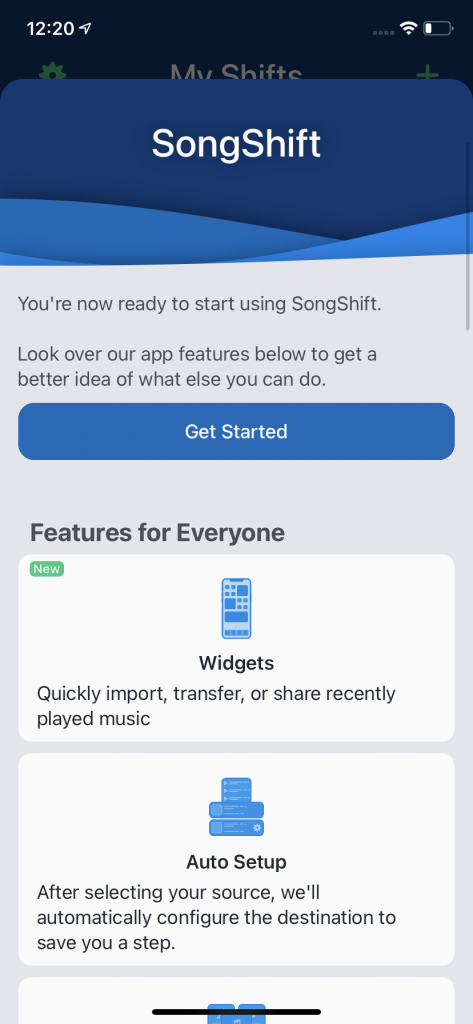
6. Tap Get Started.
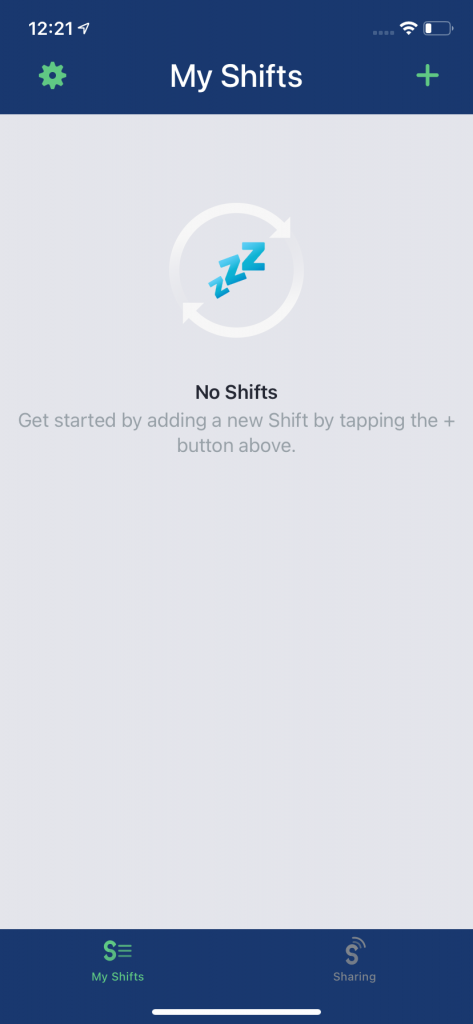
7. Tap the + icon in the upper right corner.
8. Dismiss the tutorial, that’s what this article is for.
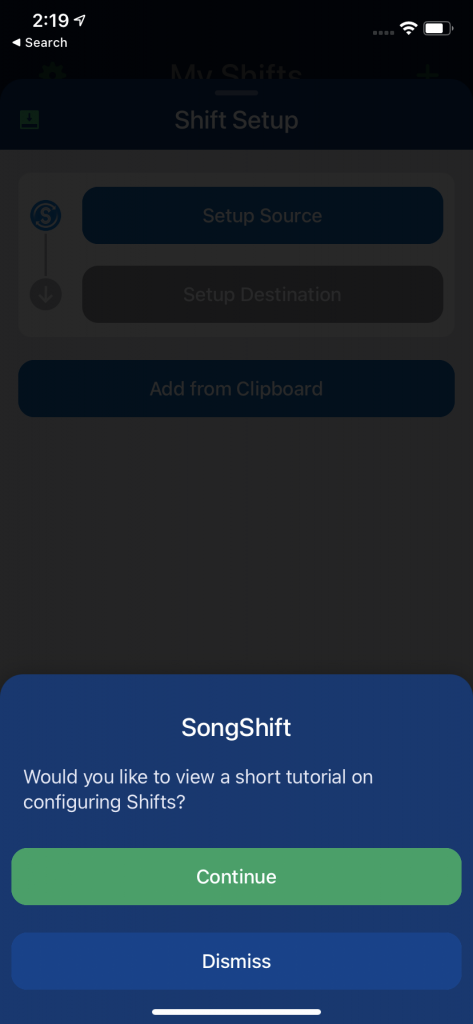
9. Tap Setup Source.

10. As we’ll be transferring FROM Spotify, this will be our source, then tap Continue.
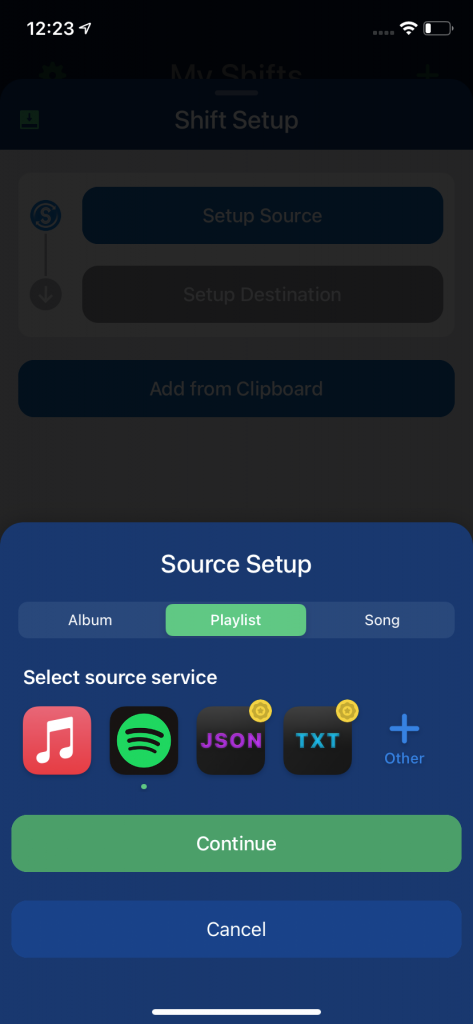
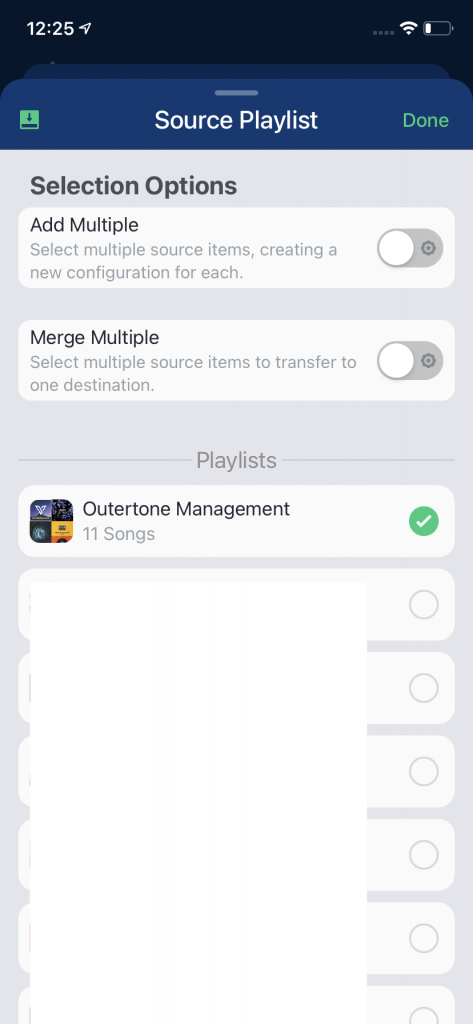
11. Choose the playlist you want to transfer. SongShift Pro members will be able to choose multiple playlists here. Tap Done.
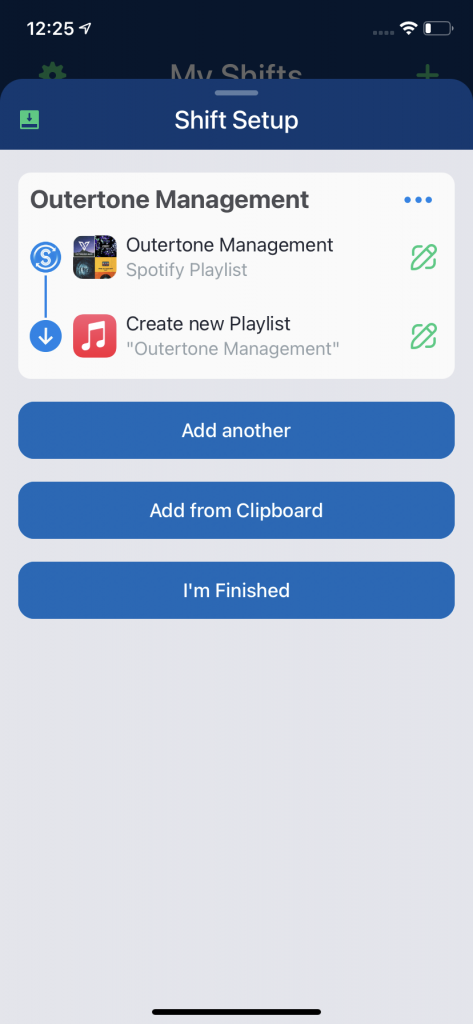
12. SongShift will automatically add your other connected service as the Destination. Tap the pencil icon to switch services. Tap I’m Finished.
13. The playlist will then start processing. Once finished, the playlist will display Ready for Review. Tap the playlist.

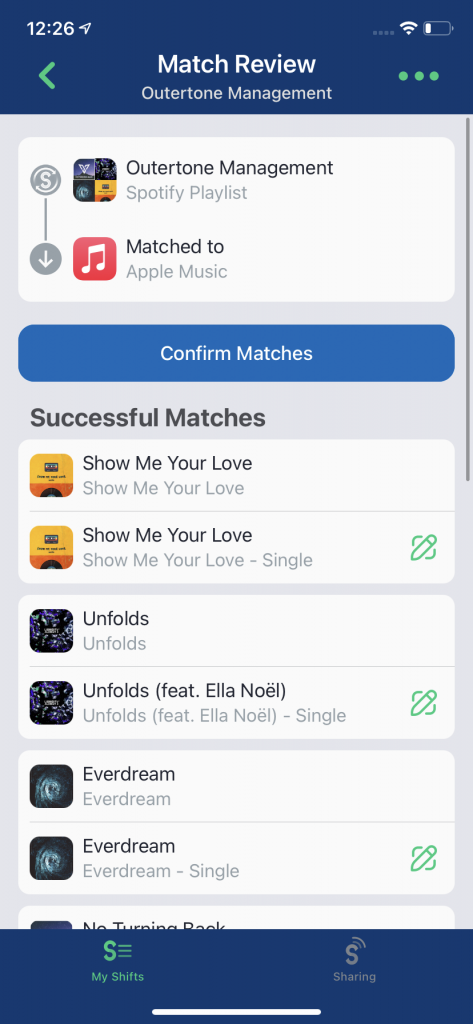
14. Here you can check all of the matches and fix any mistakes. Tap Confirm Matches if all looks good.
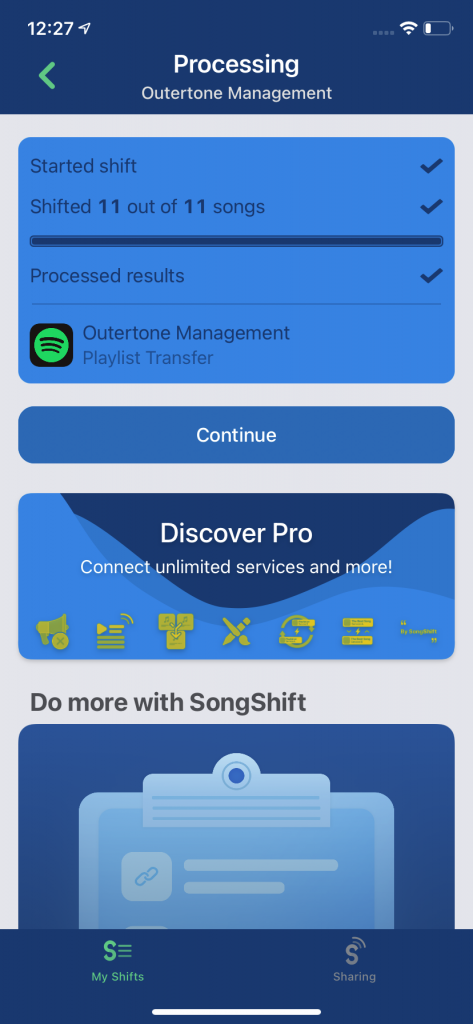
15. The app will then take a few moments to shift your music. Then tap Continue.
That’s it! Check Apple Music to make sure everything looks good. If you’re transferring multiple playlists and don’t want to upgrade, repeat the process from step 7 to add additional playlists. If you add more tracks to the original playlist, you can come back to SongShift to scan the latest tracks to add new songs to the new playlist.