
Ultimate guide to recording drums like a pro at home – essential techniques for drum recording
Achieving professional drum recordings at home may seem out of reach, but it’s entirely possible with the right approach, tools and techniques.
If you think recording drums at home is only for those with high-end equipment and a perfectly treated room, think again.
Of course, recording drums at home can be incredibly frustrating – especially when you’re just starting and struggling to get that punchy, perfect sound. It’s easy to feel overwhelmed by all the technical details, but don’t worry – you’re not alone!
With the right approach, you can capture powerful, studio-quality drum tracks from the comfort of your own home.
In this ultimate guide to drum recording, we’ll break down the essential techniques you need to know to record drums like a pro, transforming your home studio into a space where your kit truly shines. We’ll help you understand the nuances of room acoustics, phase, tuning and, of course, mic placement.
Preparation: space & tuning
The most important stage when recording any instrument or sound is to ensure it sounds good at the source. If your kit doesn’t have a good sound before you press record then, well… you can guess the rest.
Recording is all about decisions and those you make at this early stage regarding your recording space and drum tuning will have stark consequences on your final recording.
However, remember that it’s trial and error. It’s okay to make mistakes and nobody gets it right the first time.
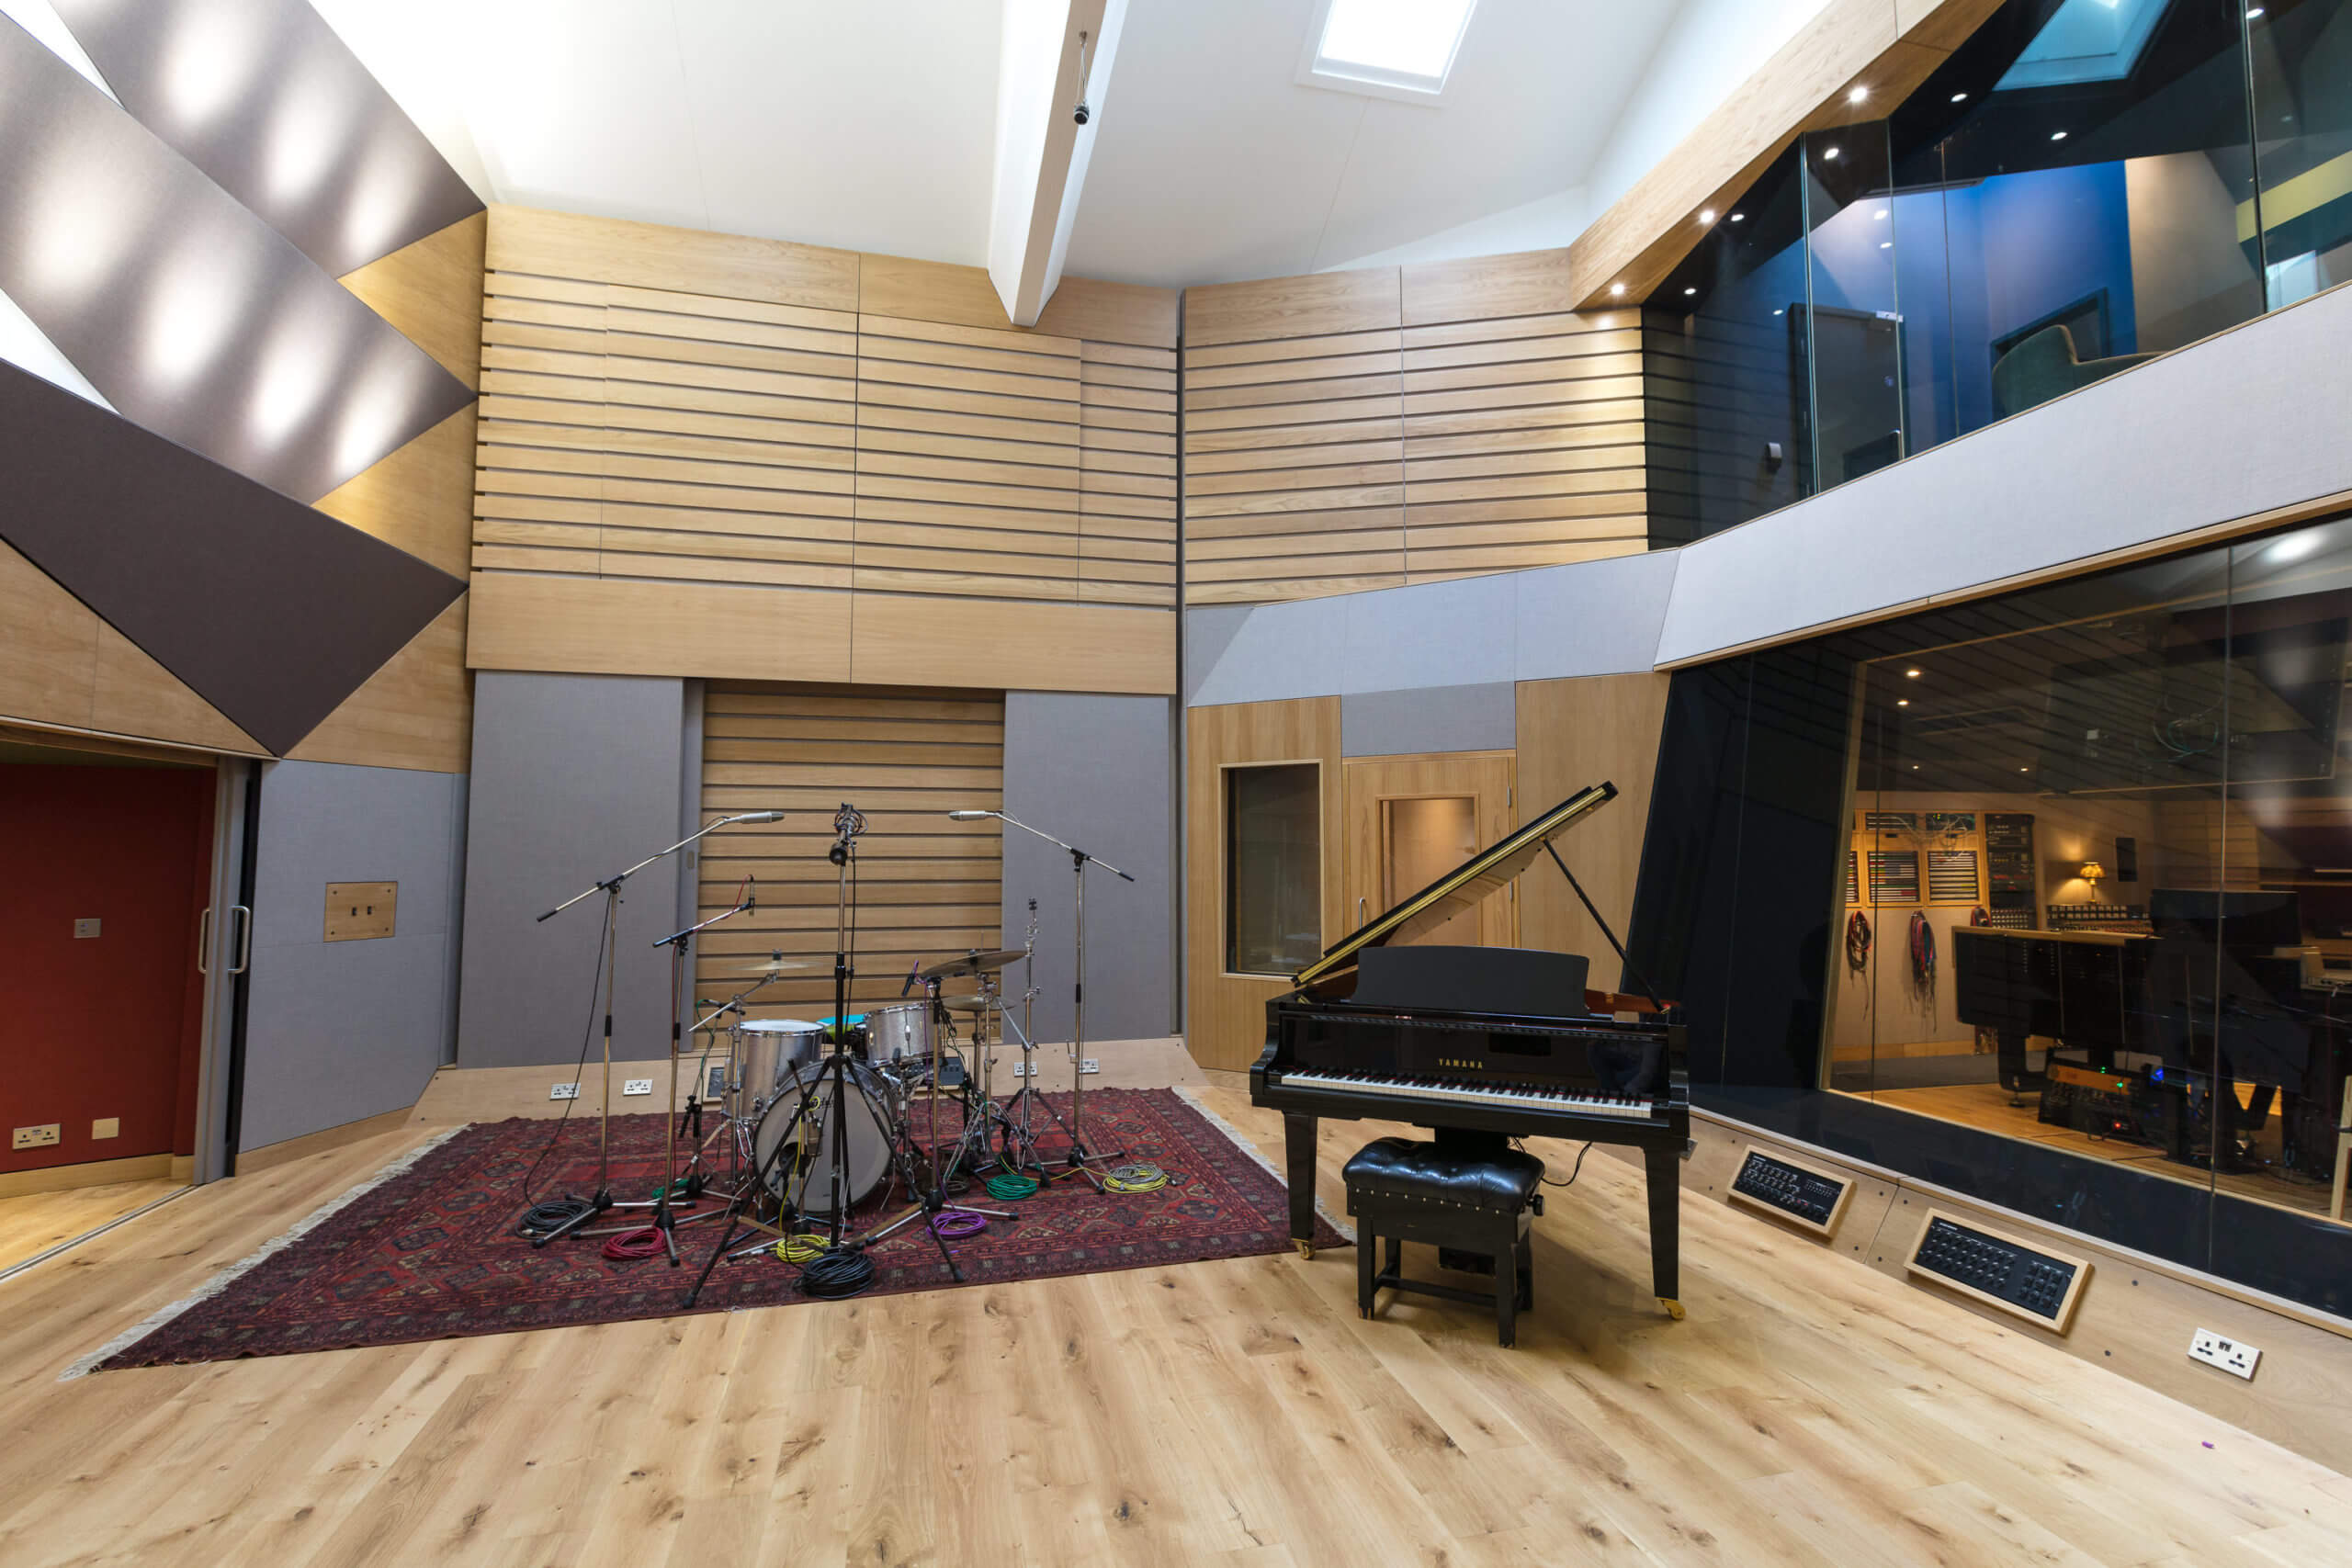
The recording space
Firstly, you need to think about where you are recording. All spaces sound different and some are primed for recording more than others.
For instance, big rooms like large living rooms and garages are excellent recording spaces… sometimes. Having at least some acoustic treatment is always a good idea, else problems can arise with room reverb.
The bigger the room, the more reverb – so it’s a good idea to have some treatment. Rugs, carpets, curtains, and soft furnishings are good sound absorbers so recording in a furnished space rather than an empty garage is a good idea.
In contrast, too small a room won’t give the kit enough space to breathe. For example, cymbals and hats should ring out. If you’re recording in a small room then the chances are that reflections from nearby walls will corrupt your recordings – the boundary effect.
Therefore, medium-sized rooms are typically a better choice – at least in a home recording environment with no treatment.
That’s because there’s enough room for the sound to breathe and not too little space for reflected sound to register in the microphones.
Of course, reverb is often desirable in a drum recording. Abbey Road studios have dedicated recording spaces to leverage this, but remember that once you’ve recorded that reverb you can’t remove it.
Furthermore, you’ll want to avoid recording in a room with parallel walls. Square rooms with no treatment are not ideal recording spaces because of a little thing called flutter echo. Check out this video to learn more about those pesky things and be sure to do the clap test
Ultimately, chances are recorded reverb, flutter echo and even standing waves will muddy your recording up unless you’re recording in a tailored space at Abbey Road – especially when you add effects & further processing later.
Be sure to experiment with your kit placement and move the kit around your recording space to find the best spot. Check out the video below to discover how to treat your recording space on a budget!
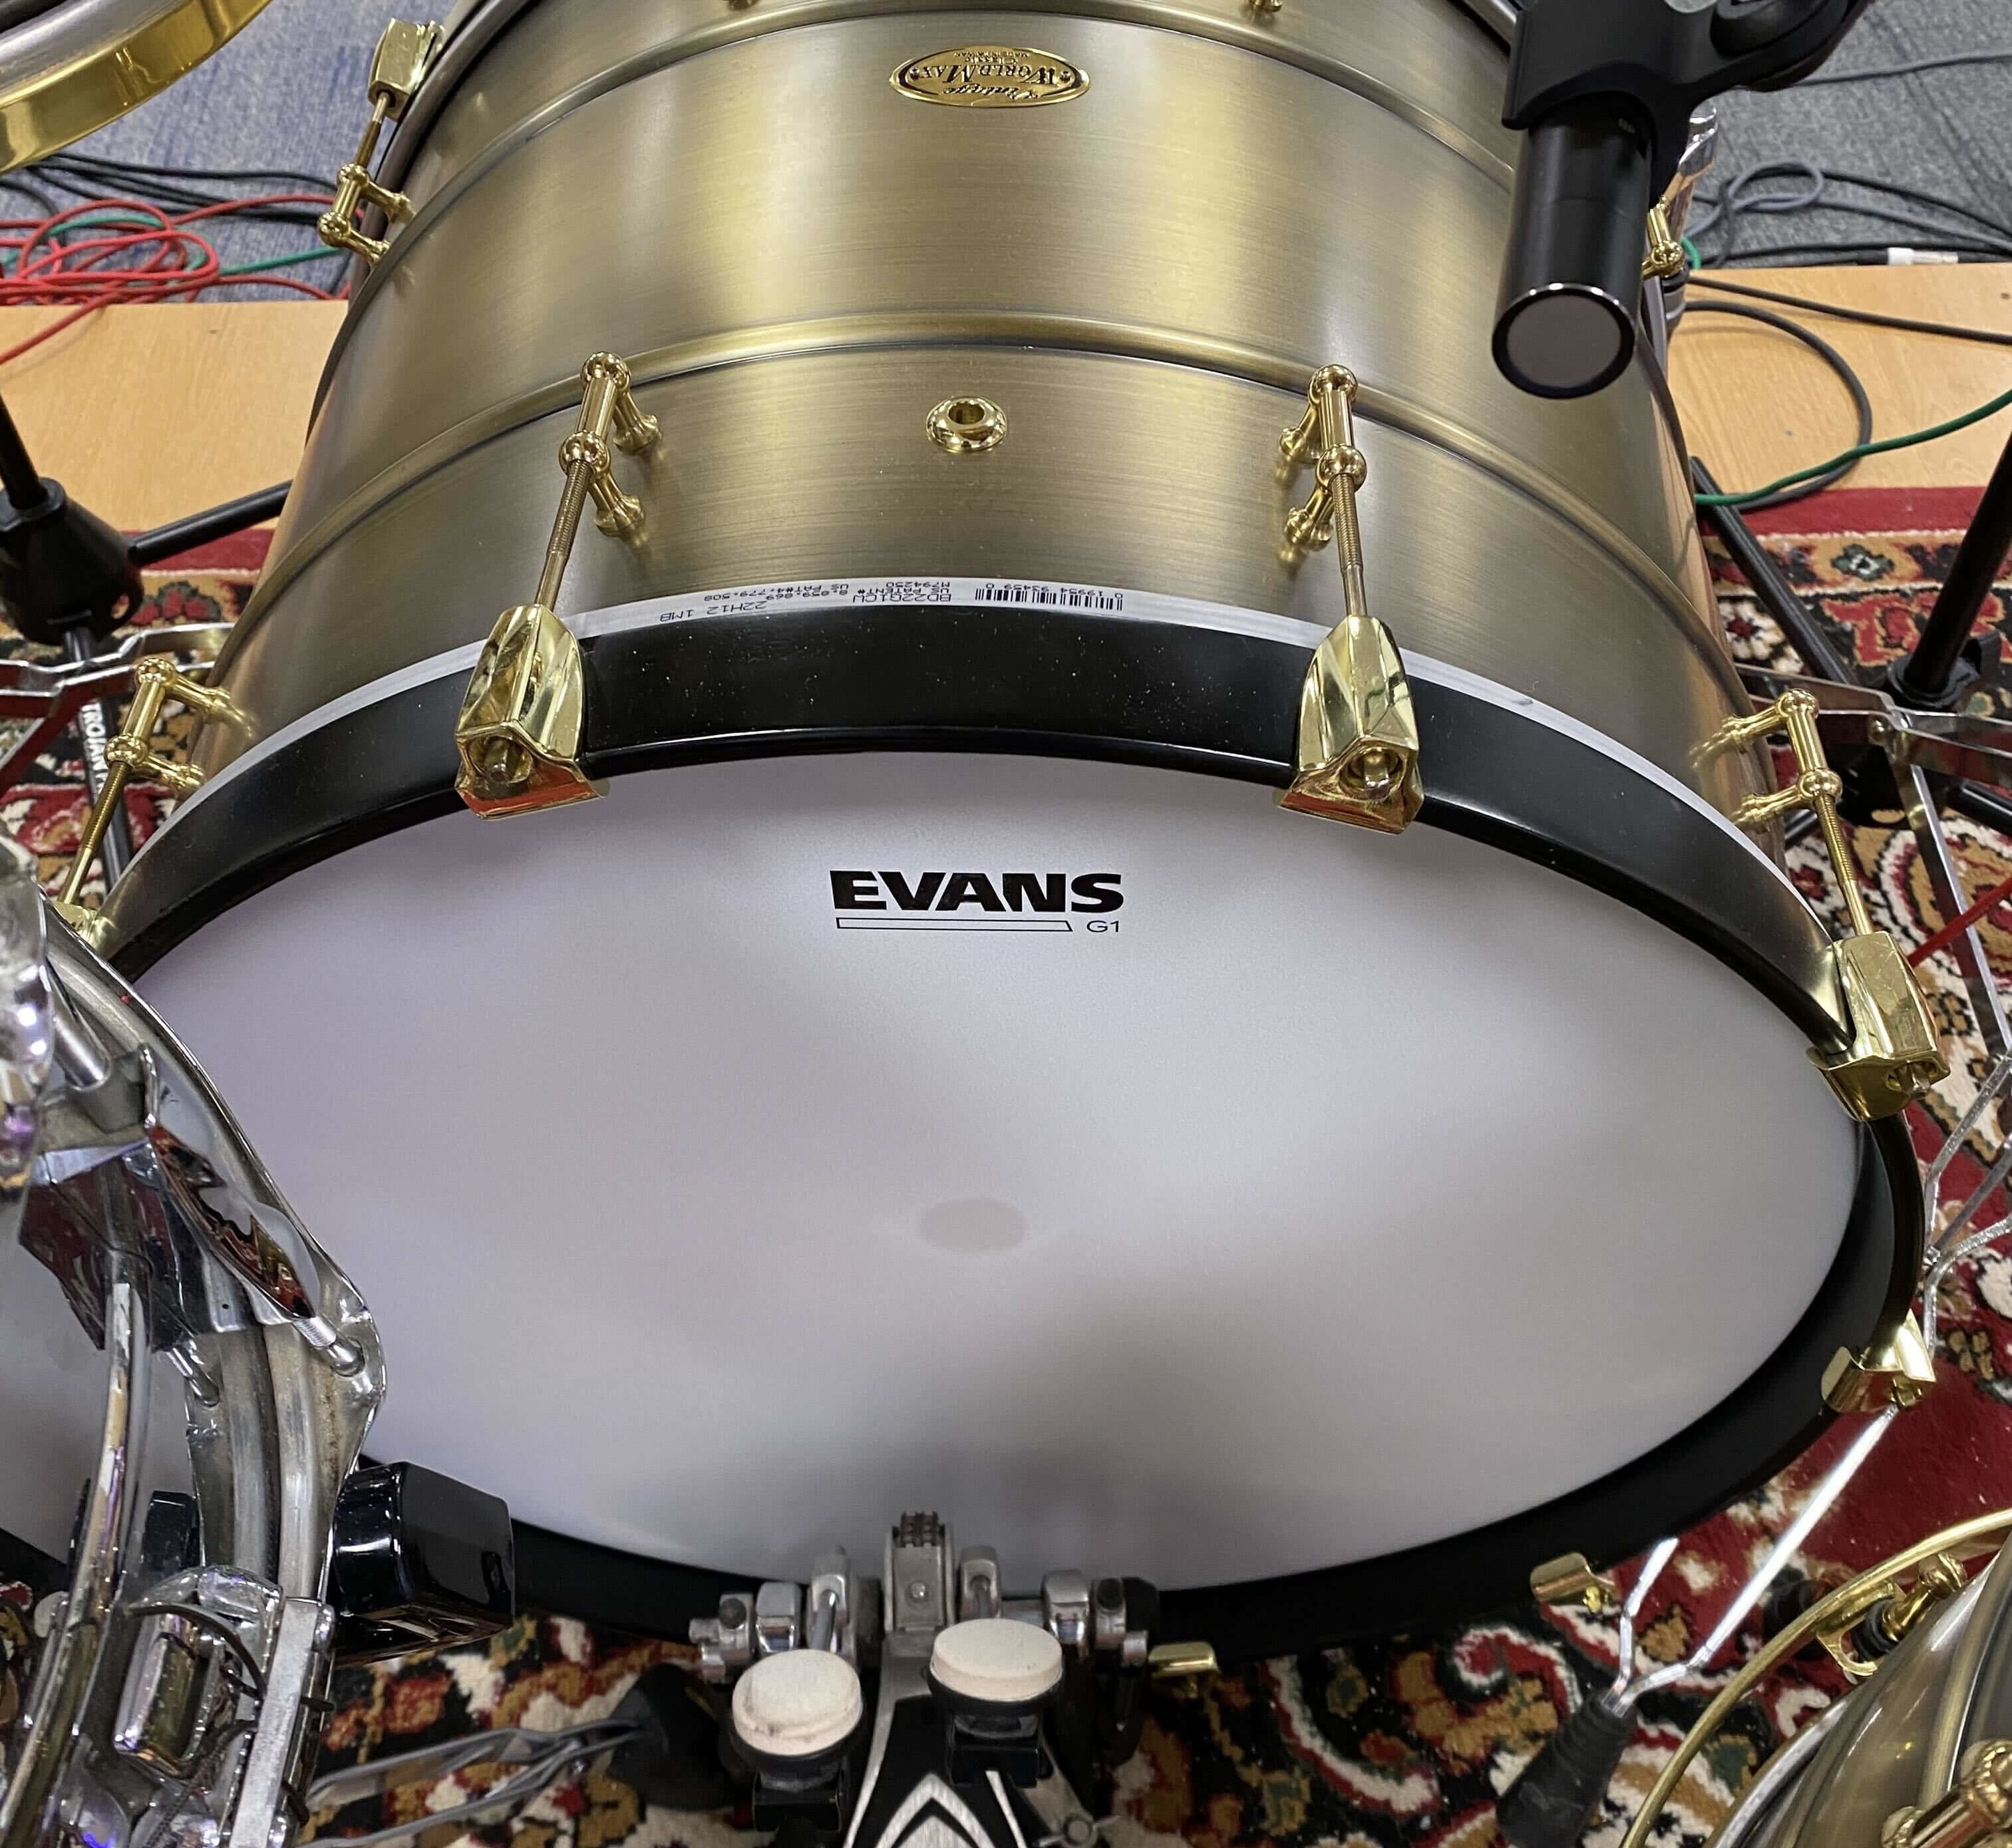
Drum tuning
Time spent on tuning your drum kit is never wasted time.
As I mentioned, getting the sound right at the source is very important. A kit that sounds bad acoustically will sound bad in your recording, period.
Grab a drumstick and tap around the tuning pins on the batter and resonant heads. The drum is in tune if your taps sound consistent around the circumference of the batter head.
Check out this video if you’re unsure how to tune drums.
It’s also important to consider genre & playing style while tuning. For example, a snare drum tuned up will sound snappier – perfect for pop, jazz and hip-hop. However, a snare drum tuned down will sound baggy which is desirable for rock and metal.
No matter the genre, a kick drum should have a strong thud with a satisfying punch. Boomy overtones are often caused by tuning pegs being slightly out with one another so make doubly sure your kick drum is in tune on the resonant head as well as the batter head.
Furthermore, you can tune snare drums up or down based on your playing style & genre. Tighter batter heads and snare wires with more tension offer a sharp crack while a looser top skin offers a tonal sound with more body as opposed to a sharp transient sound only.
Finally, tom drums need to represent a logical tonal shift between themselves and the kick drum. Be wary of boominess and unwanted ring as you tighten or loosen each tuning peg.
How to record a drum kit with 1, 2, 3, 4, 5+ microphones
Let’s dig into the meat & potatoes and investigate how you can record a full drum kit with various microphone configurations.
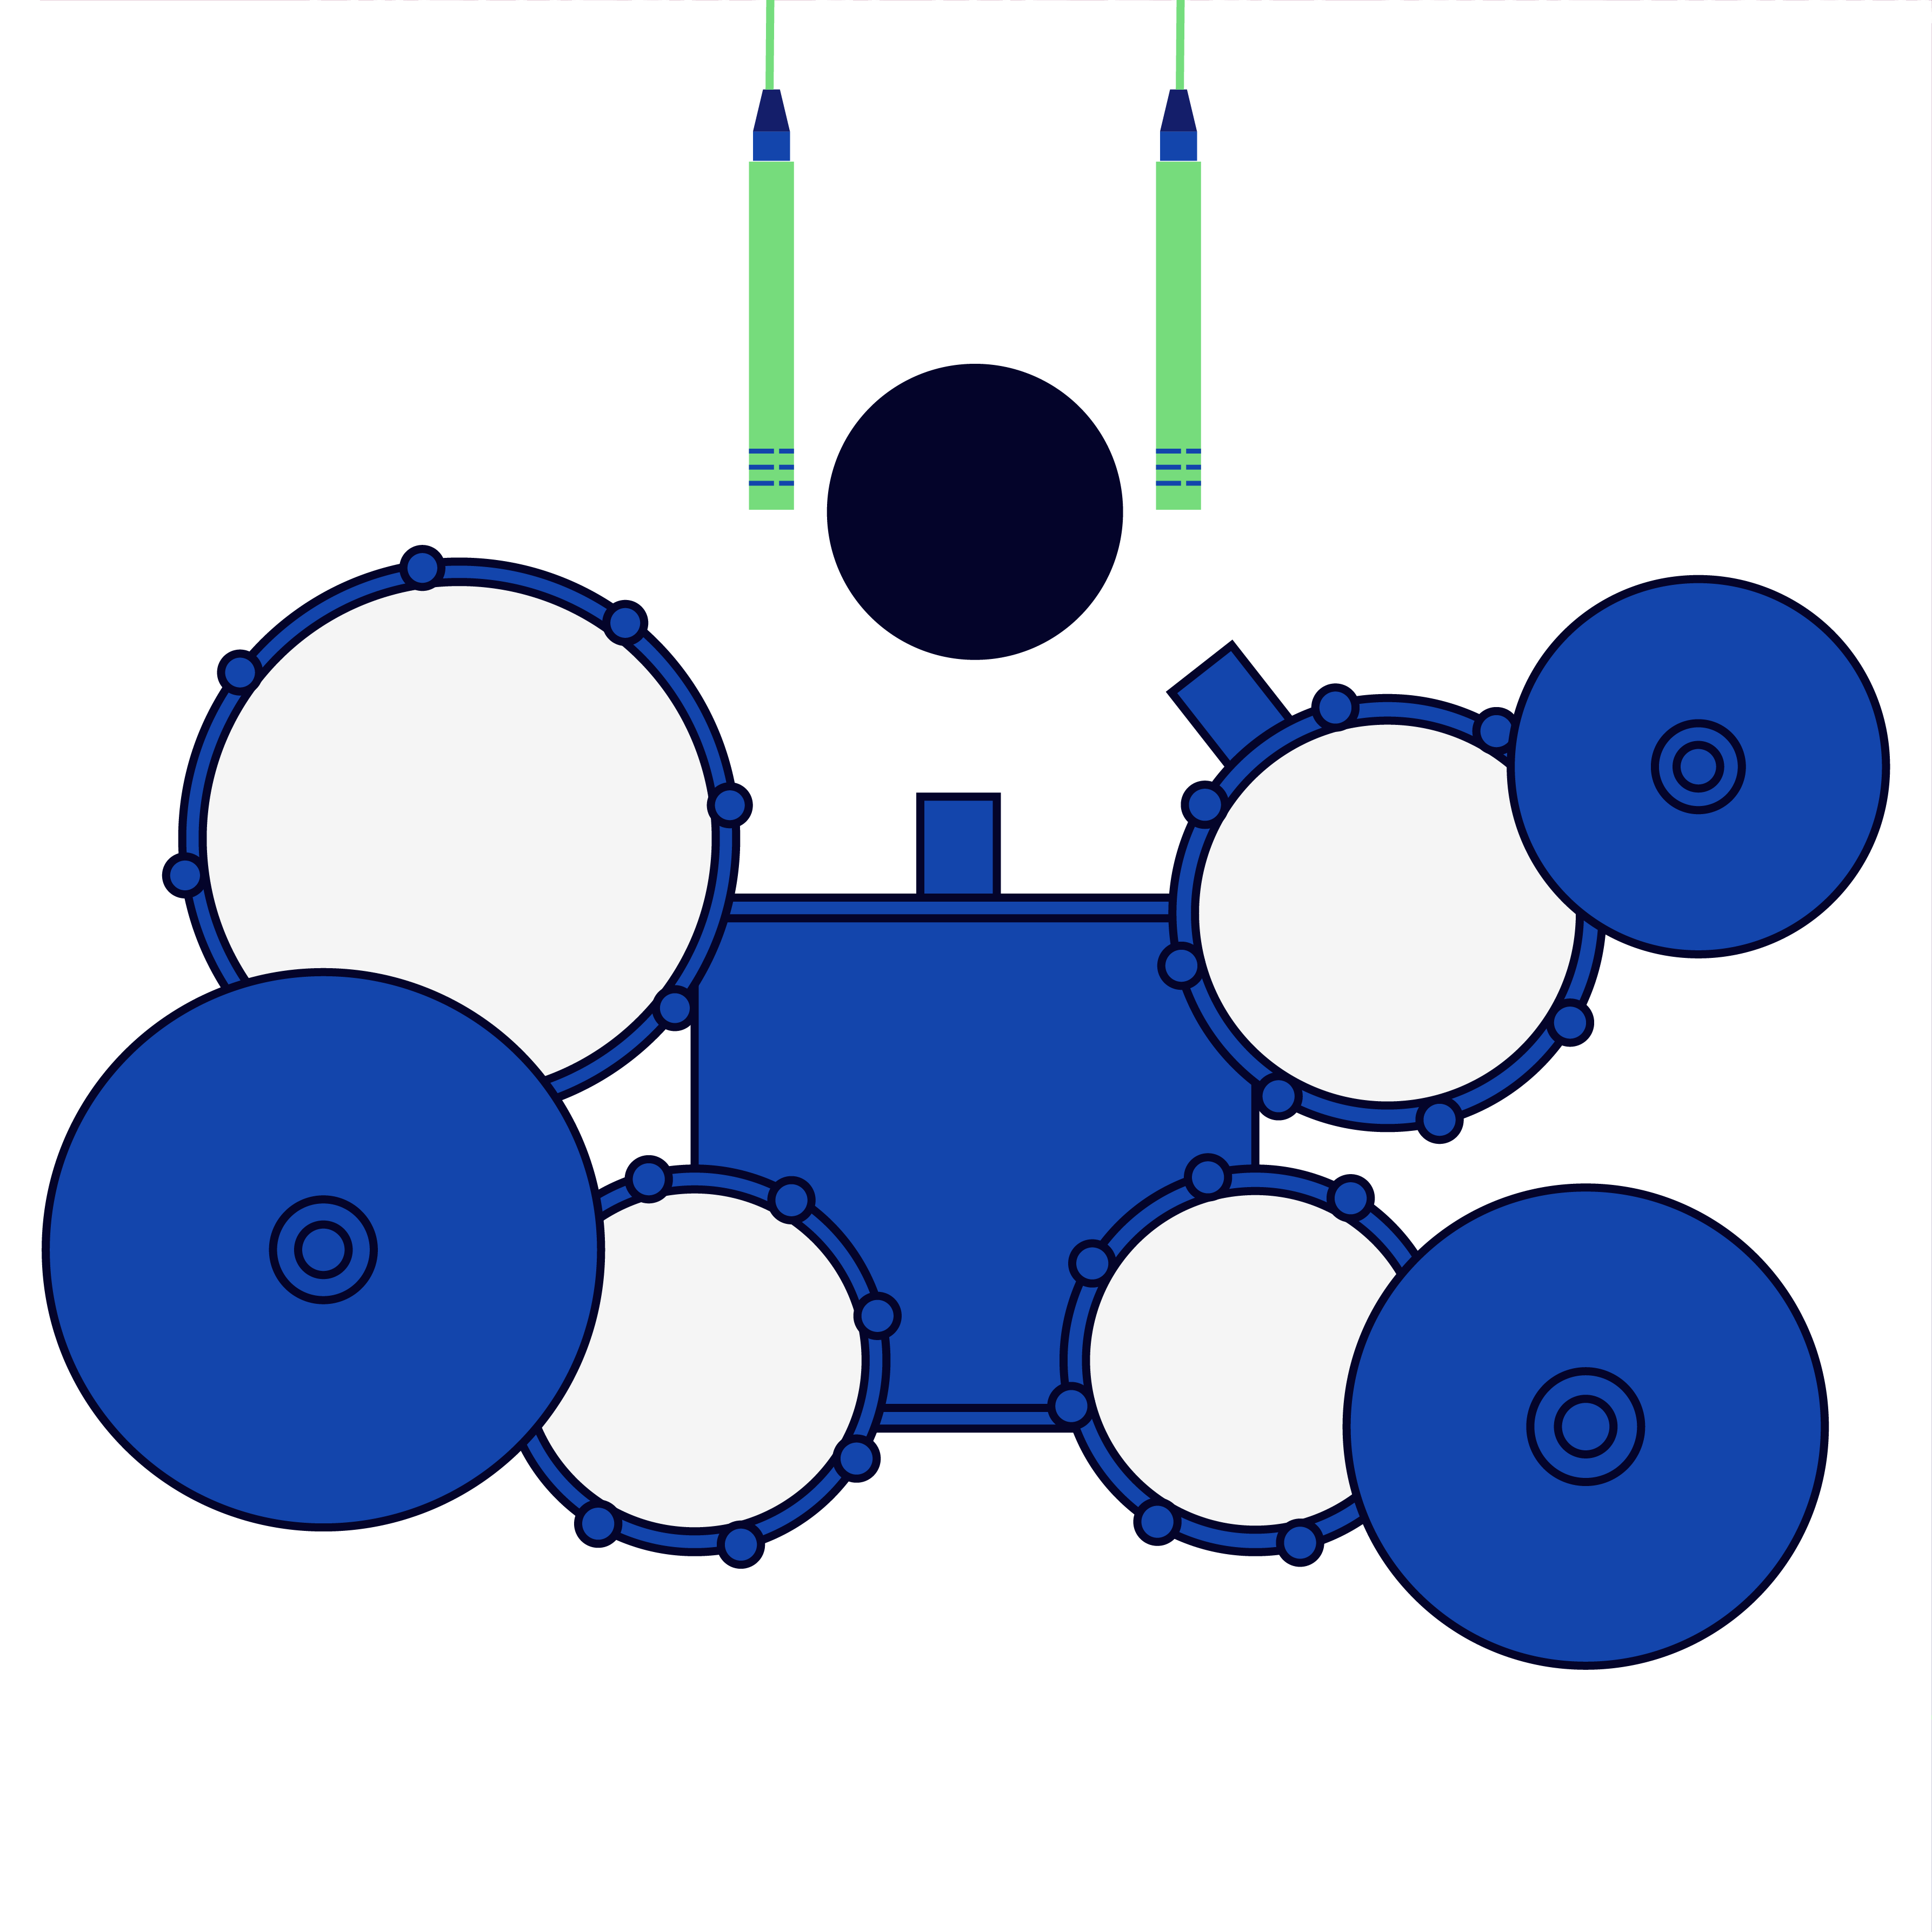
One Microphone
You read that right! It’s entirely possible to record a full drum kit with just one microphone.
Recording a drum kit with a single microphone requires an omnidirectional, large-diaphragm condenser microphone that captures sound on a 360-degree axis.
The goal is to capture a balanced sonic image of the kit, so placement is key.
Place your microphone in the centre of the kit, positioned above the kick beater and at an equal distance from each drum head.
Make sure it’s sitting between the snare, rack and floor toms. Furthermore, ensure your cymbals and hi-hat are at a similar distance from the mic to one another. Note that cymbals – particularly crash cymbals – are a very intrusive instrument and will ruin your recording if they’re too close.
Note: this technique only works with smaller drum kits. If you’re recording more than 2 or 3 tom drums & multiple cymbals the chances are your recording will be unbalanced. You need more microphones!
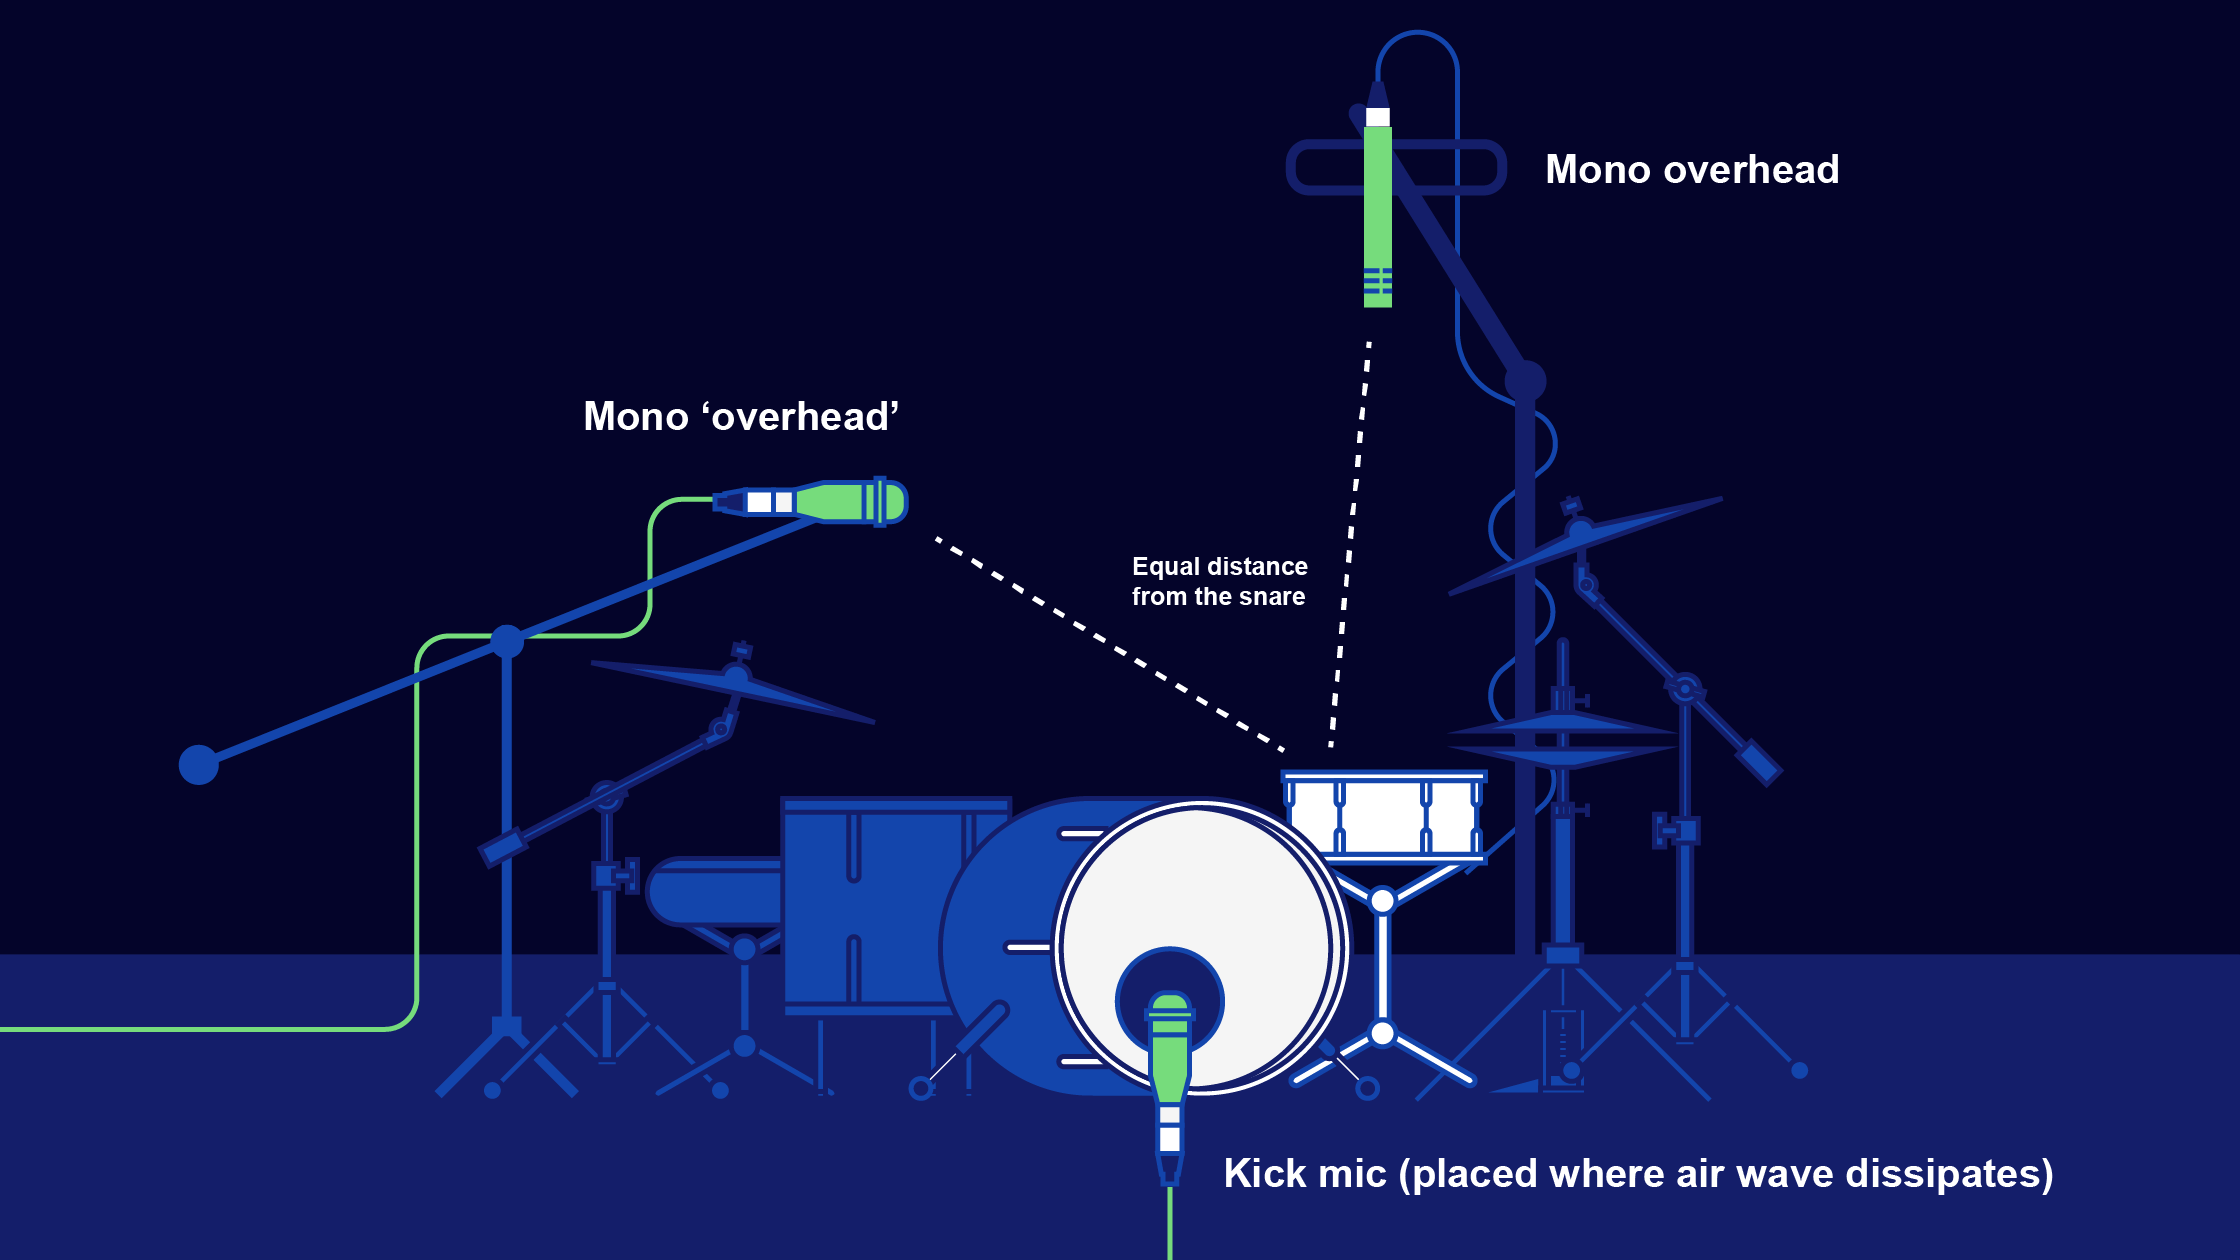
Two Microphones
Start by using a large-diaphragm cardioid condenser microphone and position it above the kit, centred over the kick drum beater facing downward to capture the full kit’s sound.
Alternatively, you could keep an omnidirectional microphone in place as you would have whilst recording with one microphone.
Next, use a dynamic kick drum microphone and place it outside the resonant kick drum head. If your kick drum has a circular port hole, you could position the microphone facing the hole or inside it.
This setup provides a punchy kick drum sound thanks to the dedicated kick microphone and a robust overall sound from the rest of the kit.
Remember that mic positioning is important. Consequently, the kick drum recording will sound different if it is portioned to the side of the drum or in the centre so experiment with what you like best!
Three to Four Microphones & the Glyn Johns Method
Glynn Johns, the producer behind bands like Led Zeppelin & The Rolling Stones, developed a variation on the 3 microphone method in 1969.
This method, which has grown in popularity ever since, uses a mono overhead facing down roughly toward the snare drum, a second microphone side-facing approximately at a 90-degree angle from the overhead and a dedicated kick drum microphone.
Remember to make sure your two mono microphones are an equal distance from the kit. You could use either condenser or dynamic cardioid microphones for these mono placements, but it’s best to use two of the same.
The Glyn Johns method is great for achieving a punchy drum sound with limited microphones.
Four microphones and drum overheads
However, you could also use two overheads placed in a coincident, spaced stereo pair or in a binaural setup.
Binaural 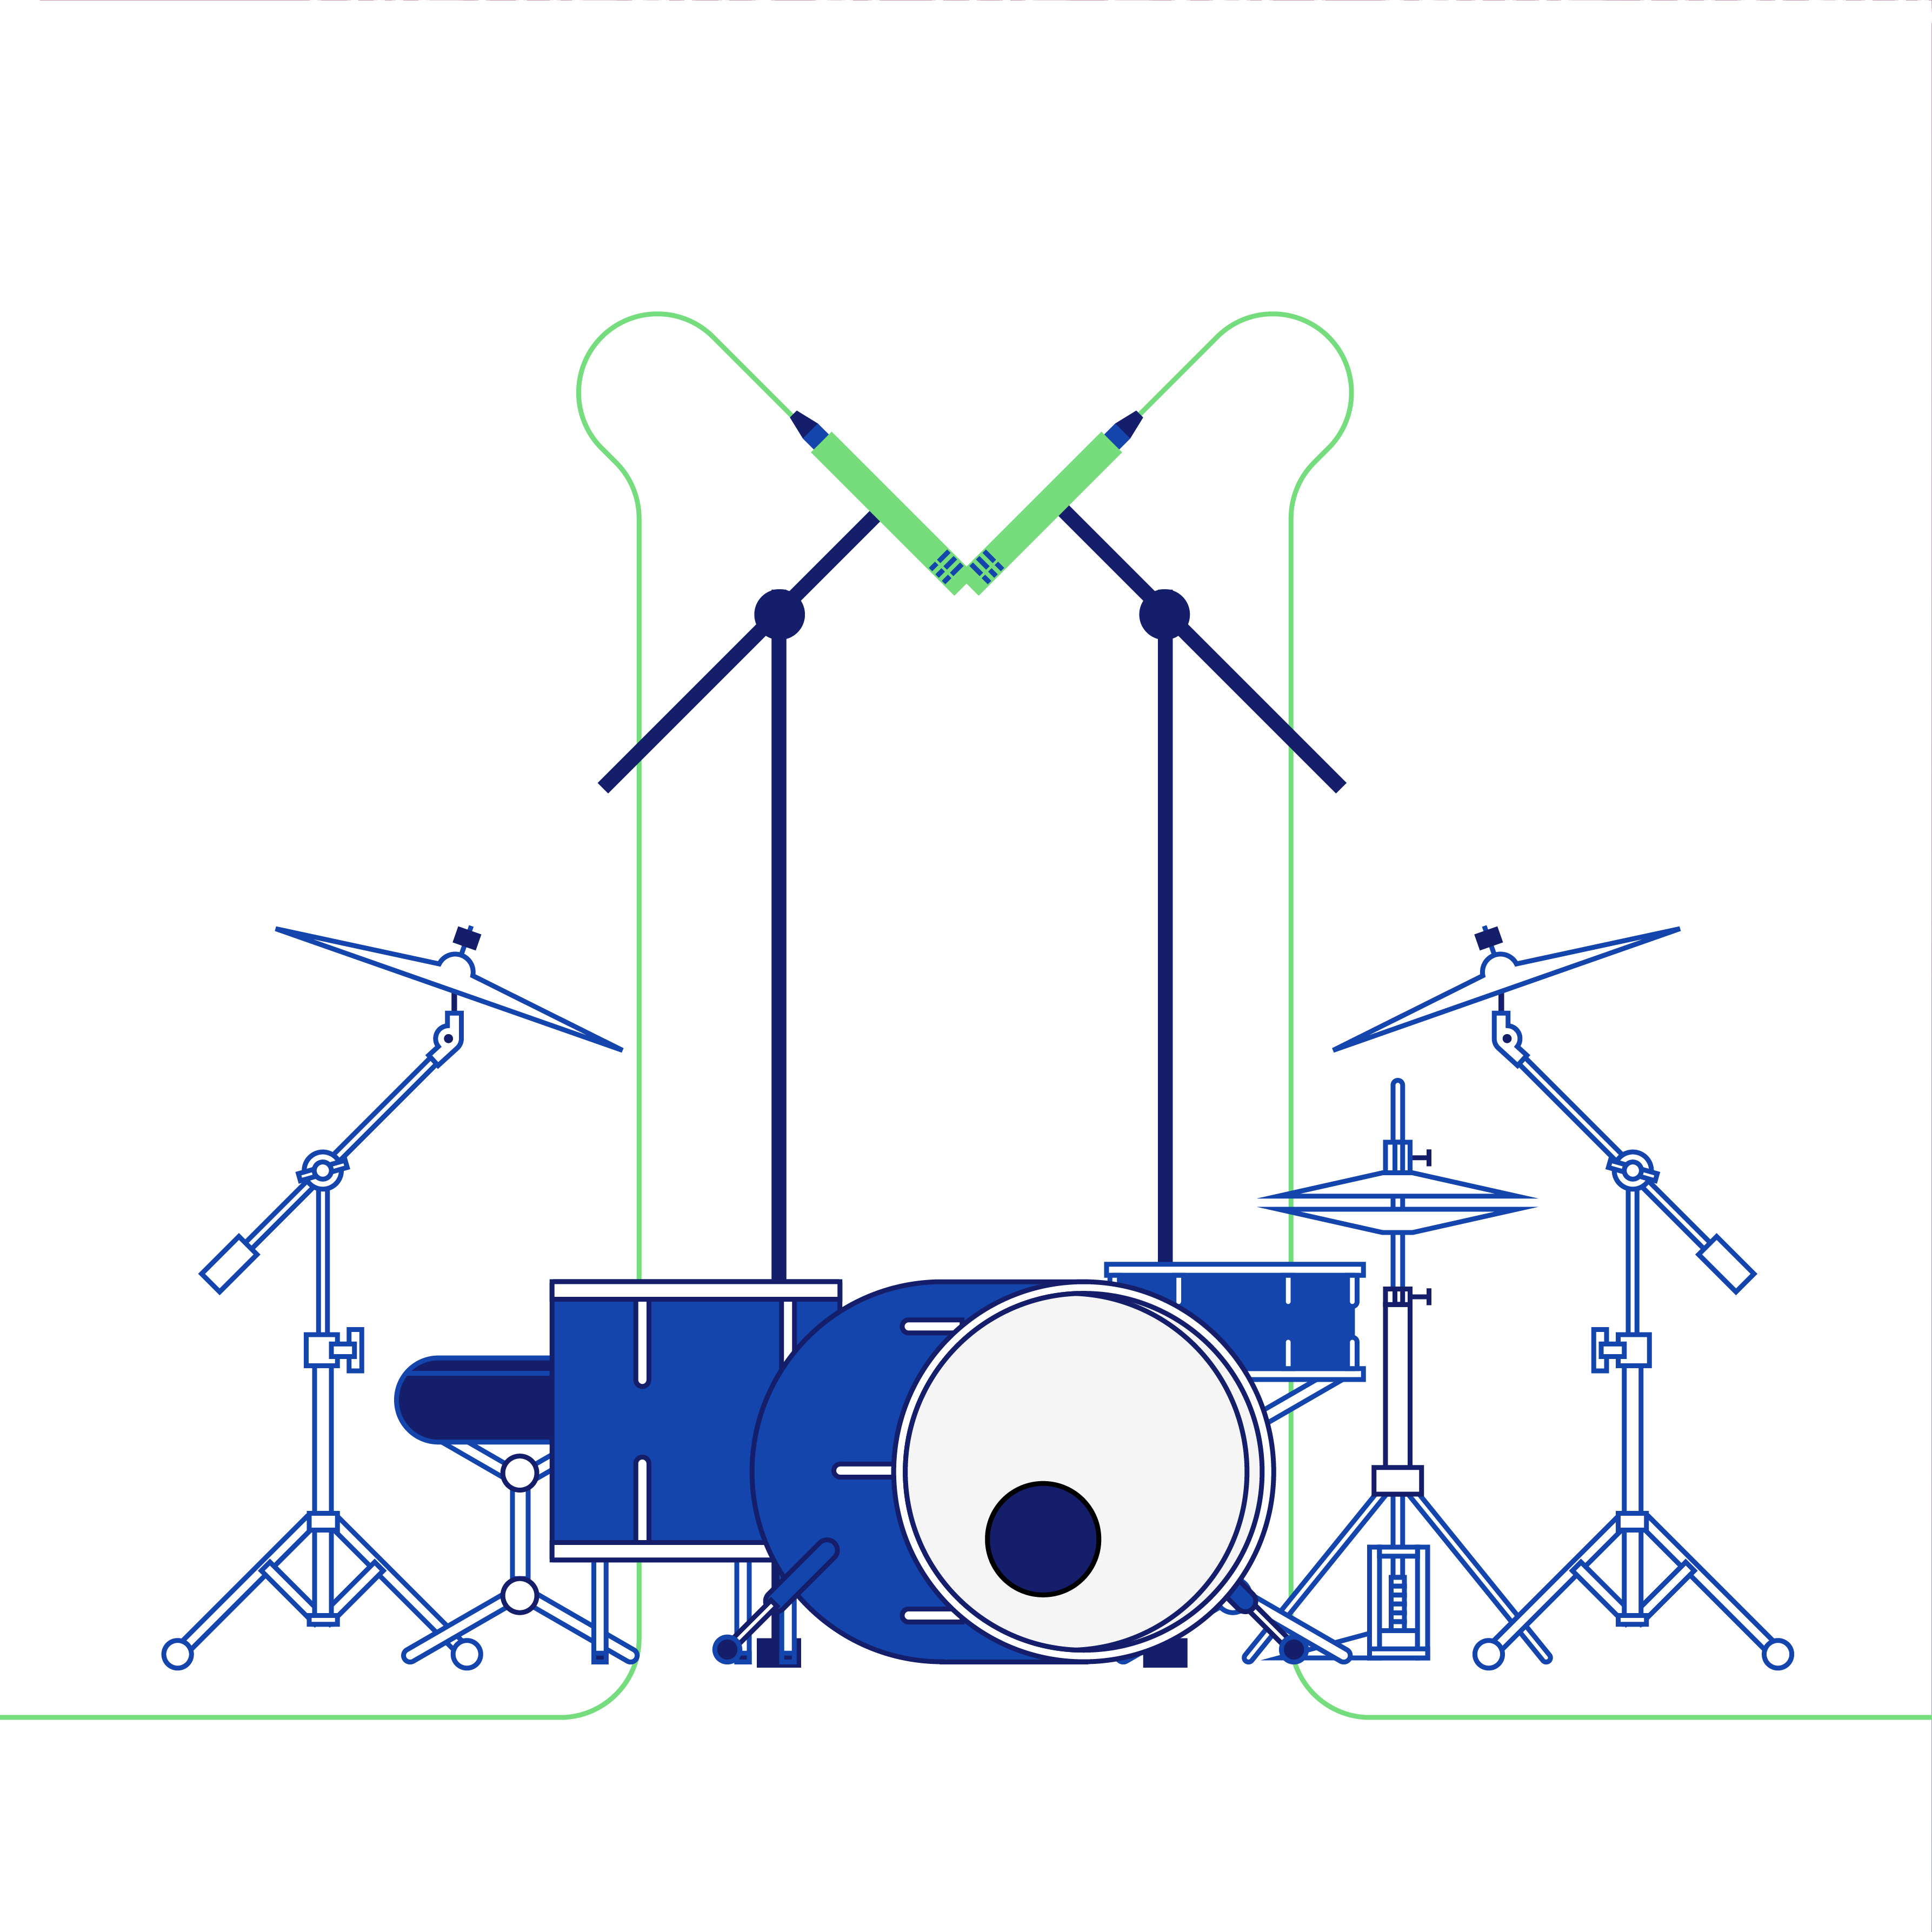
Coincident 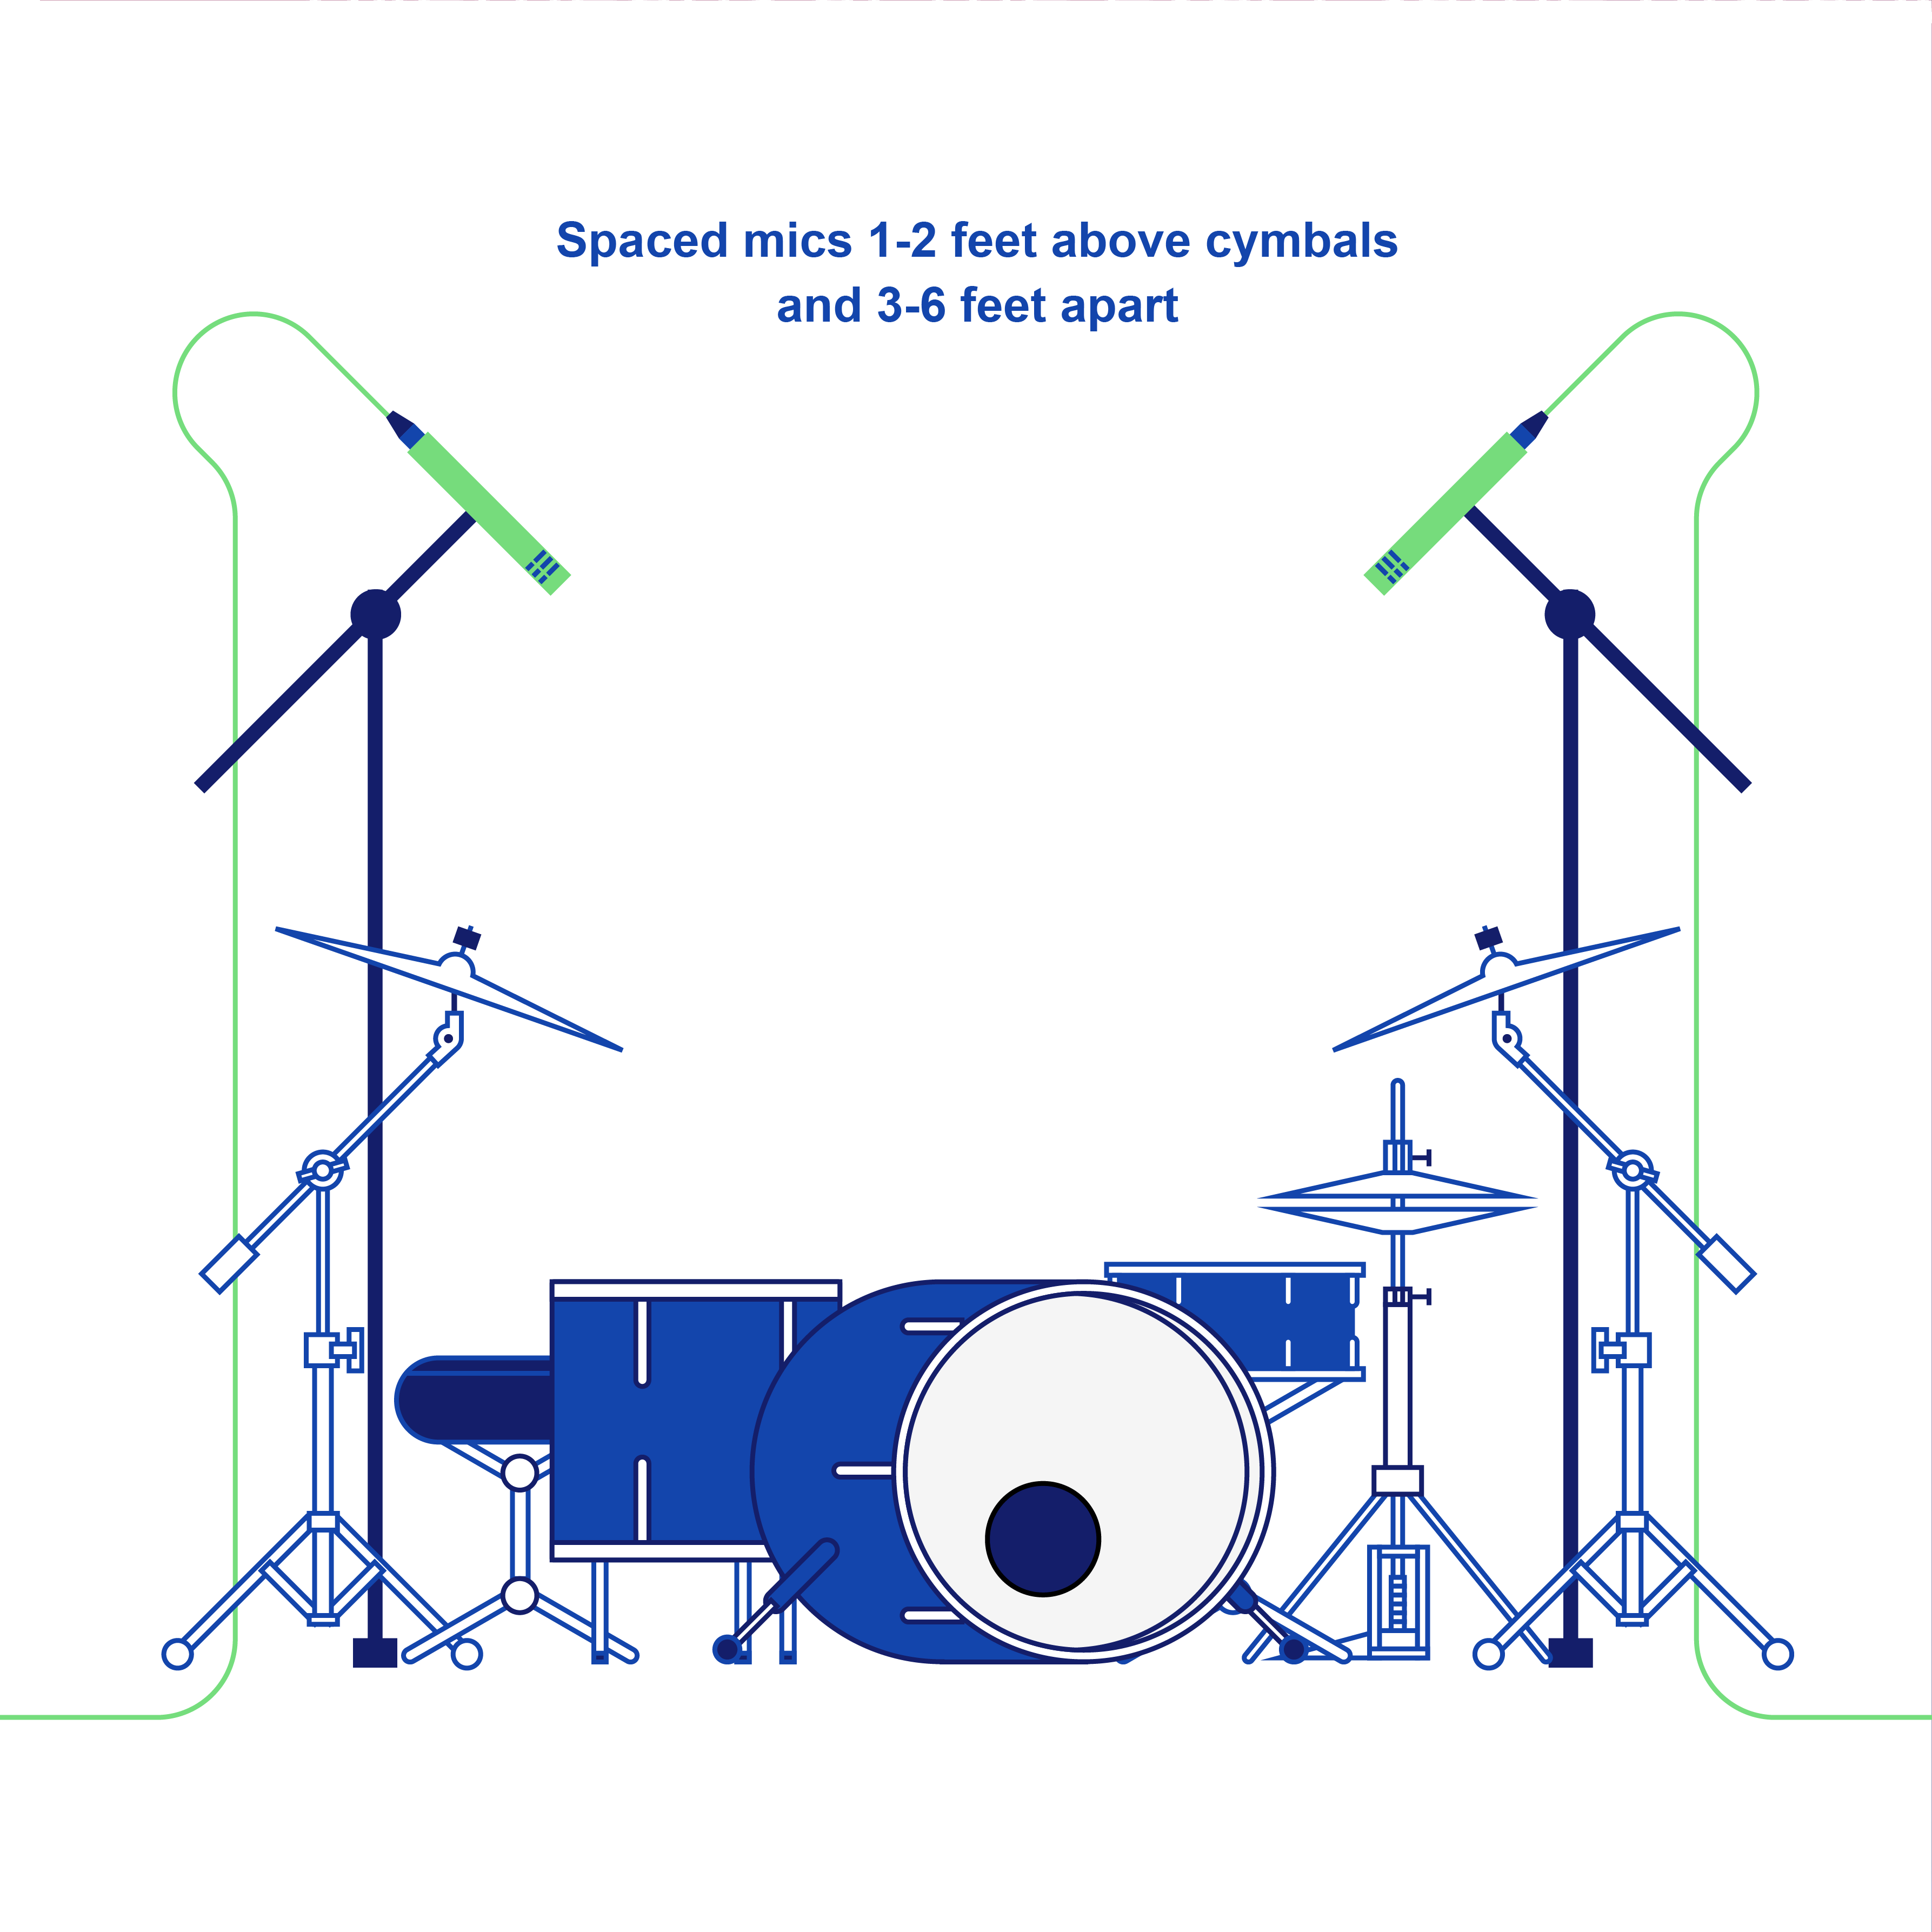
Spaced pair
No matter what overhead method you use – make sure both microphones are an equal distance from an arbitrary point on the ki to eliminate phase issues!
Additionally, you’ll want a dedicated snare drum microphone if you’re to use any of these overhead methods. You can also use a snare mic with the Glyn Johns method if you like, but it’s not entirely necessary. It’s about personal taste so experiment and find out what you like!
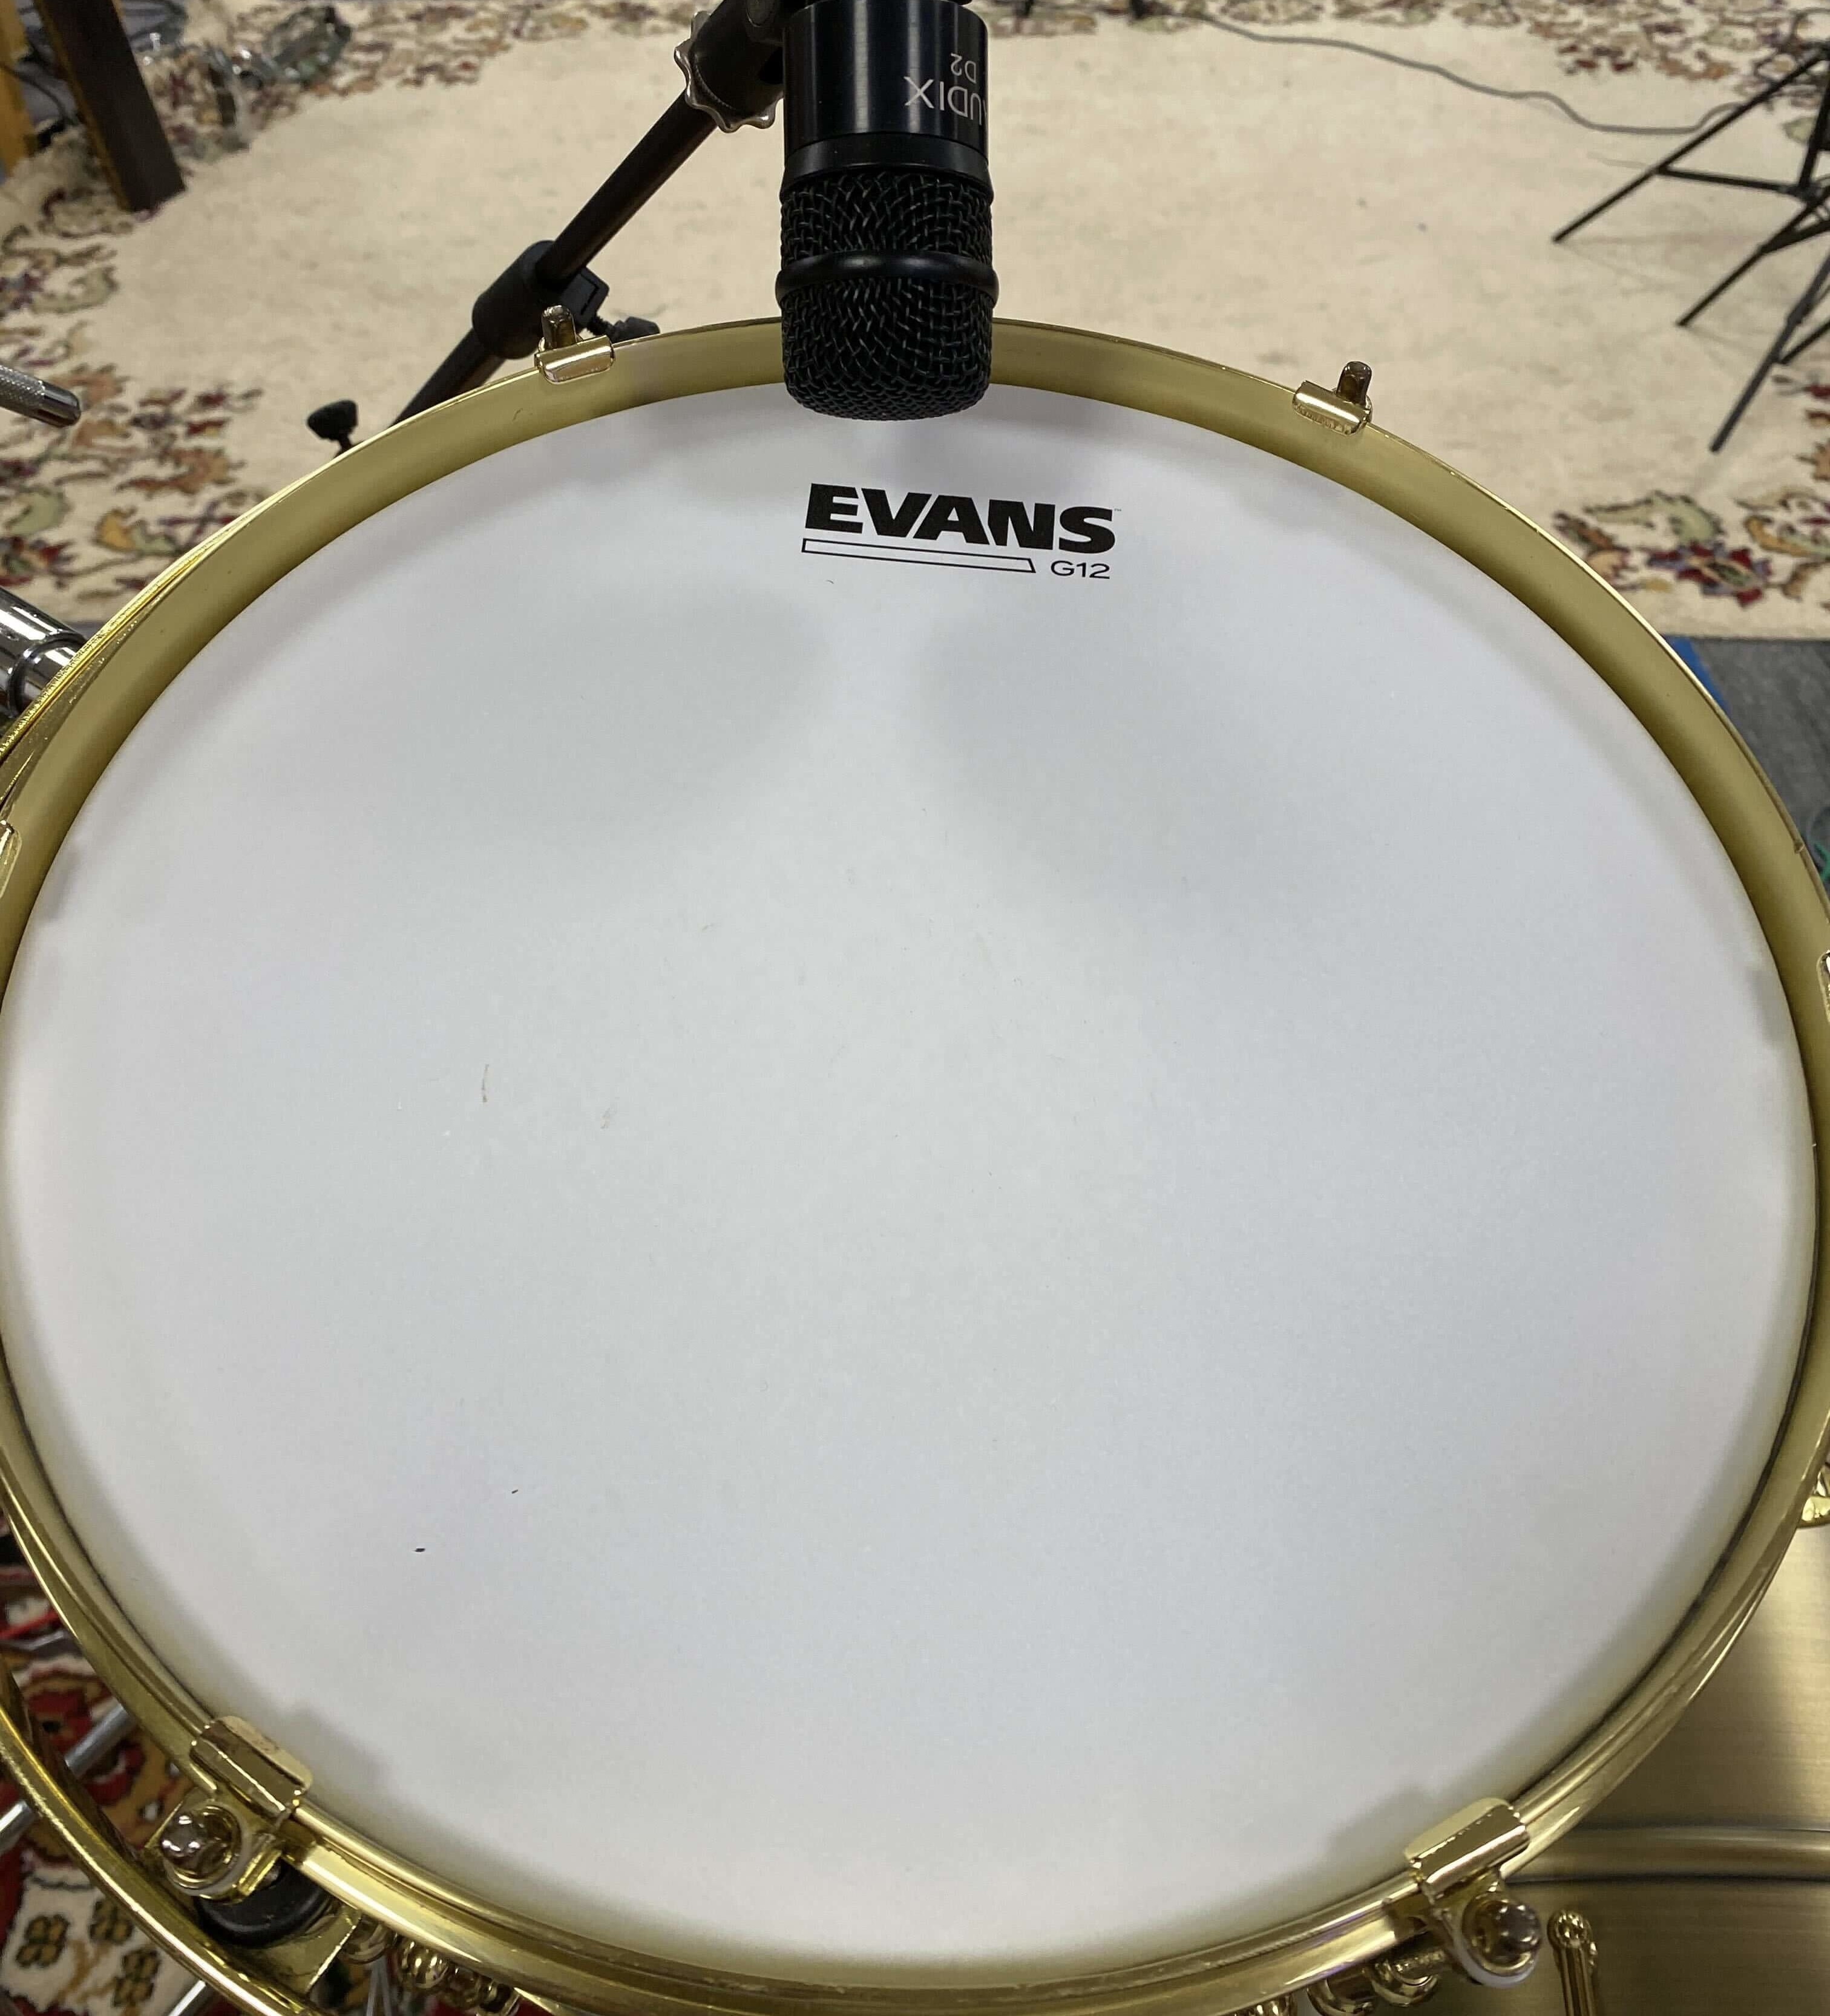
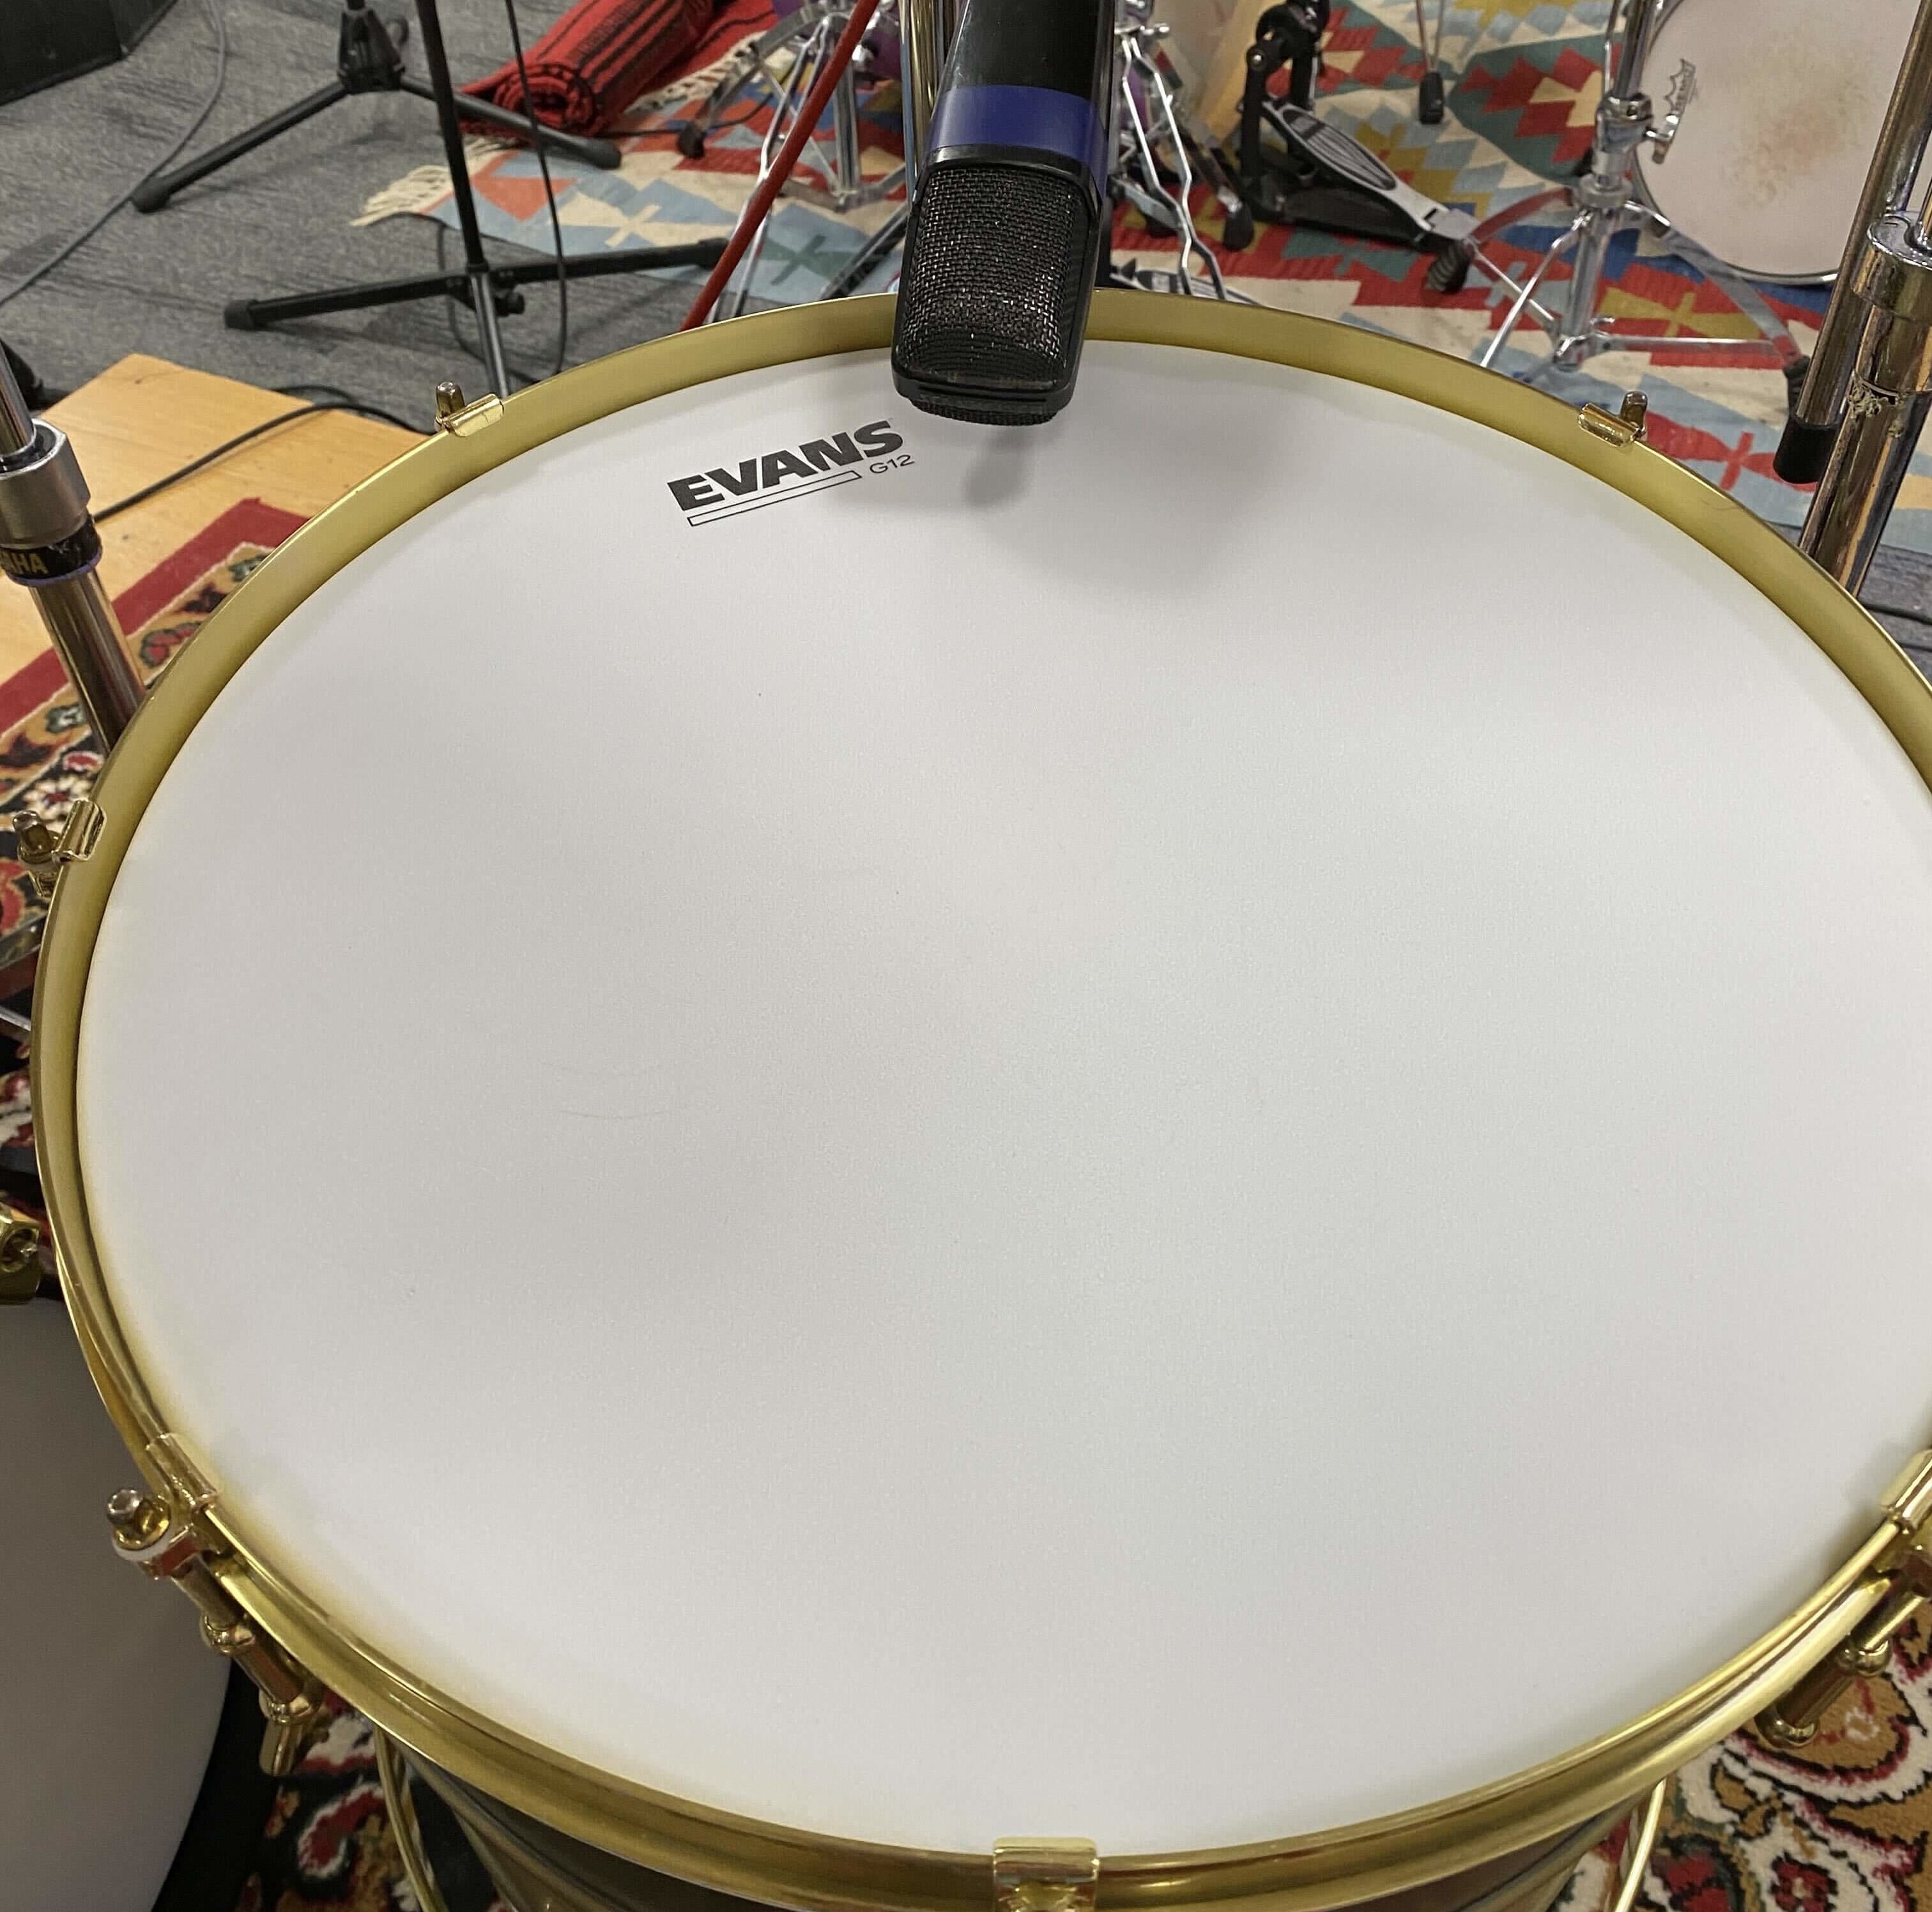
For the snare, place a dynamic microphone 1.5 to 2 inches above the snare, to the side, facing the centre.
Five Microphones
A fifth microphone provides an opportunity to add a room microphone to your drum mic setup. Positioning a room microphone on the other side of the room from the kit is incredibly powerful for recording drums.
A room microphone provides the finishing touches to a drum recording where only 4 microphones have been used. It fills in the gaps and polishes the recording.
Place a large diaphragm condenser at least 6 feet in front of or even behind the kit. Make sure it’s placed 6 to 7 feet high facing down and that it’s elevated so it captures as balanced a sound as possible.
Note that the further the room mic is, the longer it’ll take for the drum sounds to reach it. This can be a desirable effect if you want a big drum sound, but not so much if you’re looking for a snappier sound.
Later, you can blend the room recording with your drum tracks during the mixing stage for a thicker sound.
Spot Mic’ing
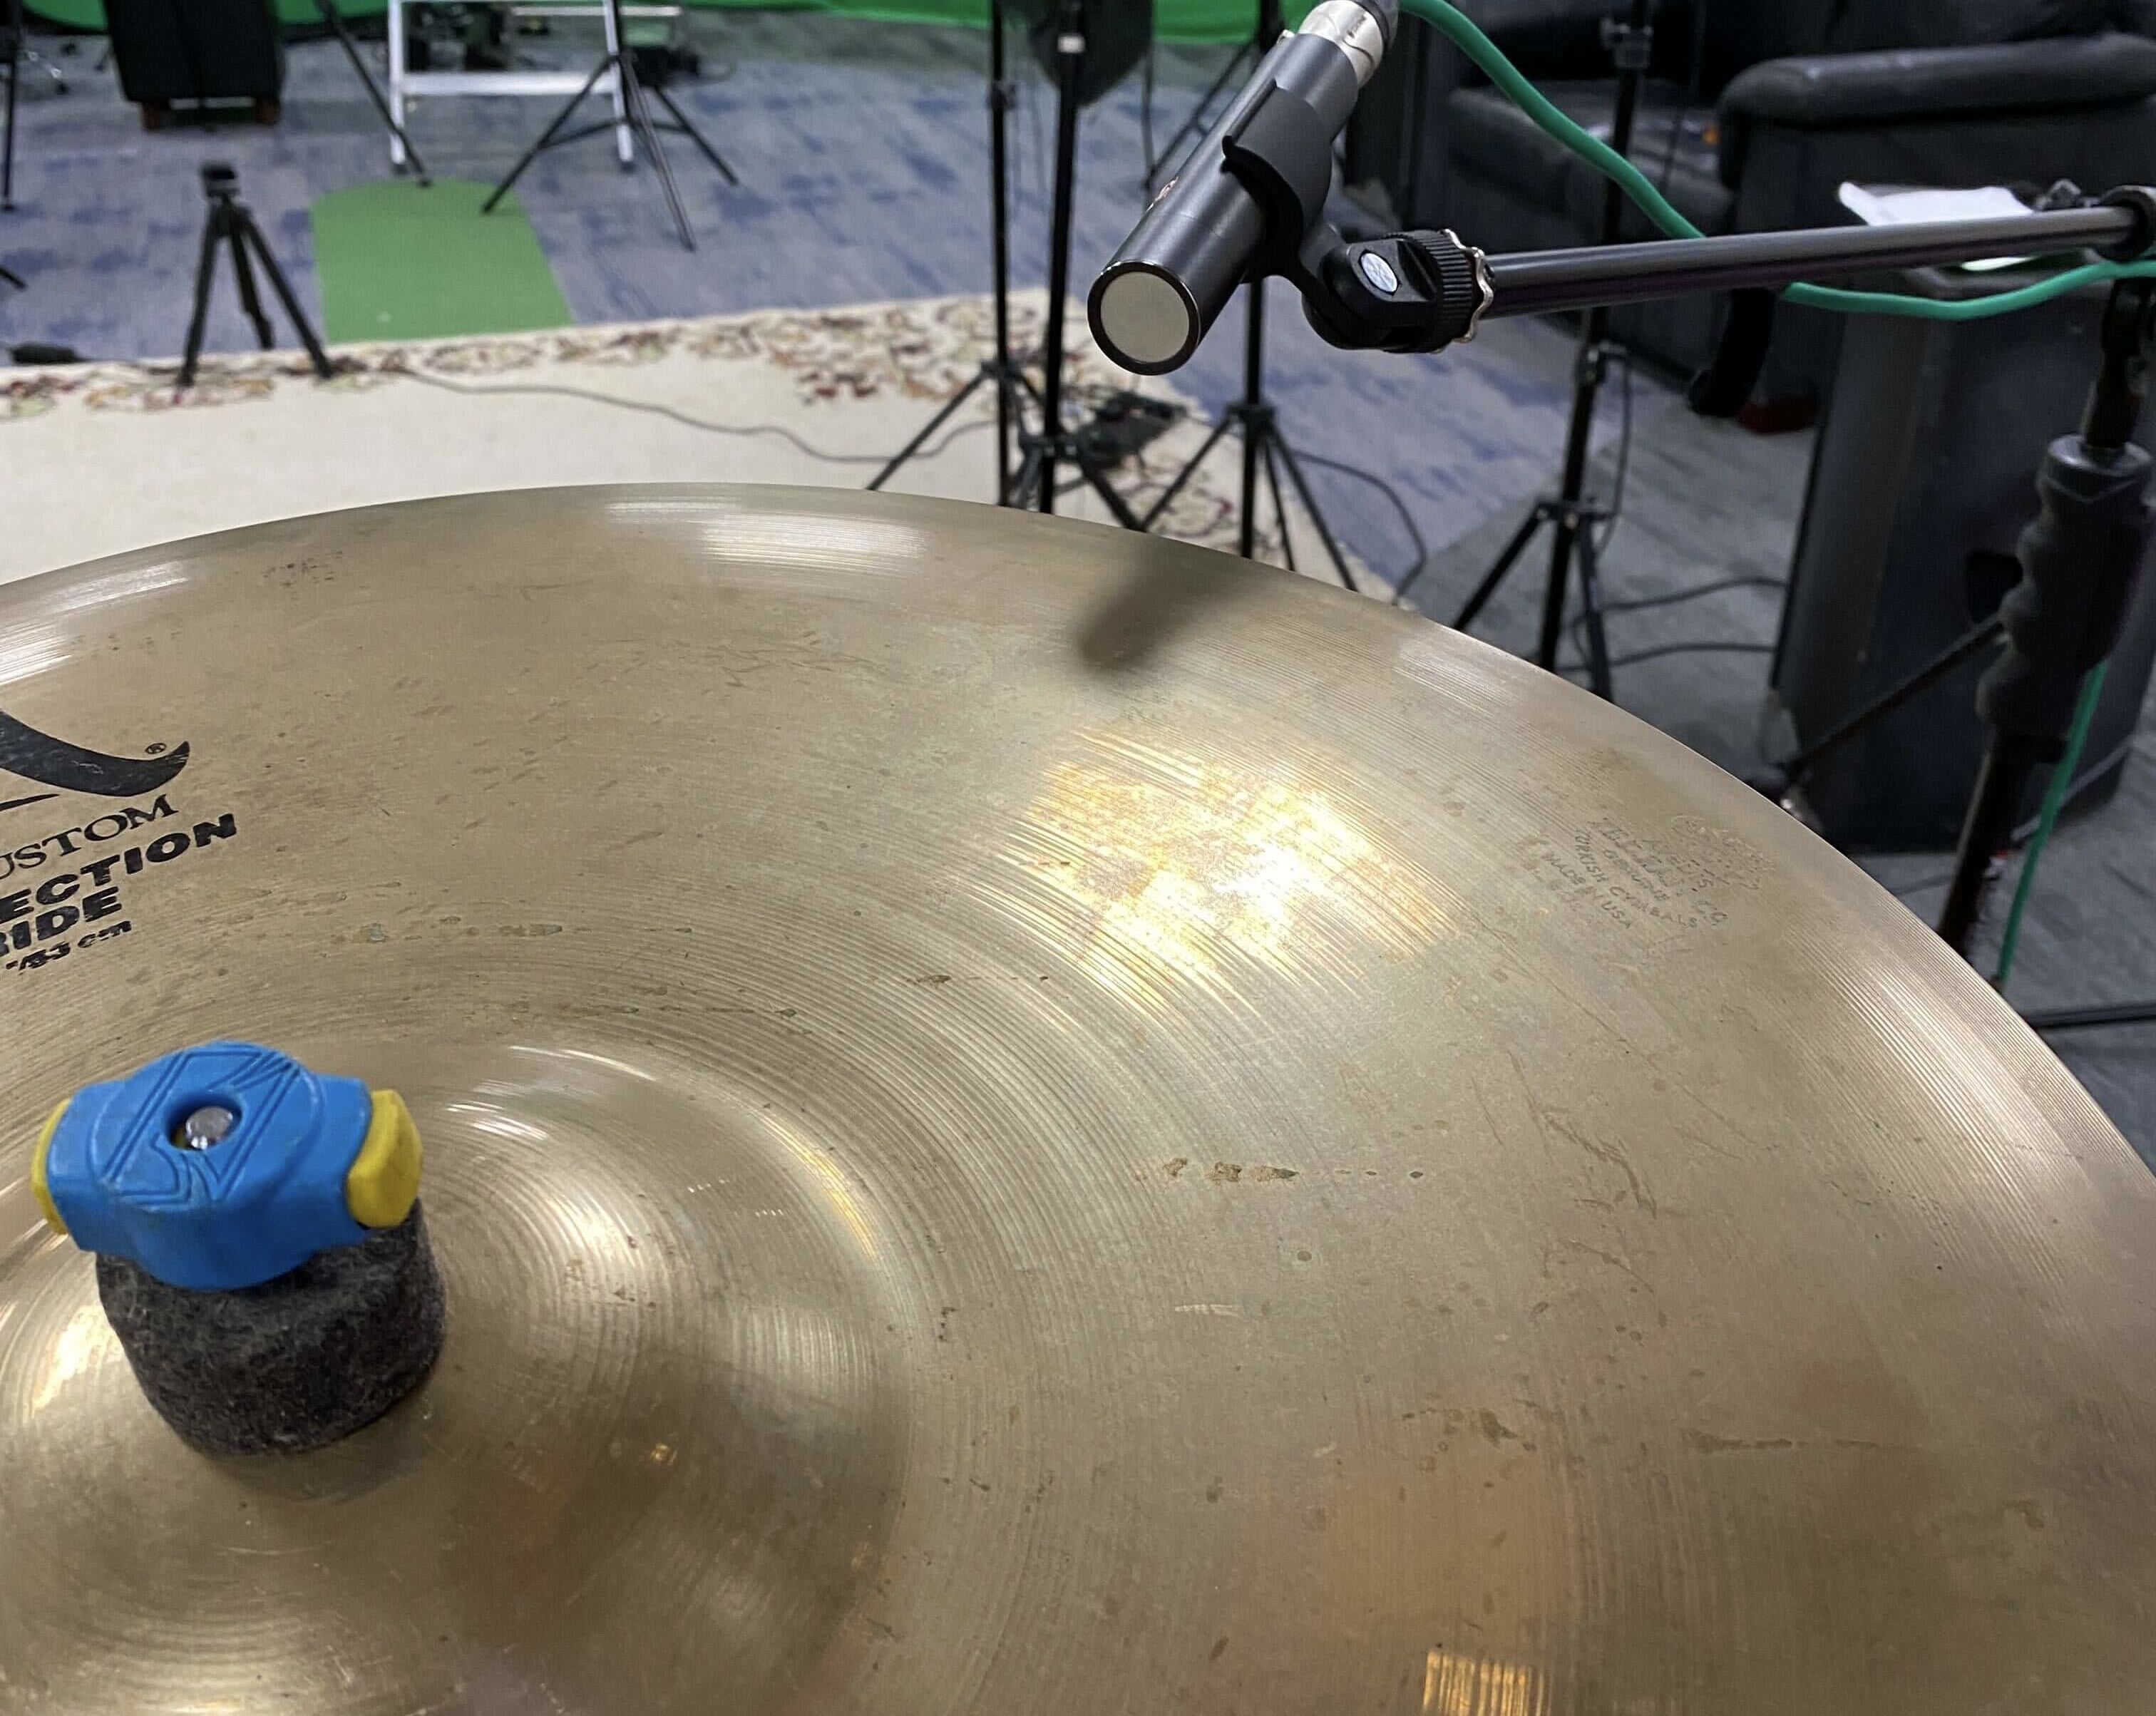
Finally, spot mic’ing refers to placing a drum microphone on each batter head. This includes each tom, the hi-hat, the ride and the china cymbals. Everything except the crash cymbal which, being the loudest and most intrusive instrument of the kit, is registered just fine in the overheads.
Spot mic’ing is only feasible for those with bigger budgets or access to a hire studio. Nevertheless, it’s not always necessary to mic each drum and deciding whether you should or shouldn’t depends on the material you’re recording.
For example, metal and punk bands might prefer to capture each drum with individual microphones because the tom drums and cymbals play a huge rhythmical role more than in other genres. Consequently, the mix engineer can apply panning between the tom drums without affecting the snare drum or cymbals.
However, Indie pop bands would be fine using the Glyn Johns or another 4 microphone setup as the tom drums & breakables don’t provide much tonal or rhythmical balance against the snare, kick & hi-hat.
If you don’t need to capture each drum, don’t. This can be detrimental to your mix because it could add unnecessary track density that might muddy if you’re mixdown skills aren’t experienced enough to carve problem frequencies out.
What is phase? Why phase alignment is so important while recording drums
Okay, now that we’ve got the microphone configurations out of the way, and since I’ve brought it up however many times, we should talk about phase.
Especially while recording drums more than any other instrument, using so many microphones to capture one instrument makes it very likely that you’ll encounter phase issues.
Phase means time. In this context, it means the time it takes the same sound to reach different microphones.
While placing overheads, if a sound reaches one overhead before the other, usually with mere milliseconds in between, unwanted smearing will occur and frequencies will start cancelling each other out.
This means your recordings are out of phase.
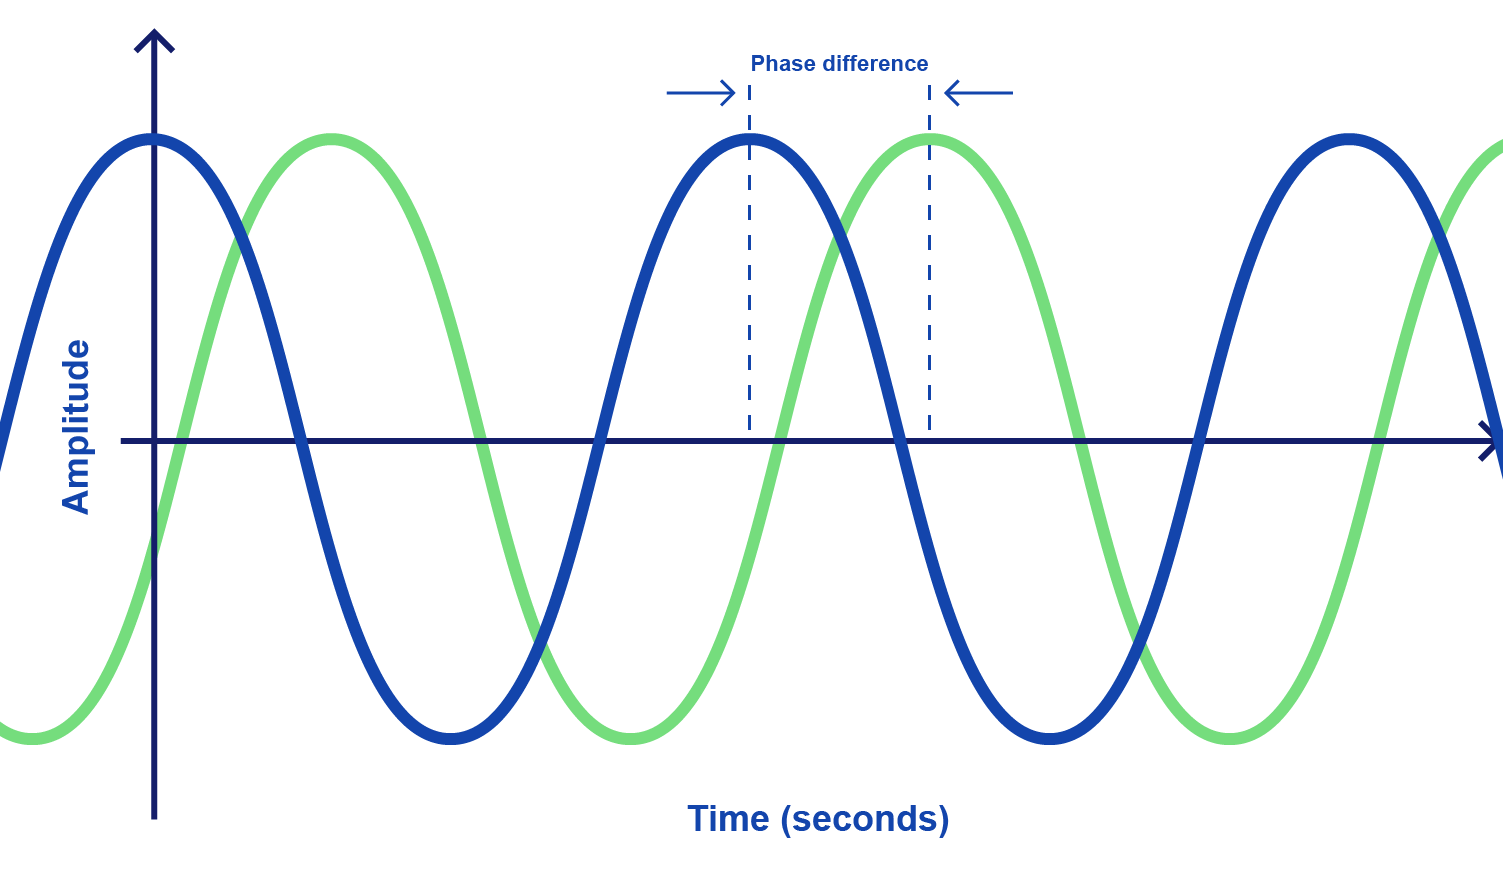
Phase should be at the forefront of your mind when positioning overheads which capture the whole image of the drum kit.
To do so, make sure both of your overheads are the same distance from an arbitrary point like the middle of the snare drum by using a tape measure. As a result, sound from each drum will hit both microphones at the same time. Well done, you’ve eliminated phasing!
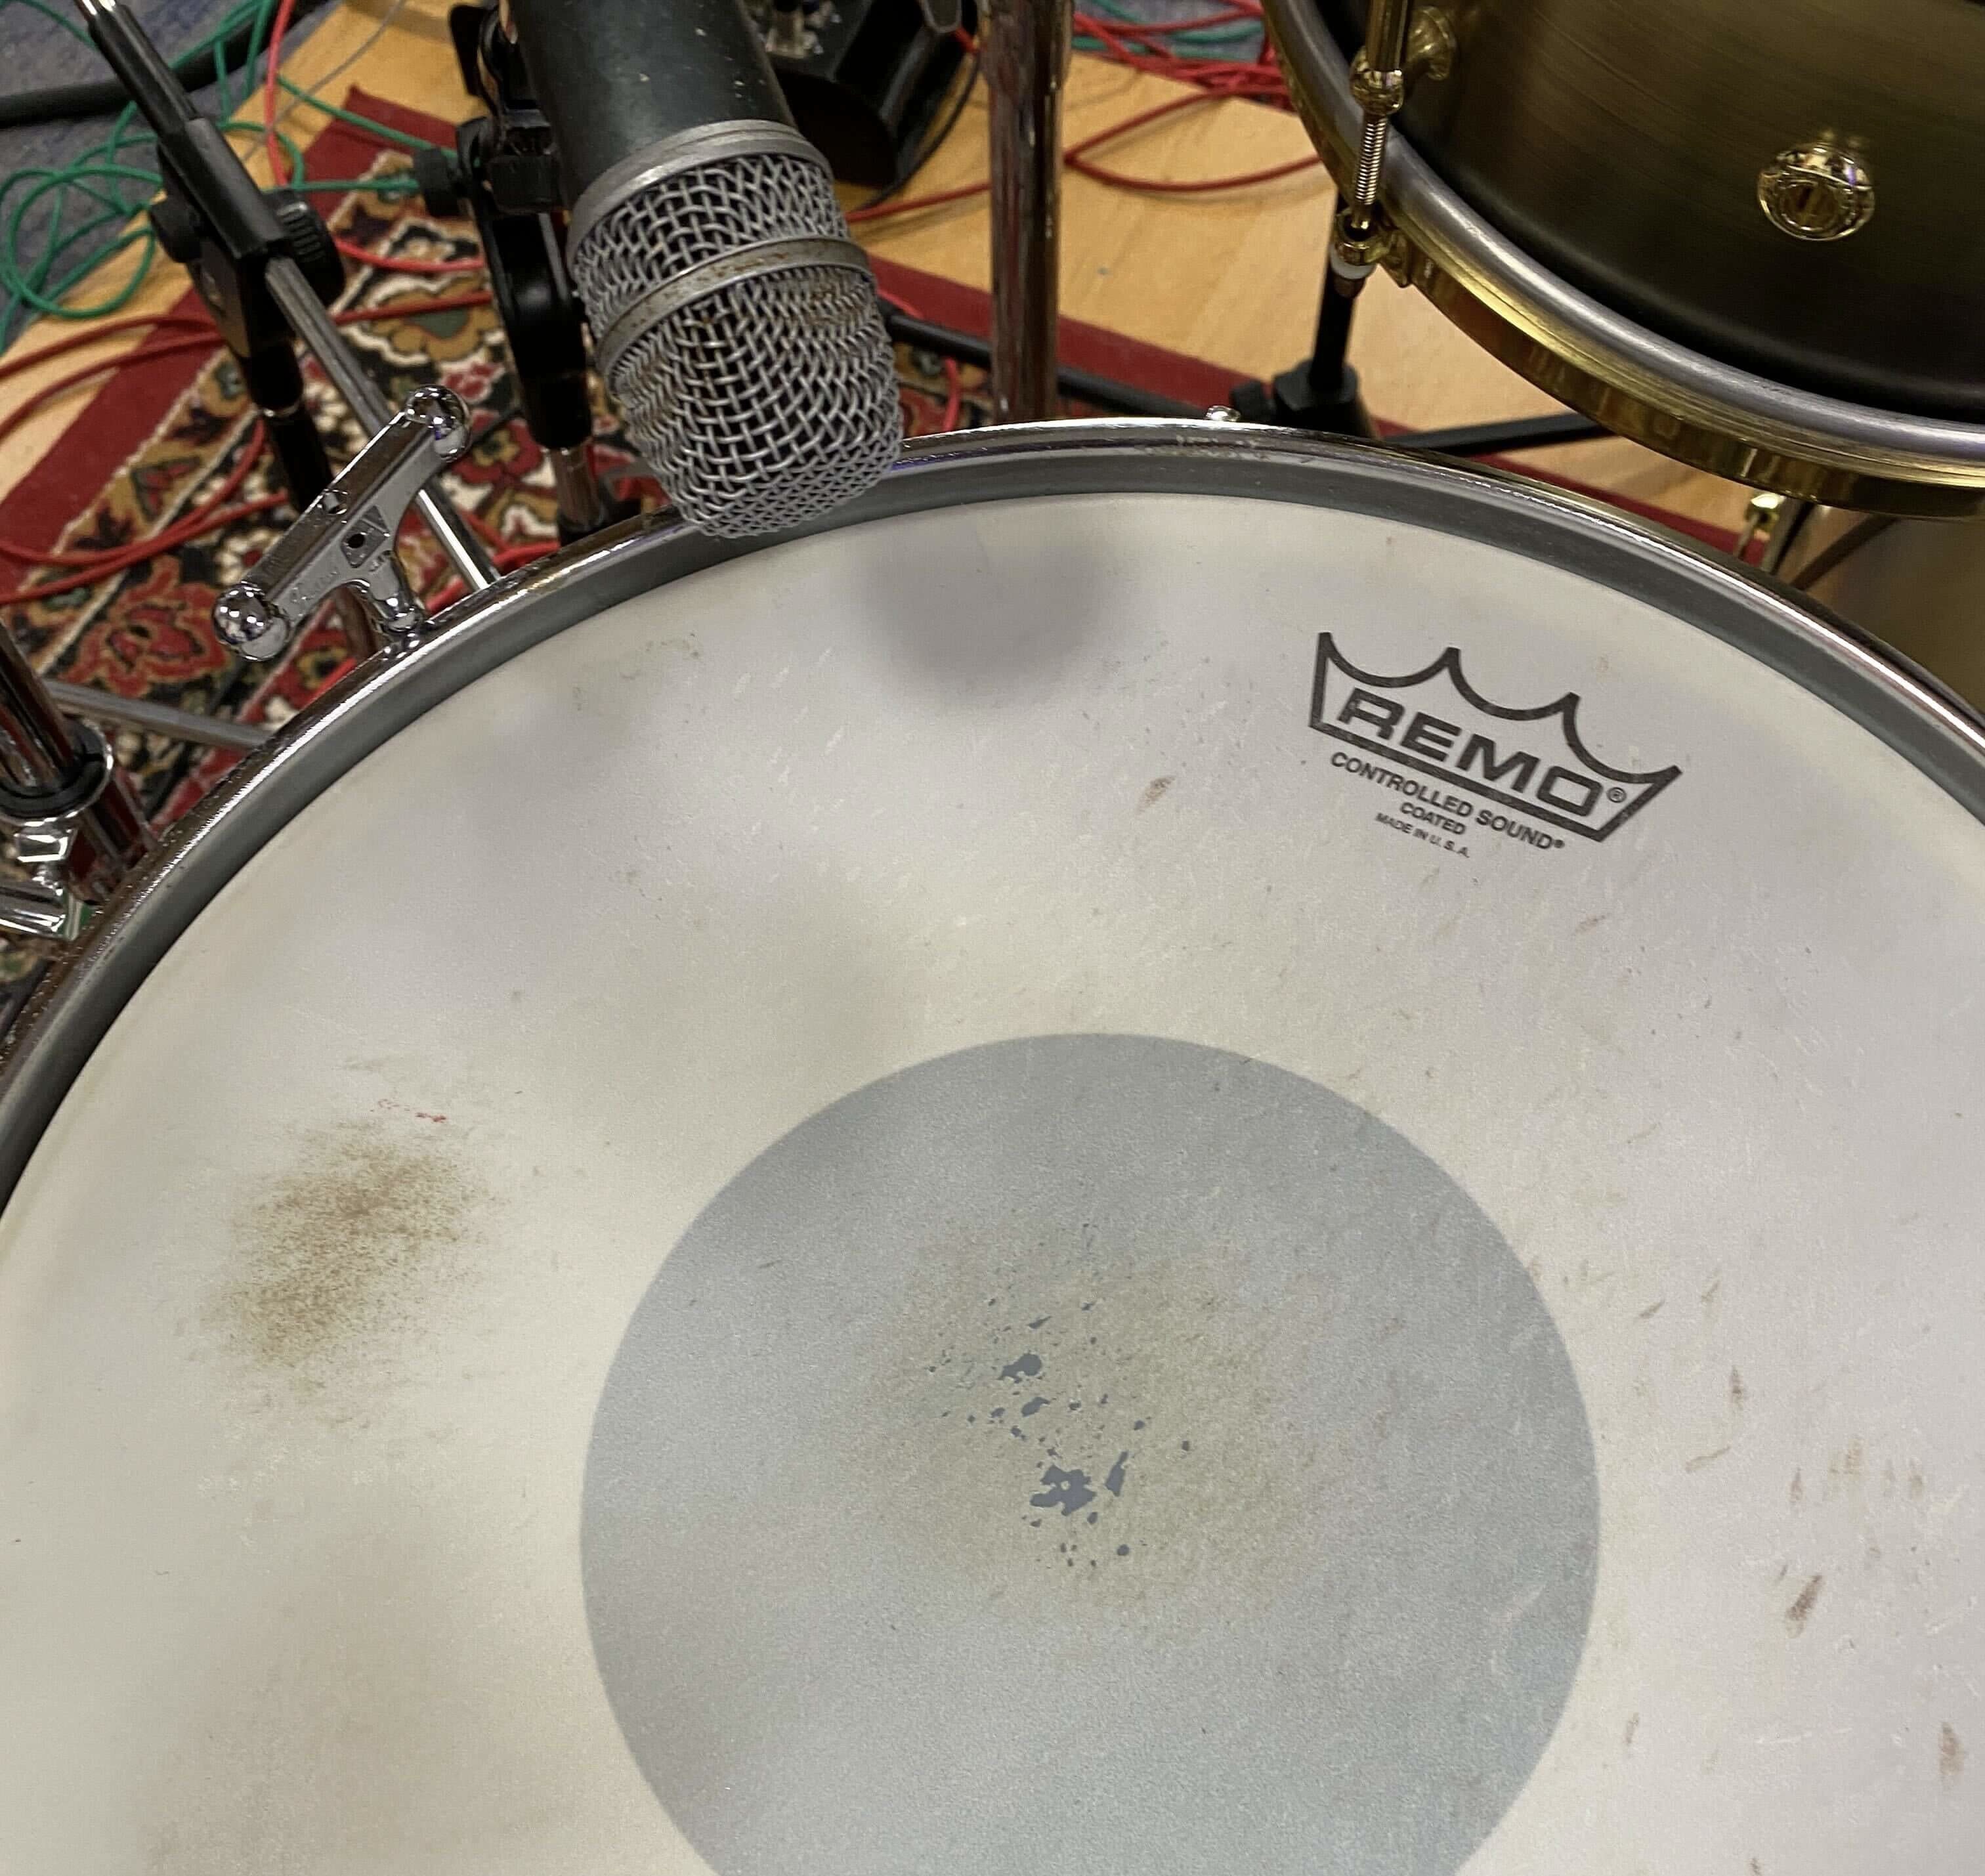
Another area where phase issues may arise is while mic’ing up both the batter head & resonant head of the snare drum.
While recording drums for genres such as metal & punk, you want to capture as full a snare sound as you can. It’s the defining timbre of the kit and the overall song, so you’ll want to record it as best you can. Engineers tend to mic up both the top & bottom of the snare drum to do this.
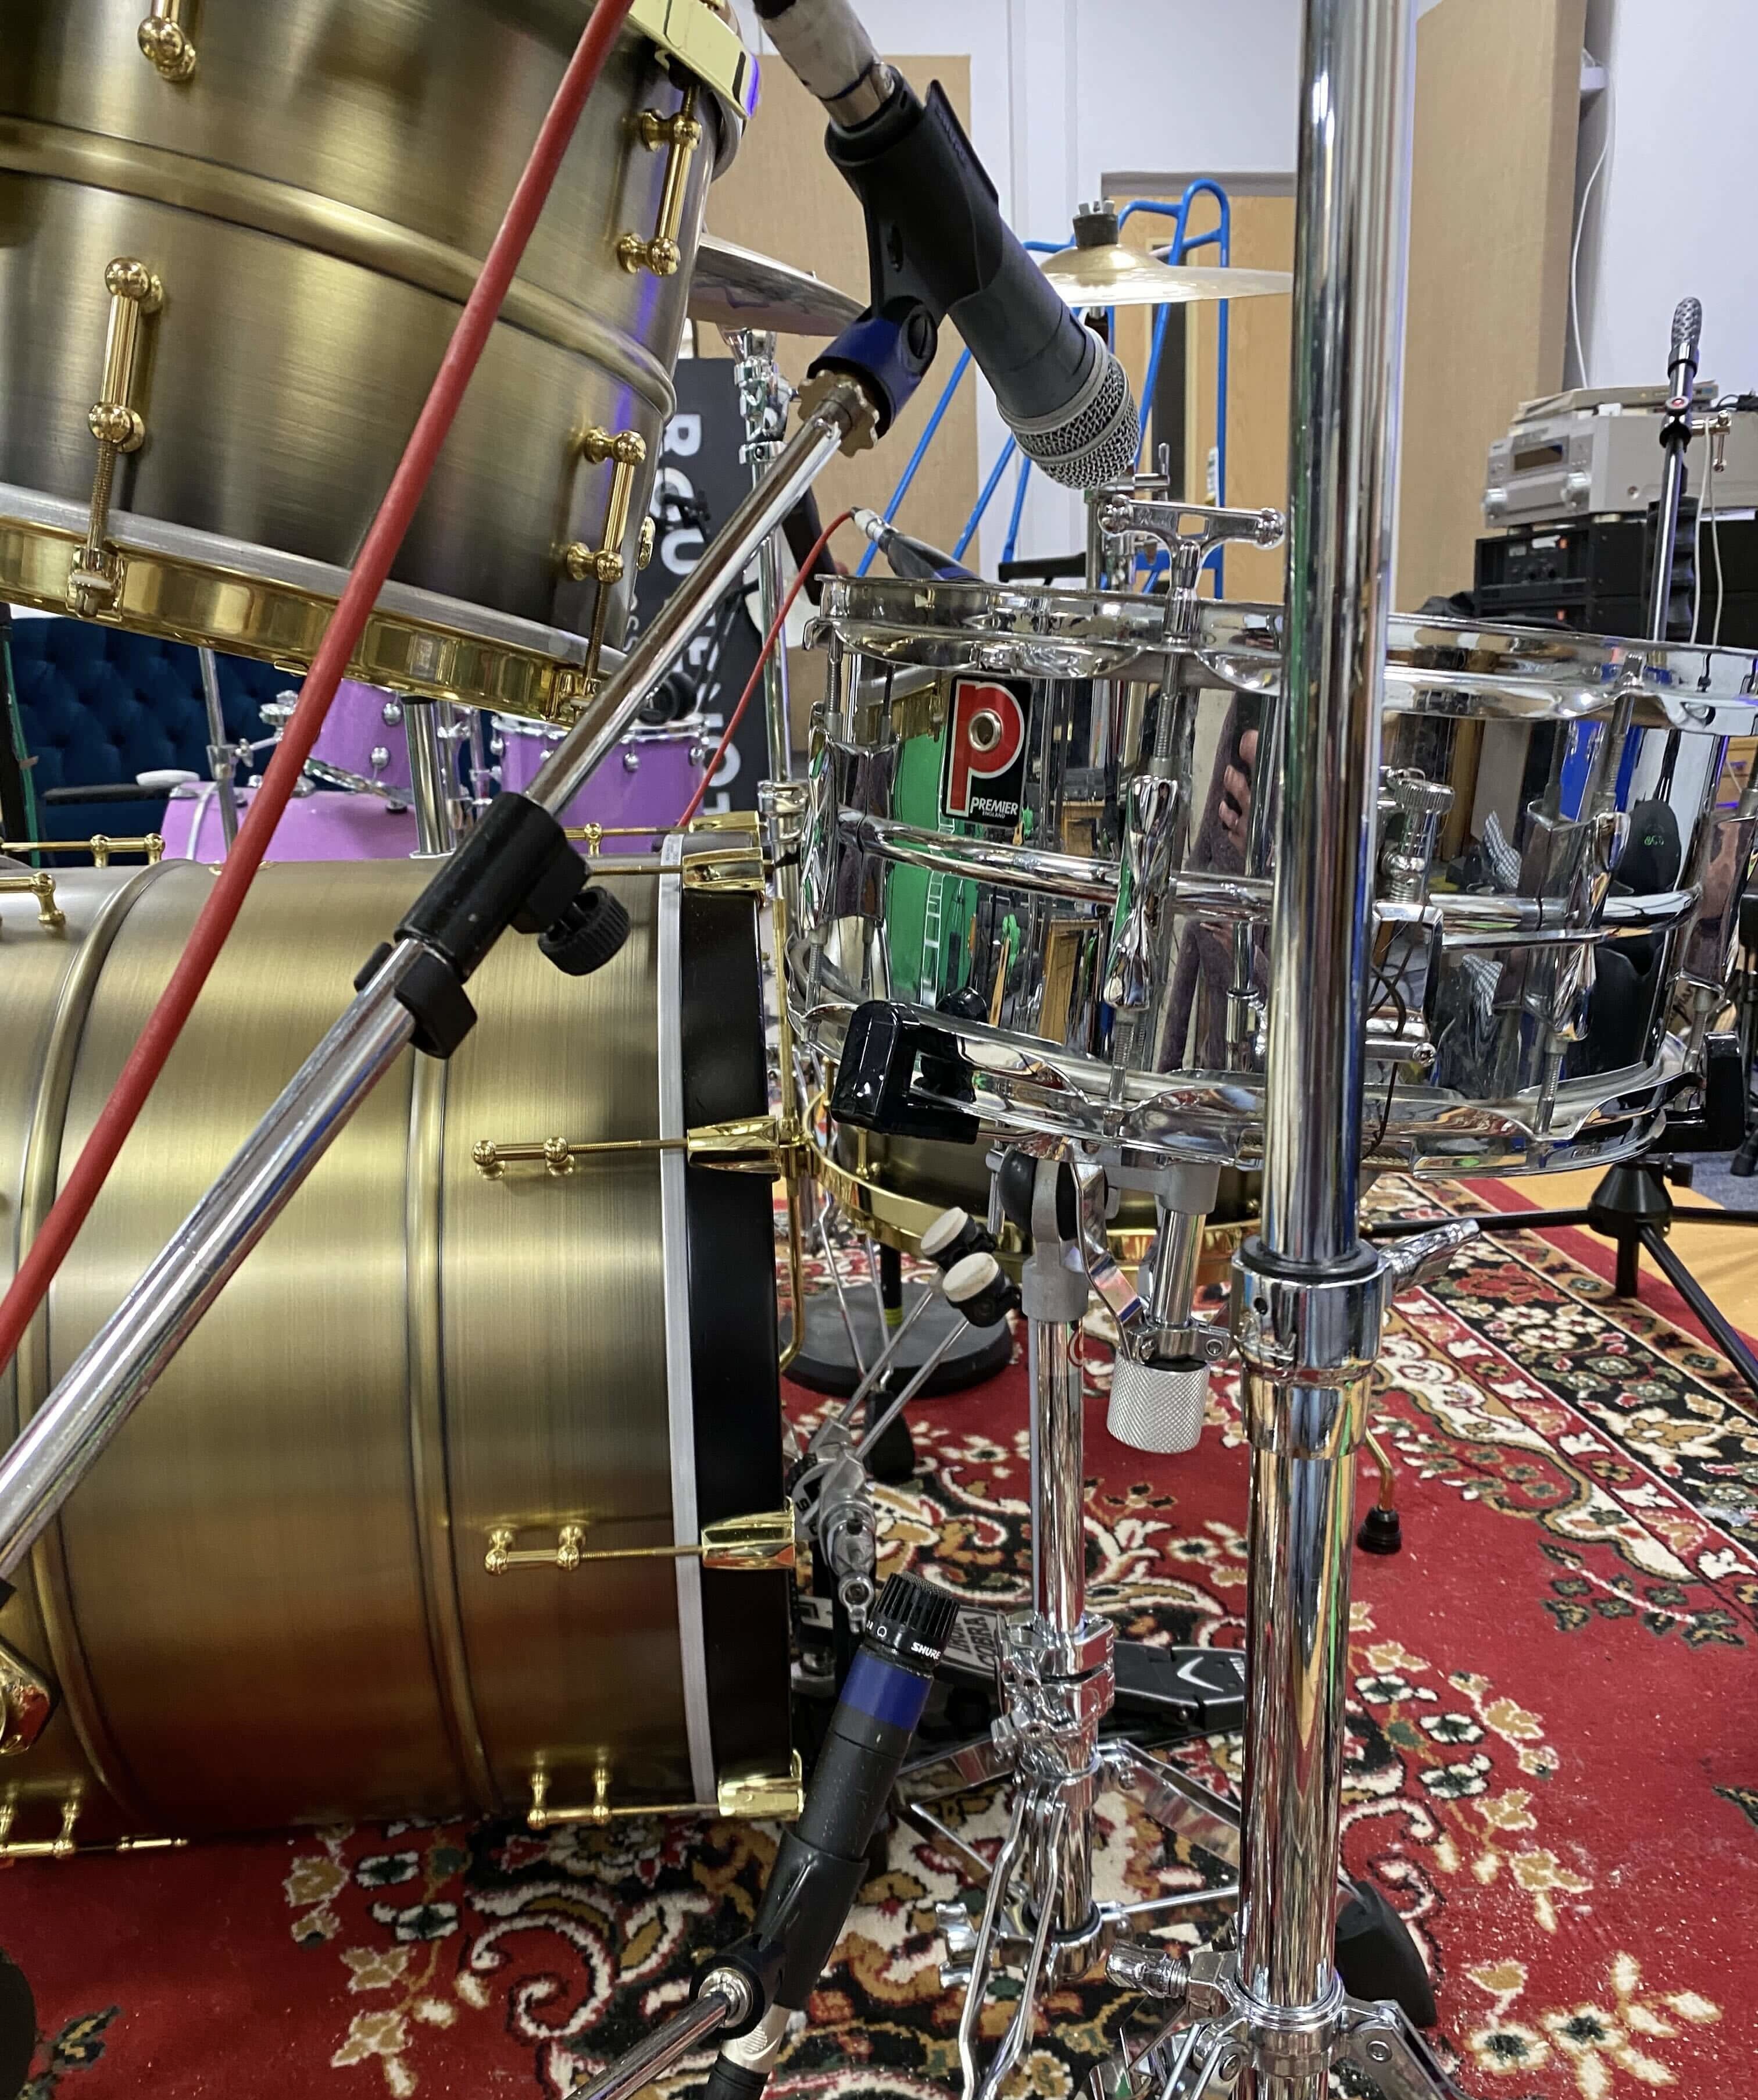
In the image above, both microphone capsules are the same distance from the outer ring at the bottom of the snare drum. Consequently, sound is reaching both microphones at the same time and the final recording would sound clear with no smearing as a result.
Best microphones for recording drums
Now that you know the how and the why, it’s time to talk about the what.
Each microphone has a signature sound and some microphones are purpose-built for specific frequency ranges. Others are better at capturing a warm sound. Others are designed to be multi-purpose.
Kick drum
Specific microphones are best for capturing the low, impactful frequencies that kick drums produce. In fact, hardware manufacturers create dedicated microphones for this very purpose.
Shure B52
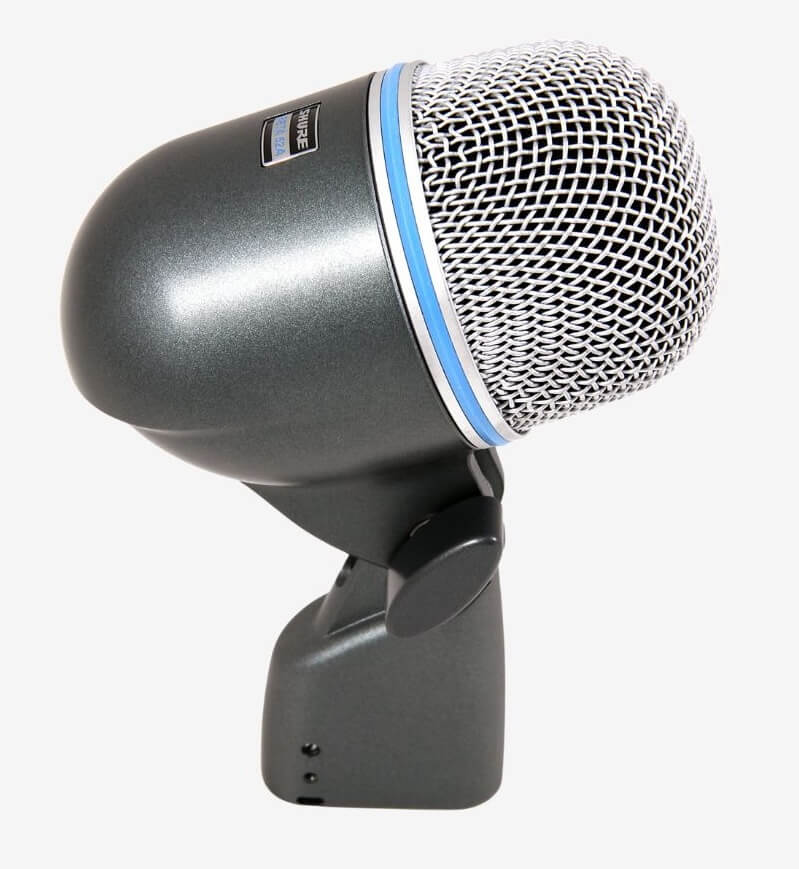
Arguably the most commonly used to record kick drums, the Shure BETA 52A is a durable drum microphone designed specifically to capture kick drums and bass instruments.
AKG D112 MKII
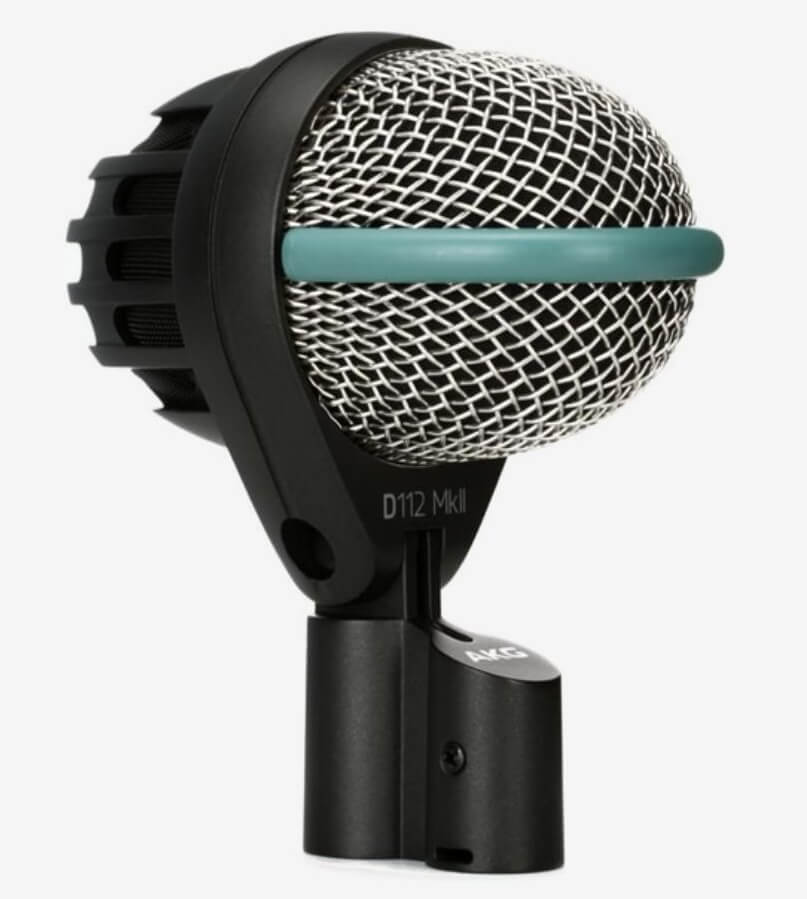
The AKG D112 MKII is another professional microphone designed to capture bass and kick drums. It boasts a powerful response below 100 Hz with a 4 kHz presence boost.
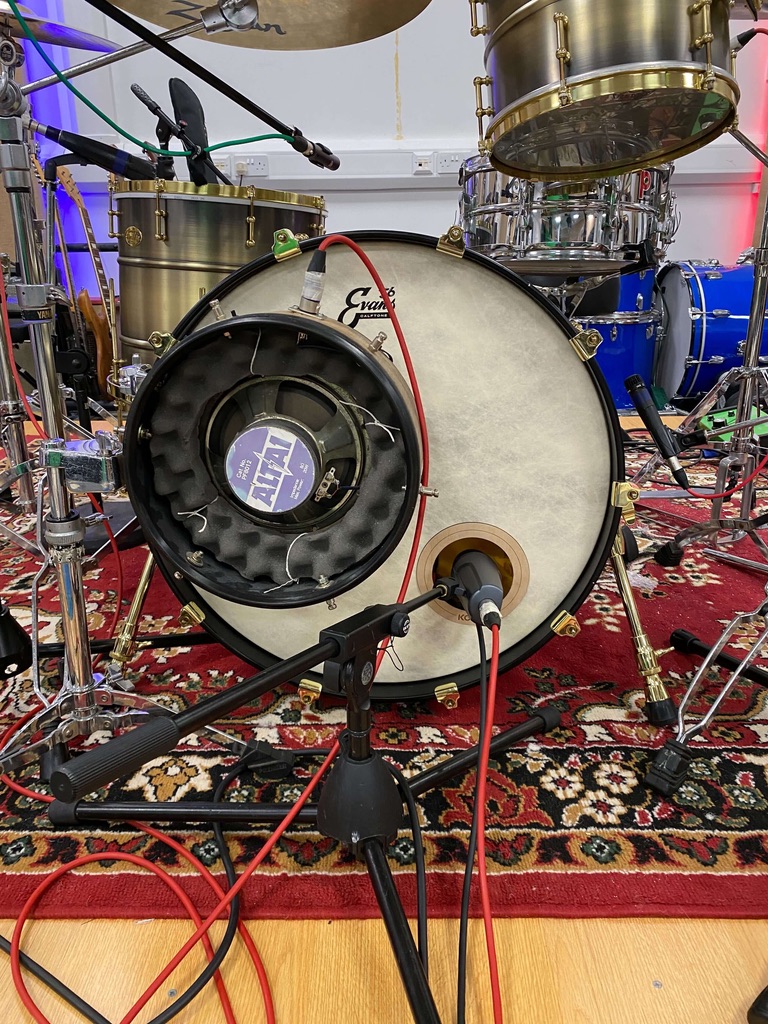
Yamaha SKRM-100 Subkick
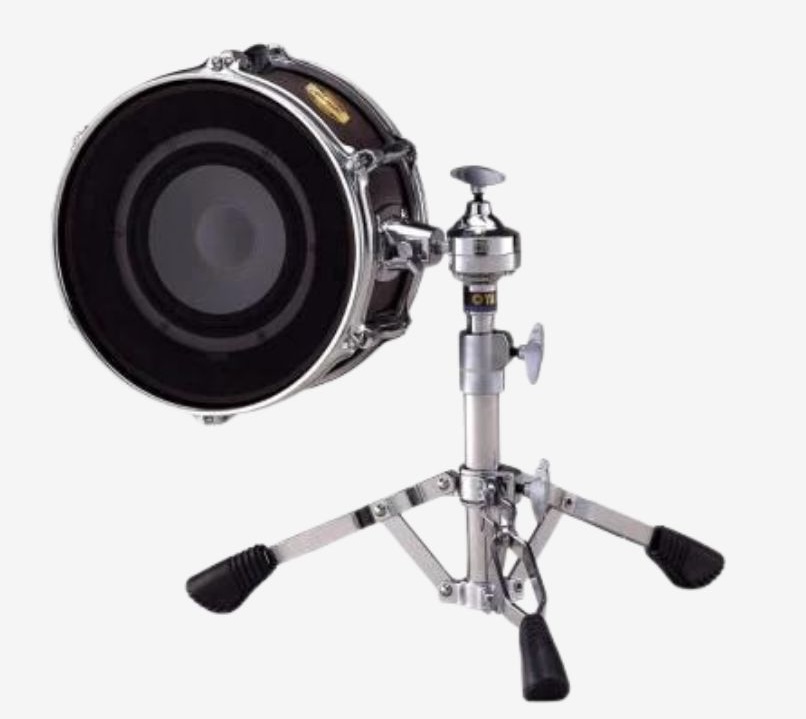
Engineers often use a “Sub Kick” mic, a speaker repurposed as a microphone, to capture the low frequencies of a kick drum. A microphone and a speaker operate on the same technology but in reverse; a microphone converts vibrations into electrical signals, while reproduces them from electrical signals.
Alternatively, you could also place a boundary microphone on a pillow inside the kick drum shell. It’s common to use a sub-kick mic in cohesion with a dynamic mic like the Shure B52 as well as a boundary mic inside the shell to capture a full, powerful kick sound.
Snare & tom drums
Snare & tom drums share a lot of characteristics. If you remove the snare wires from the resonant head of a snare, the snare will sound just like a tom drum. Therefore, you can get away with using the same microphones to capture both drums.
Shure SM57
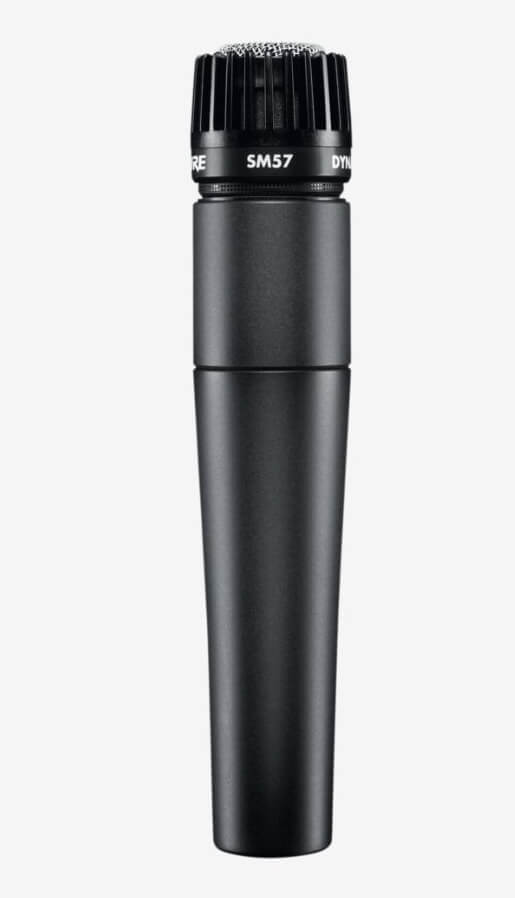
The Swiss army knife of microphones, the Shure SM57 is renowned for its durability and is ideal for capturing loud sound sources. It’s widely used to capture snare and tom drums, but you could even use it to capture a kick drum too.
The 57 even boasts a contoured frequency response with a presence boost, and its cardioid pickup pattern isolates your sound source superbly.
Telefunken M80
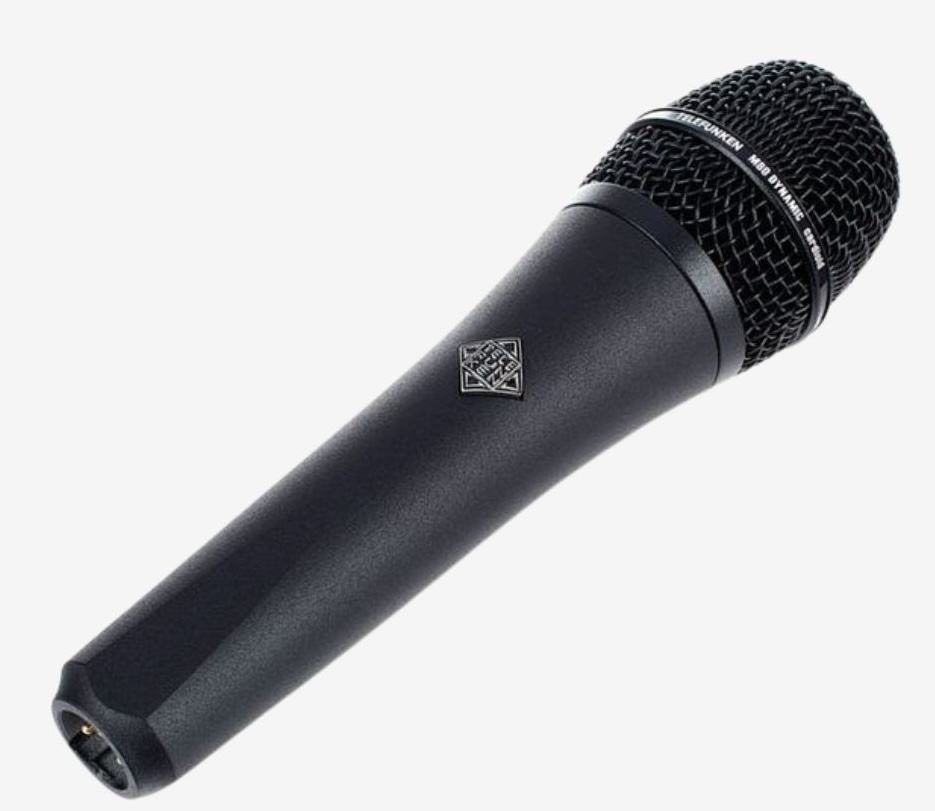
Another great snare microphone is the Telefunken M80. It’s a dynamic microphone offering condenser-like performance with a wide frequency response, high SPL capabilities and super-cardioid polar pattern.
Sennheiser E 906
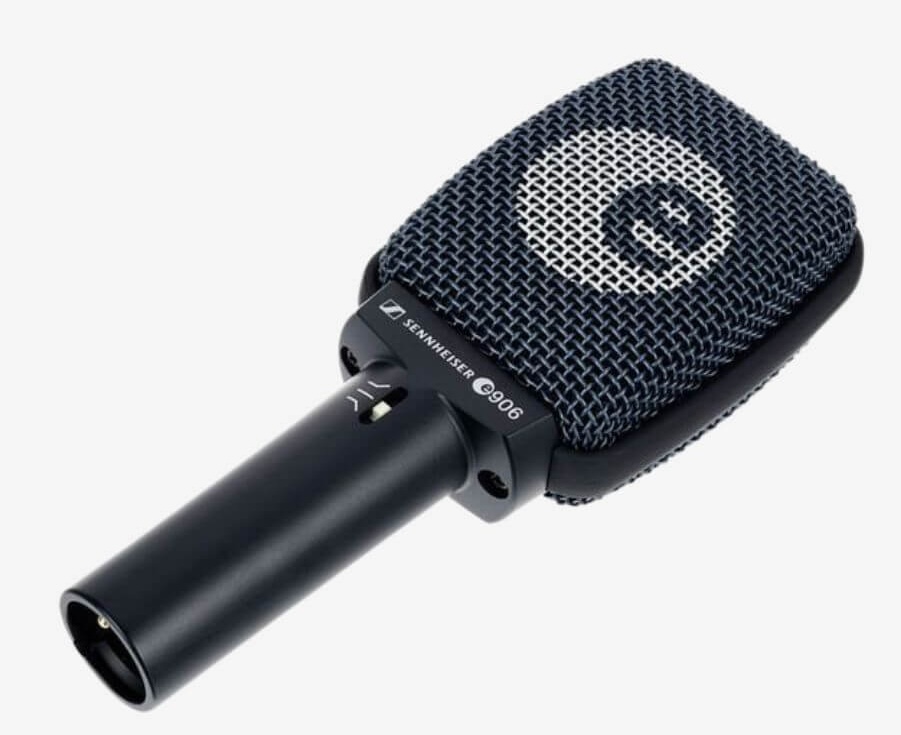
The Sennheiser E 906 is a professional super-cardioid dynamic instrument microphone designed for versatility, excelling in drum mic’ing with a lively and full sound. Furthermore, its flat shape makes it easy to close mic batter heads while its three-position switchable presence filter offers bright, moderate, and darker sound characters.
Overheads, cymbals & hats
Cymbals & hats require a microphone that can capture pristine high-frequency detail if you want to get the best recording. Compared to kick, toms & snares which require dynamic microphones, either large or small diaphragm condensers will be far more appropriate to capture breakables and overheads.
Audio Technica Pro 37
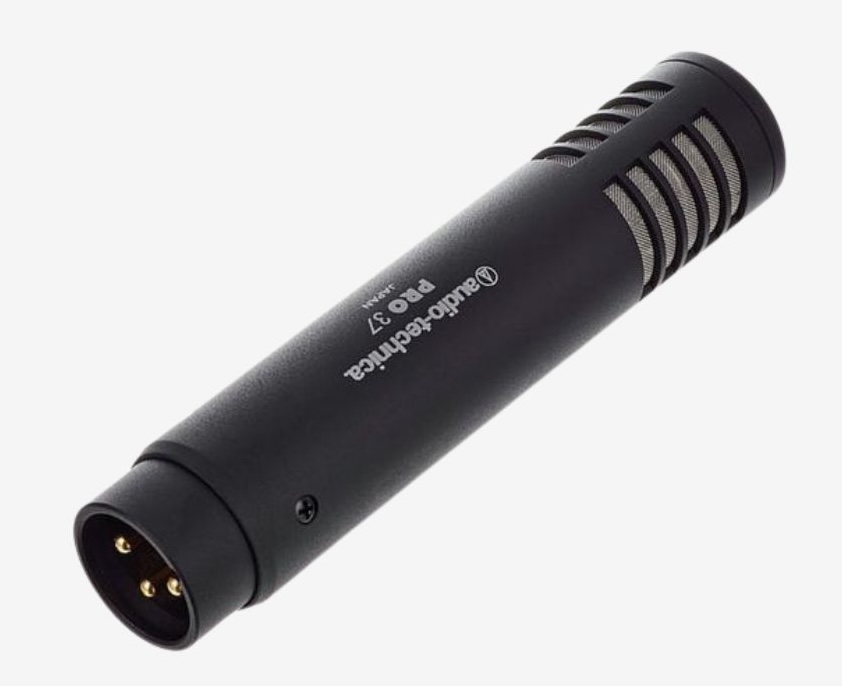
With its fantastic transient response, the Audio-Technica Pro37 is another great, much more affordable choice of overhead microphone. The Pro37 excels in high-SPL applications making it ideal for capturing the dynamic range of drums.
Rode NT5
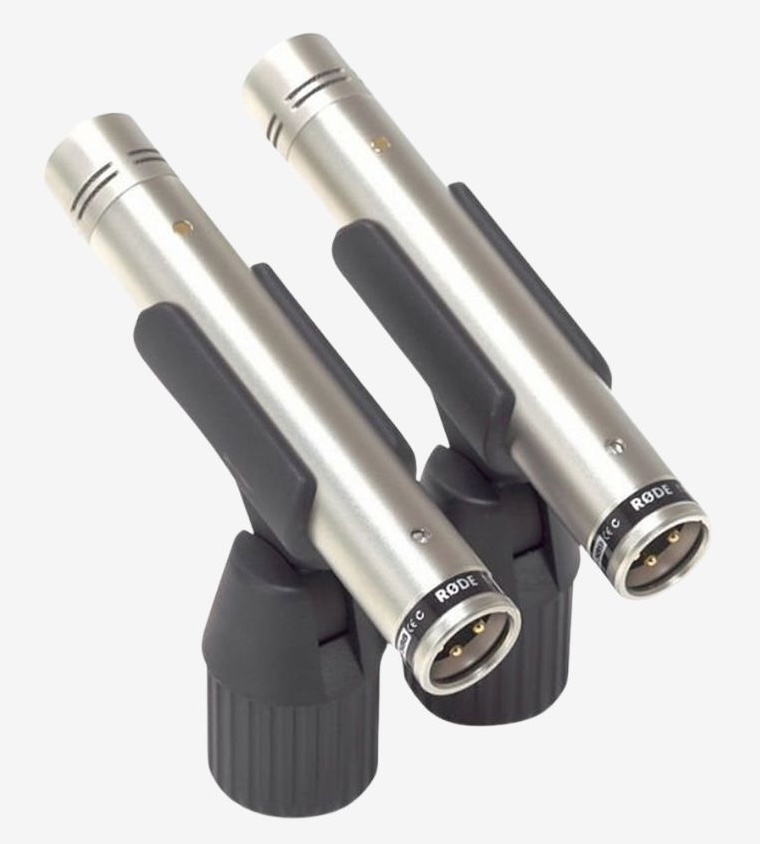
The Rode NT5 is another famous affordable drum overhead mic choice thanks to its smooth, well-balanced sound and notoriously low self-noise. Its 1/2-inch cardioid condenser capsule and wide frequency response ensure accurate capture of the full drum kit.
AKG C414
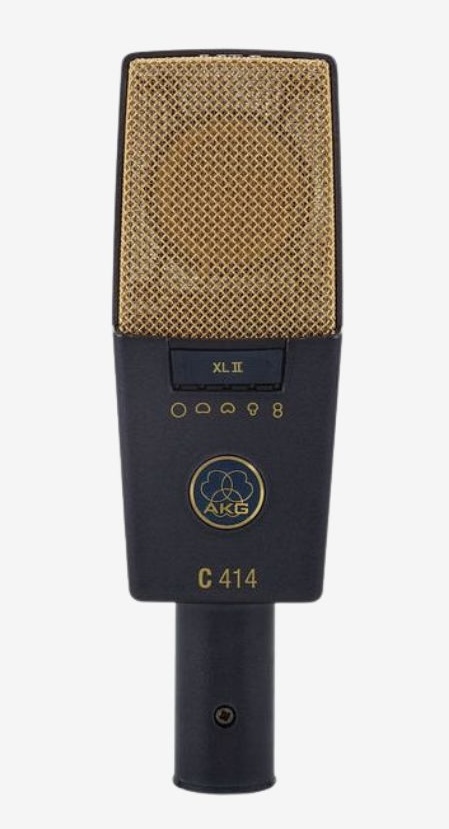
With its nine polar patterns, the AKG C414 XLS is an excellent choice for drum overheads capturing every detail of the drum kit. Its low noise and high sensitivity make a pair of them perfect for capturing a stereo image of the kit, and the C414 XLS also features pre-attenuation pads for managing high sound pressure levels.
Final thoughts
Although recording drums at home might seem daunting, especially with the challenges of space, equipment, and technique, it’s absolutely within your reach to capture a professional drum sound.
It’s easy to get lost in the technical details. Just remember that it’s all about experimentation and learning from your mistakes, and remember what one drummer likes another won’t. Personal taste plays a huge role in drum recording.
Nevertheless, with patience and practice, you can capture high-quality drum tracks that sound professional from your home studio.
