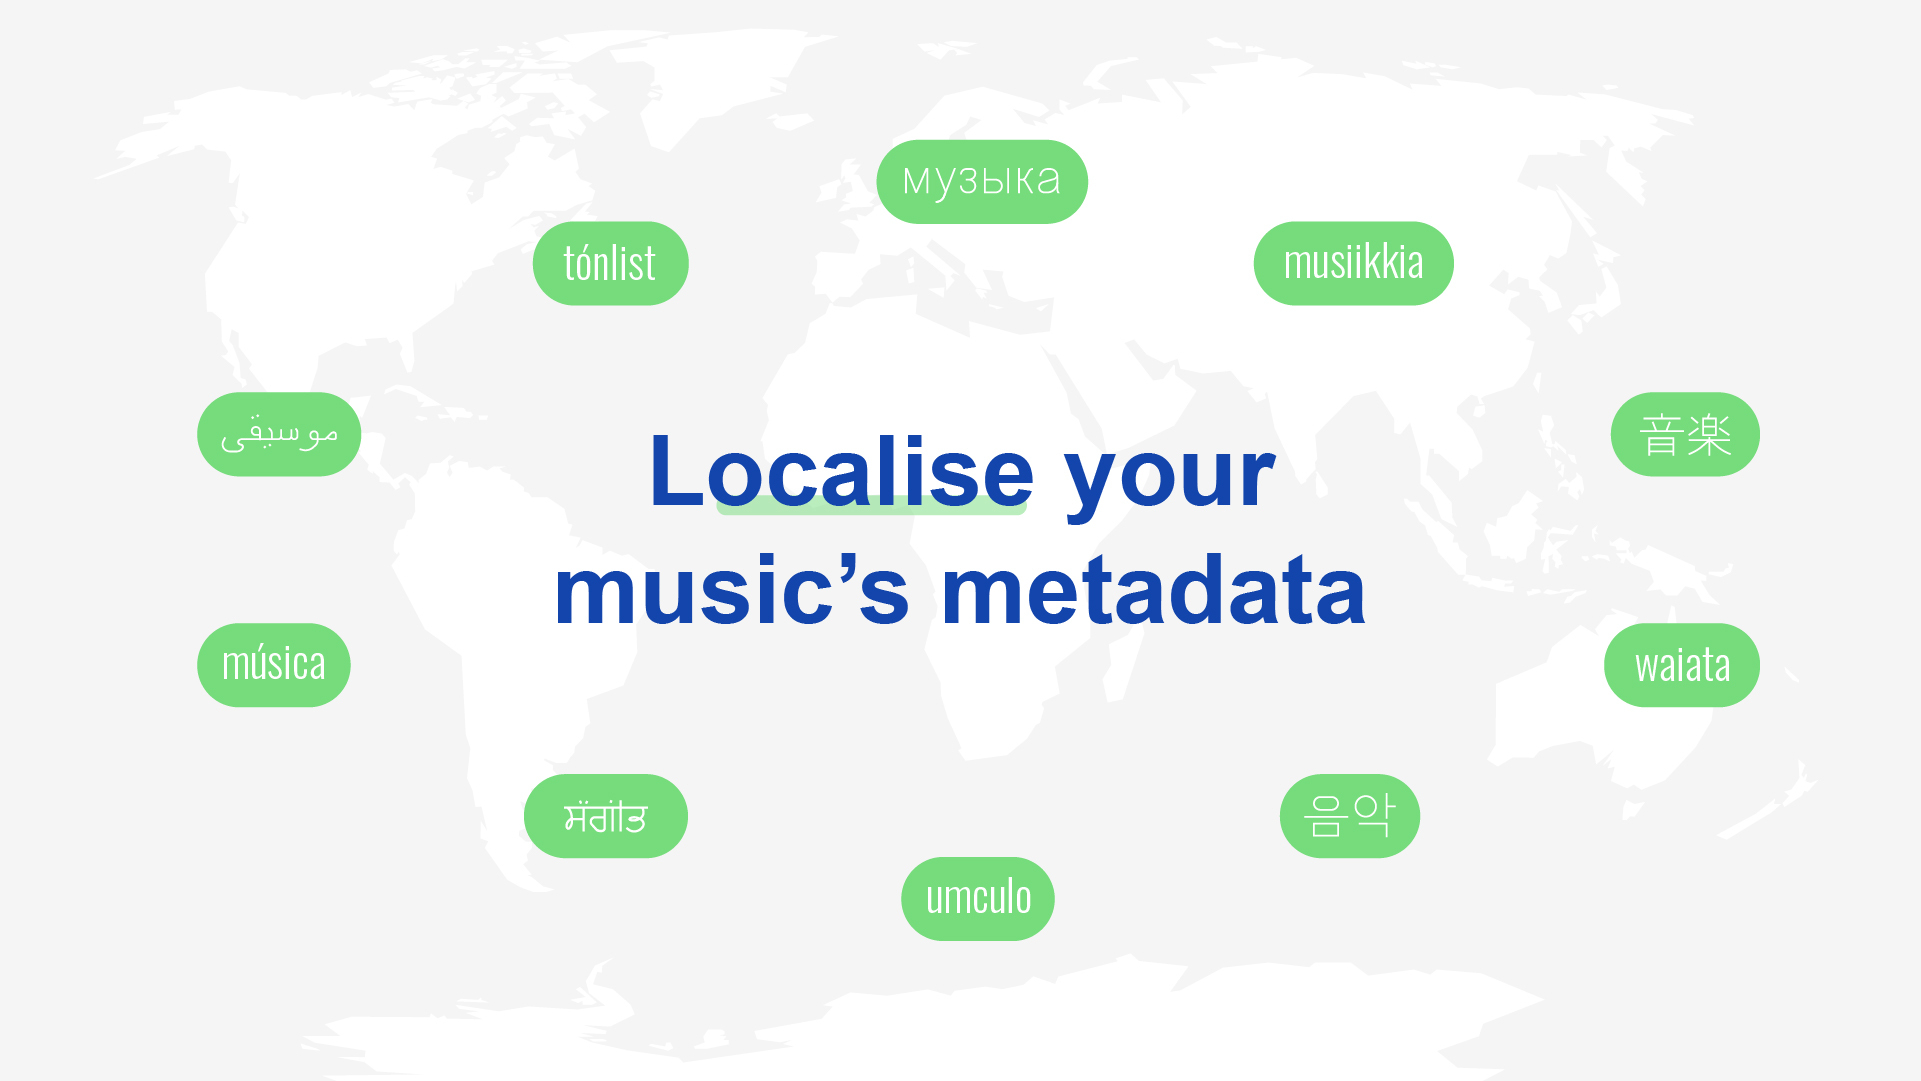
RouteNote introduces Localisation – how to add multi-language metadata to your release
RouteNote now supports Localisation! Get your music on the most popular music stores around the world – now in their local languages!
Available to all users today, RouteNote adds a new fifth page to the upload process. “Add Localisations” is an optional step that lets users add translations to their release metadata. Super-charge your international reach and accessibility!
Localisation on RouteNote can be applied to new and existing releases, at no extra cost, whether they’re on the Free or Premium plan. Once you’ve filled out the metadata for your release, add Localisation in up to 56 languages. This new feature is currently supported on the following stores:
- Spotify
- Amazon Music
- YouTube Music
- TIDAL
- TikTok
- NetEase Cloud Music
- Anghami
- Zing MP3
How to add Localisation to a RouteNote release
Create a new release:
- Login/create a free RouteNote account
- Head to the Distribution tab and click Create New Release
- Fill out all the Album Details, Add Audio, Add Artwork and Manage Stores pages
Add Localisation:
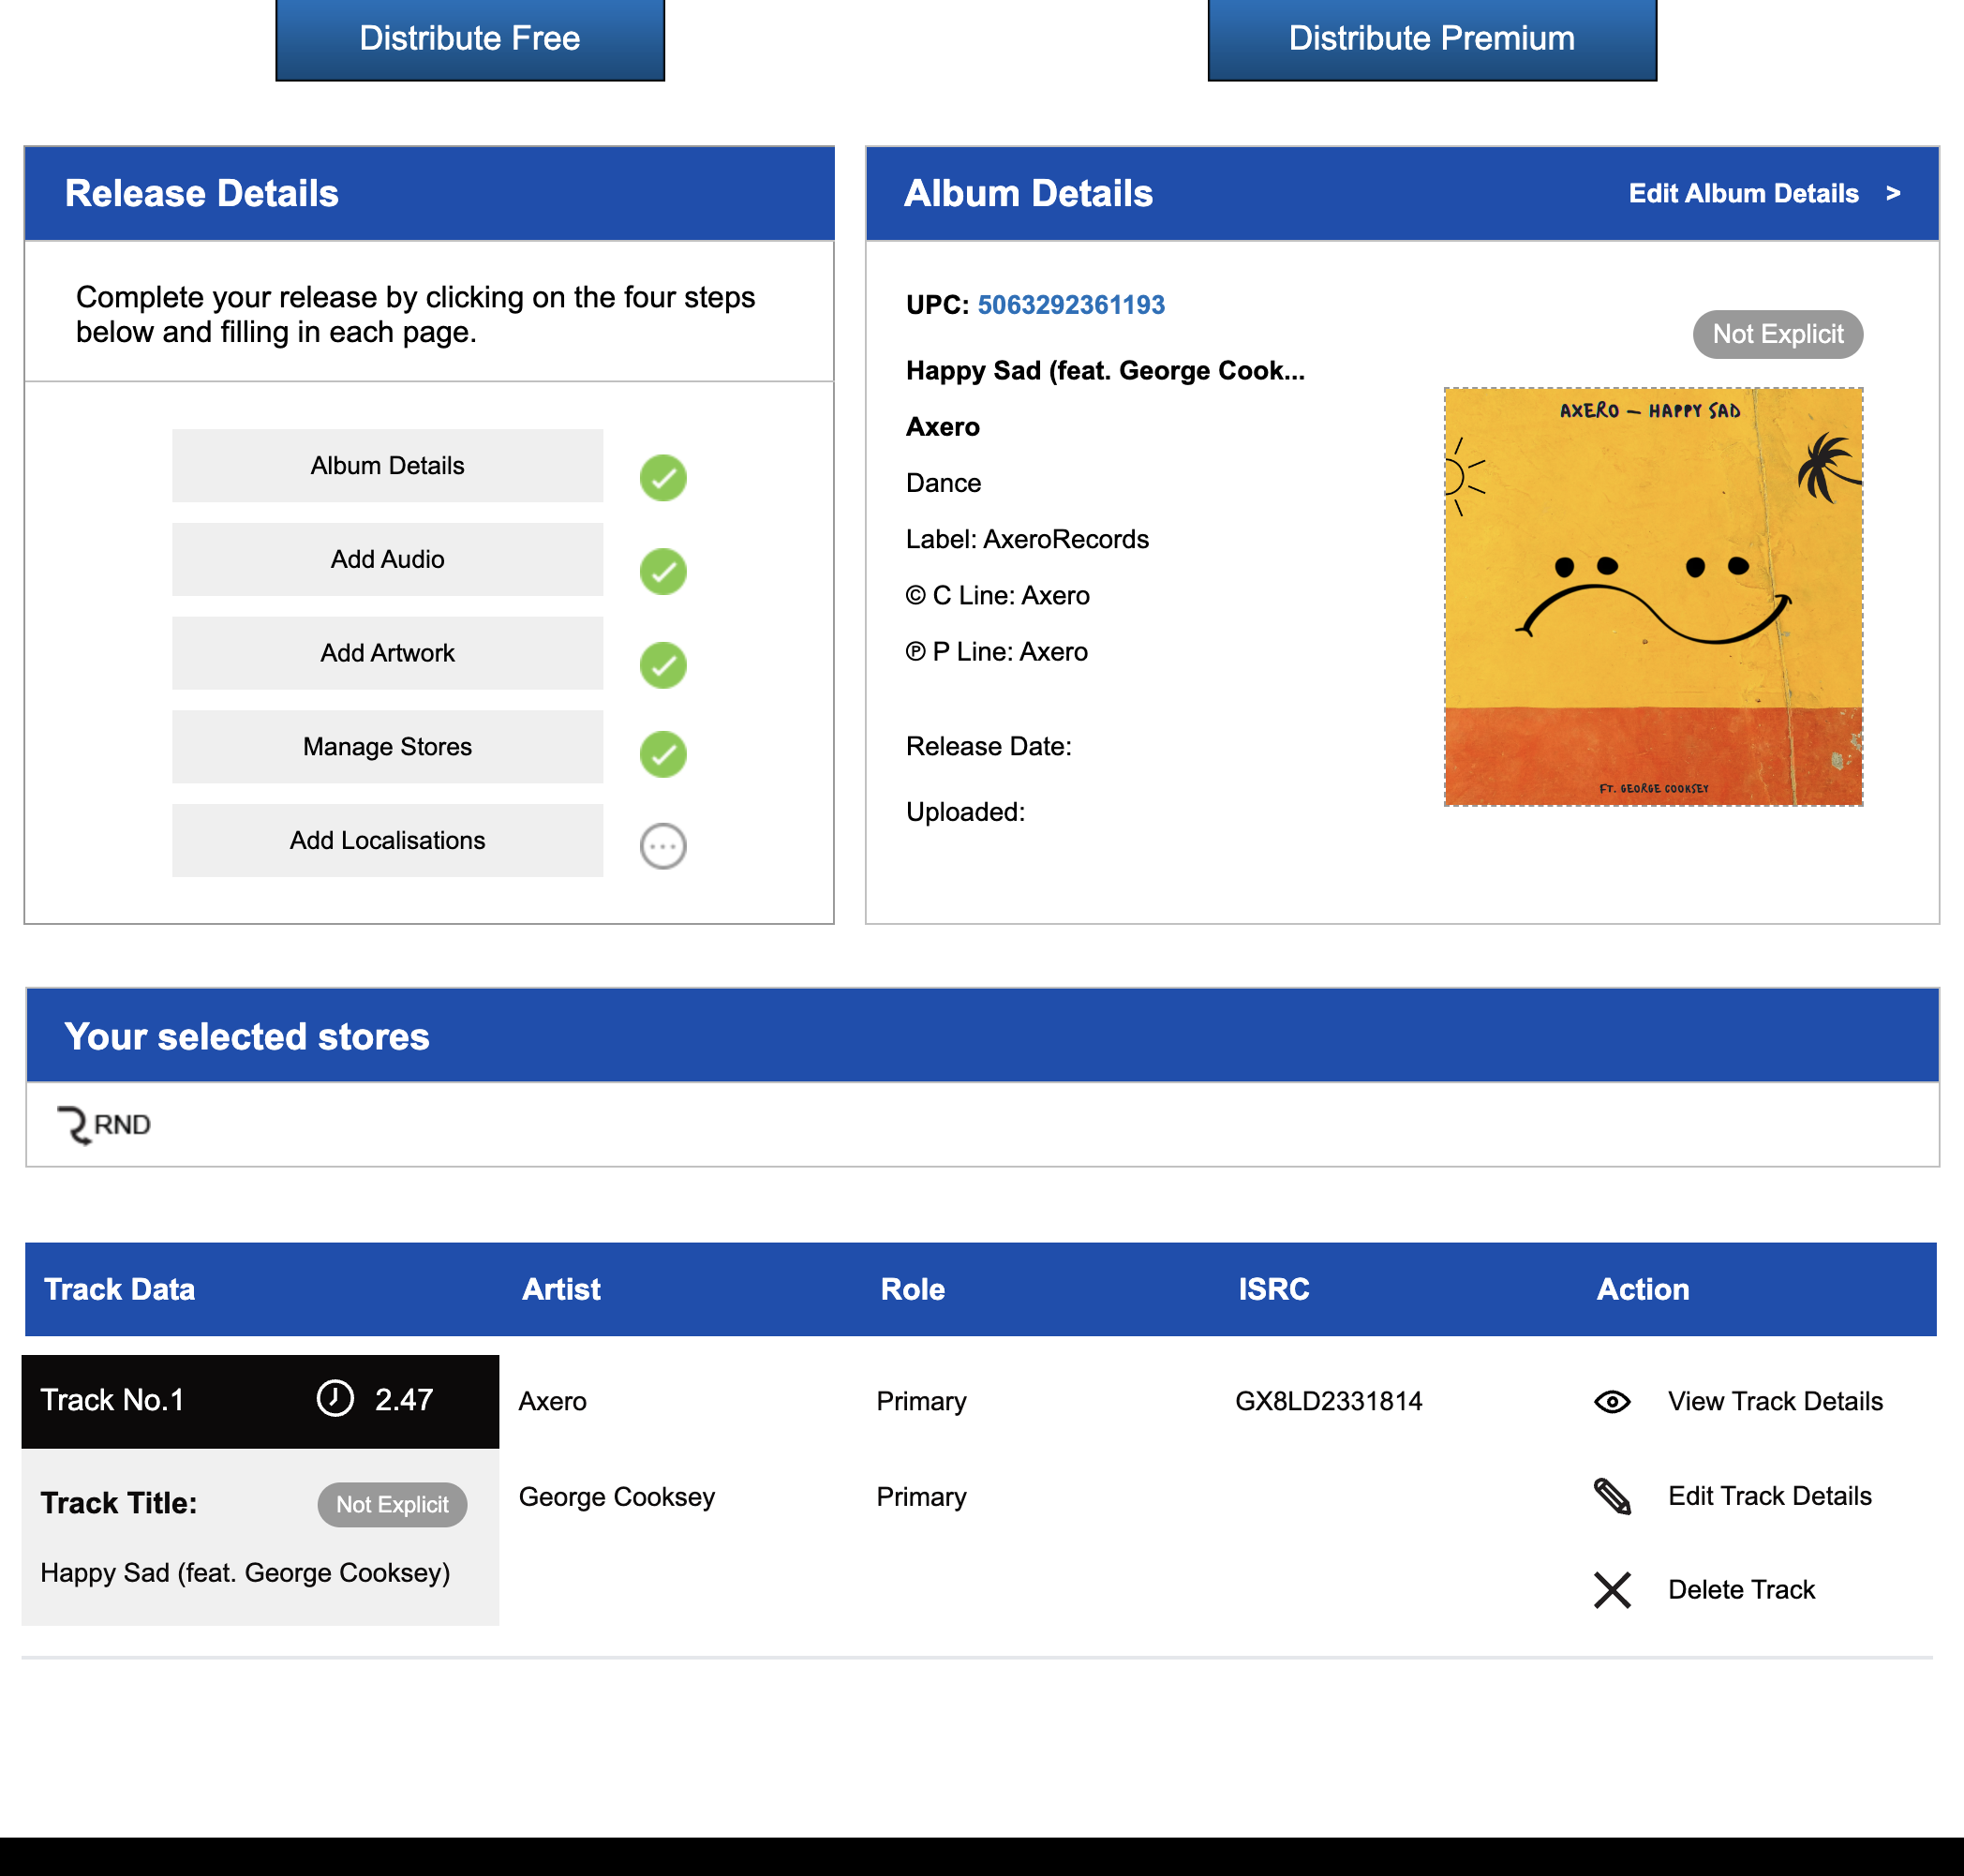
1. On your new or existing release, click Add Localisations
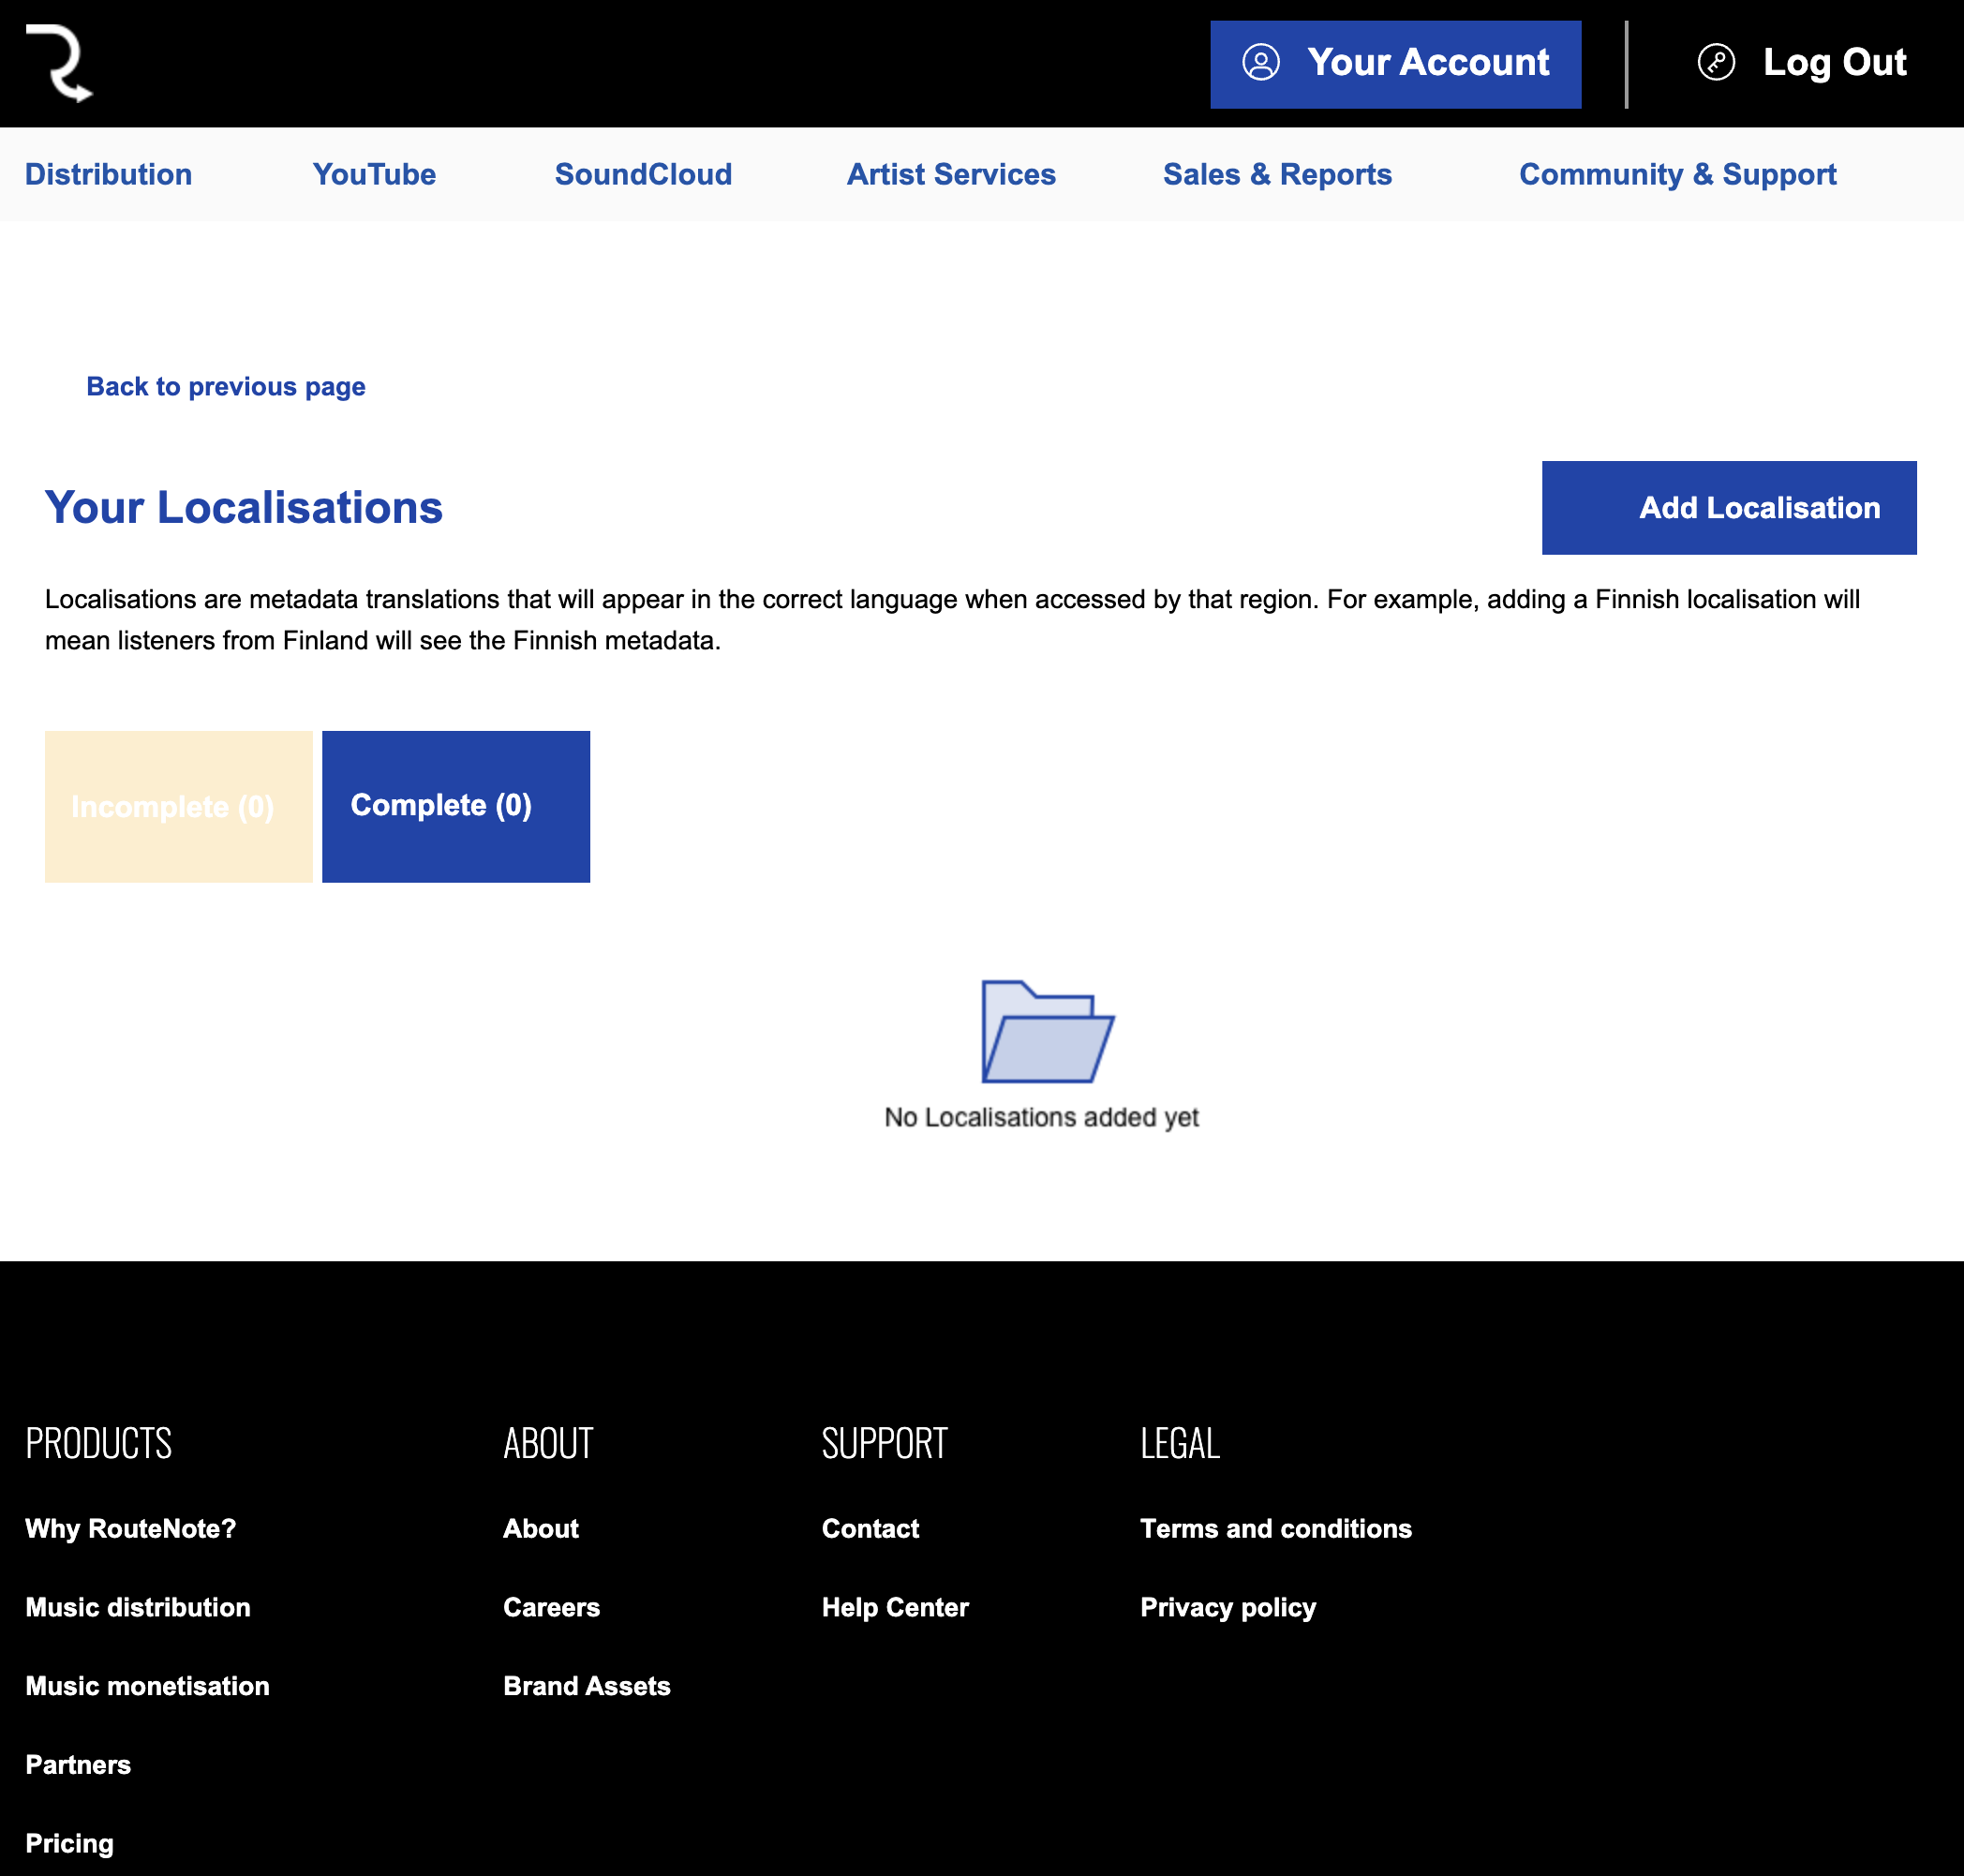
2. Click Add Localisation
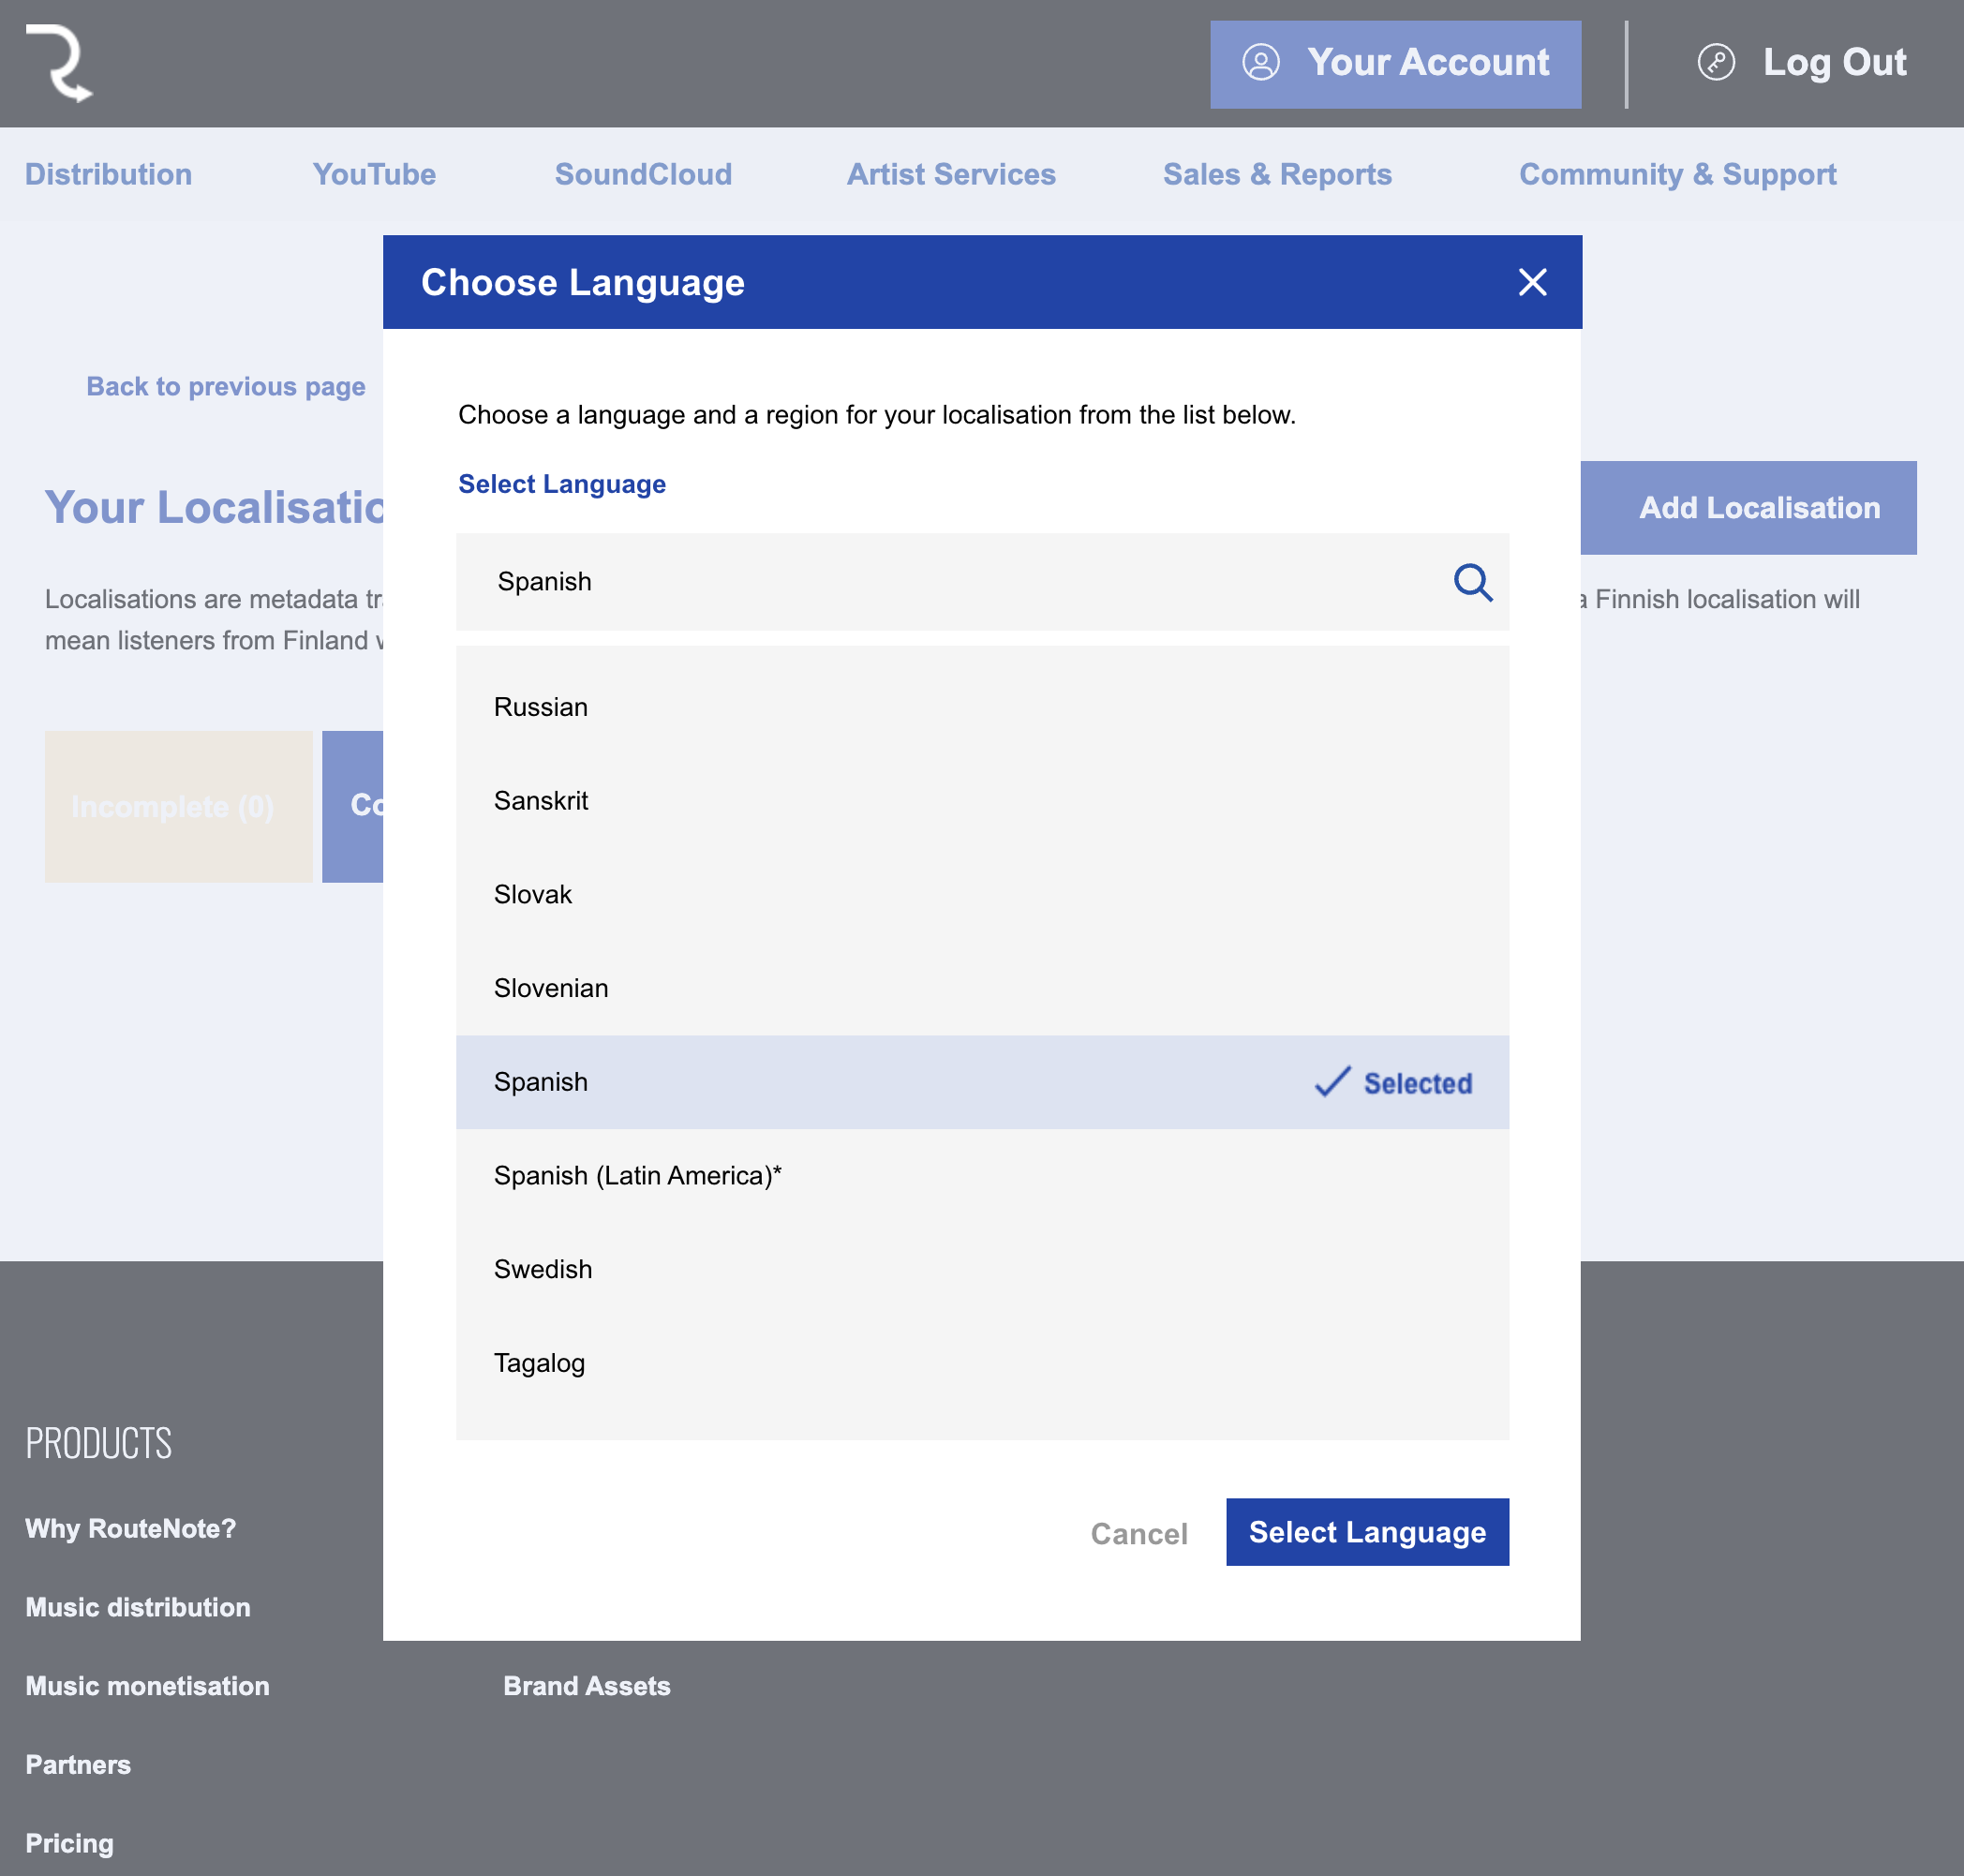
3. Choose a language from the list and click Select Language
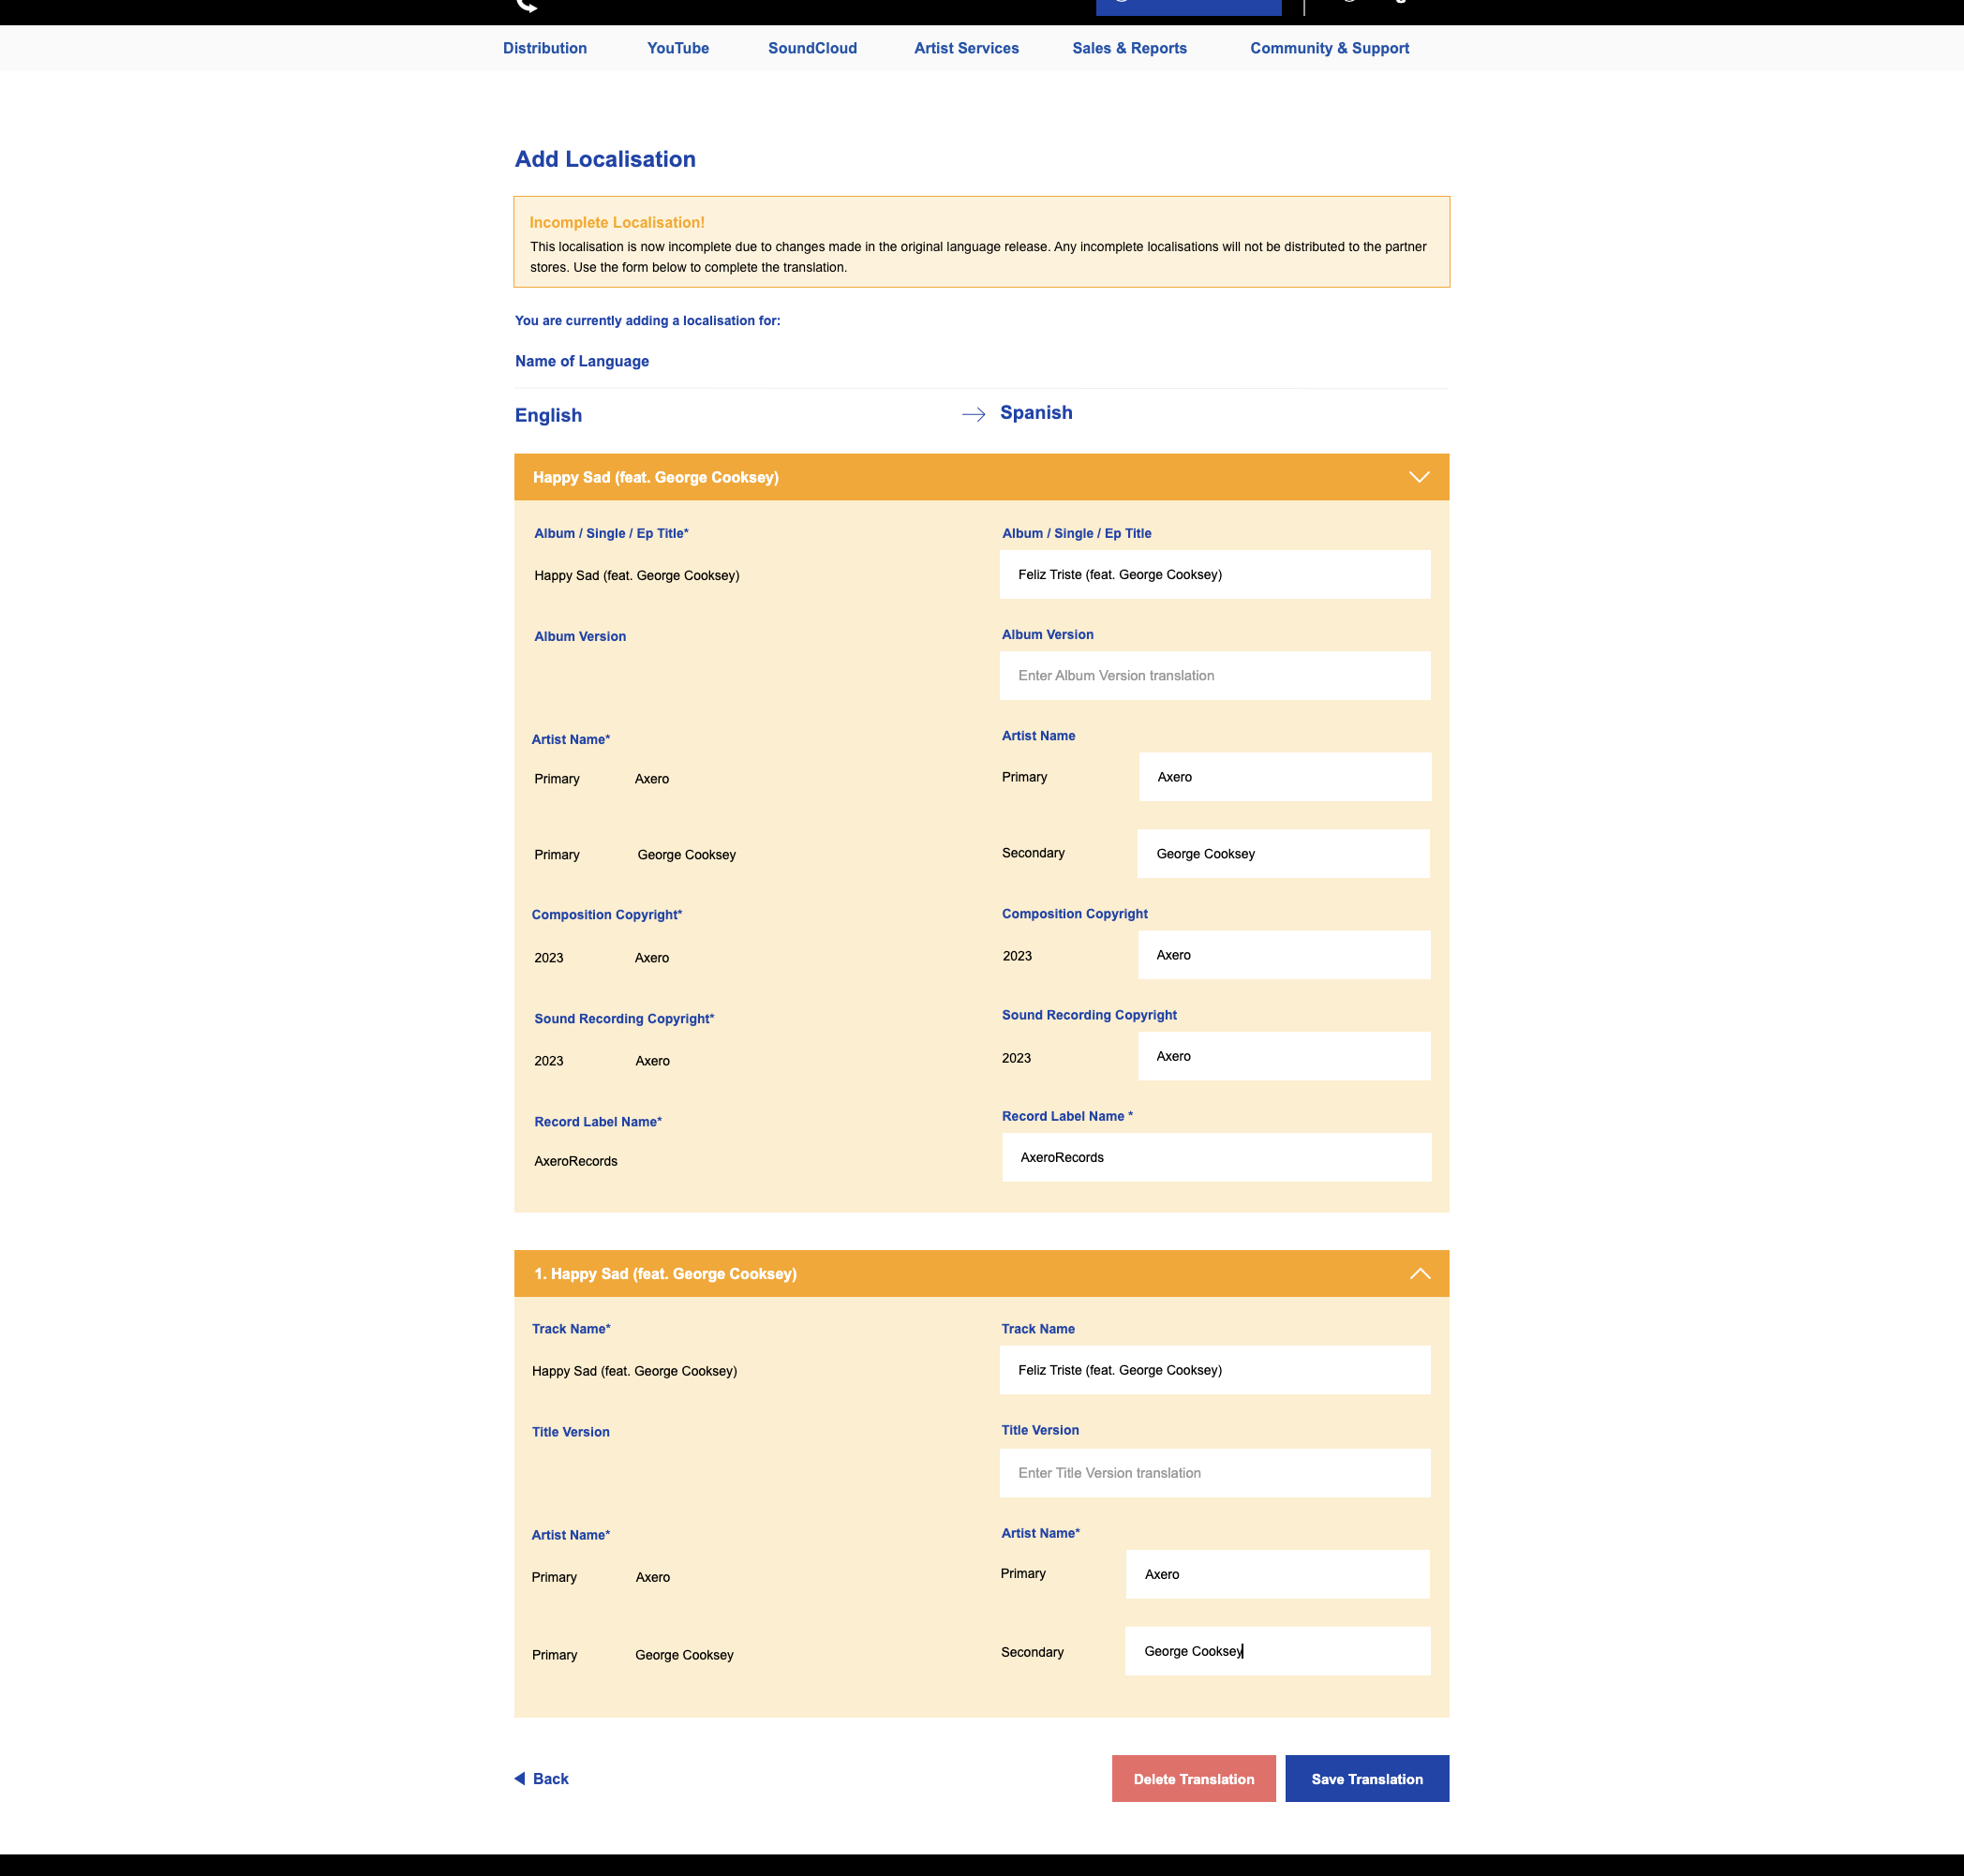
4. Fill in the boxes with the appropriate translation and click Save Translation
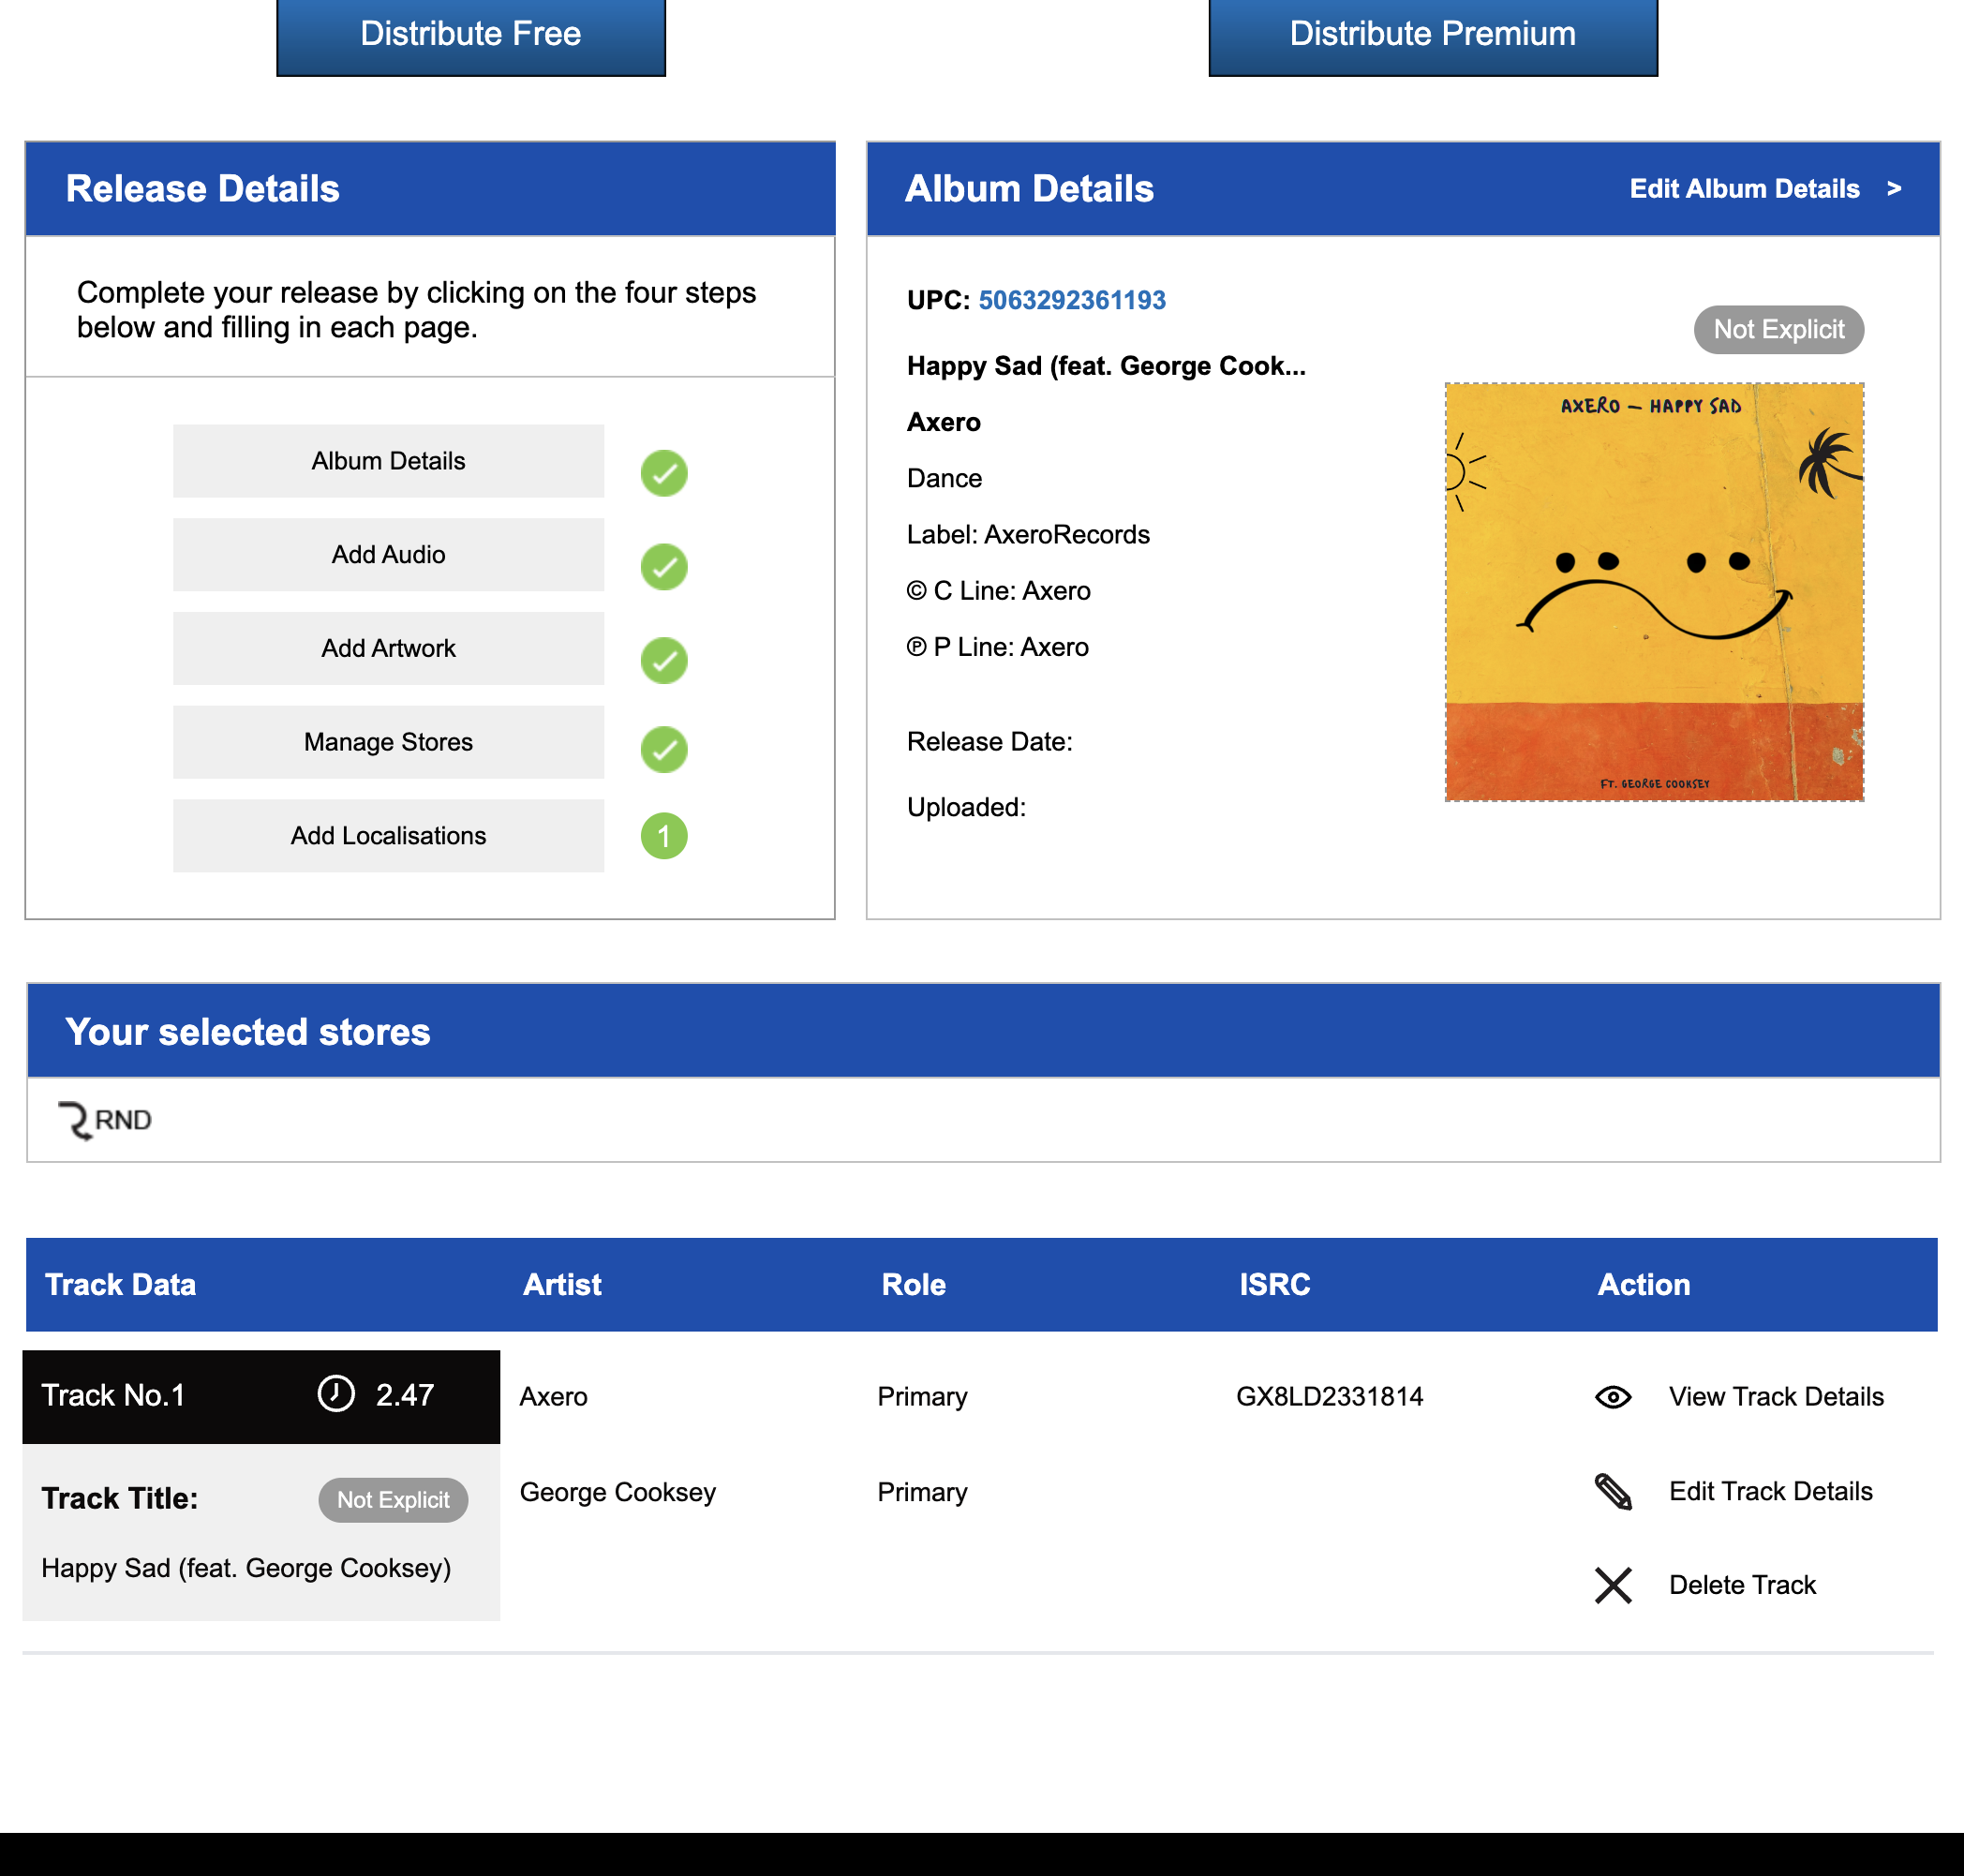
5. On the main release page, a number in a green circle will now be displayed beside the Add Localisations box. This represents how many Localisation versions you’ve successfully added. Repeat these steps to add multiple languages.
So what are you waiting for? Head to RouteNote and get translating today!
