Meet the new Osmose keyboard blending expressive performance controls with deeper DAW integration for modern…
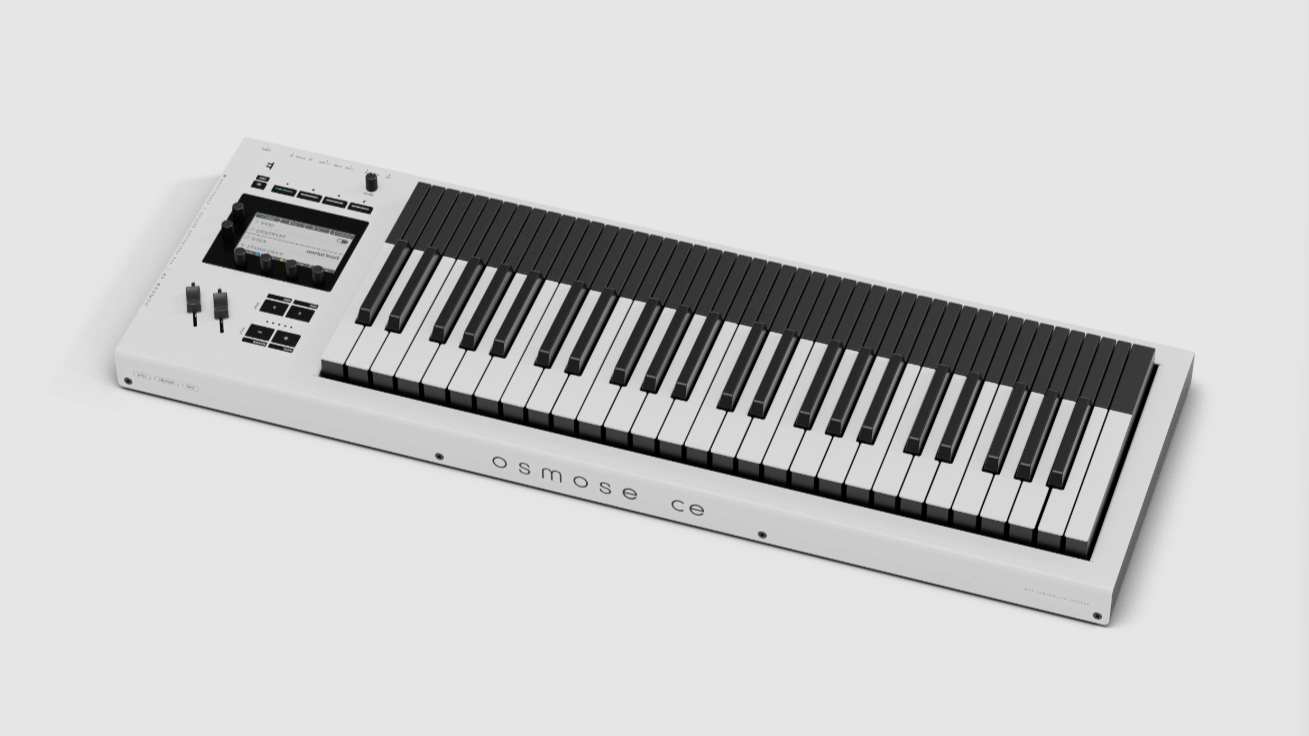
Meet the new Osmose keyboard blending expressive performance controls with deeper DAW integration for modern…

Ableton Live 12.3 has launched with stem separation, faster bouncing, Splice integration, and new device…
Expectations are high when one of the world's best DAW and music hardware makers launch…

Roland's new electronic instrument transforms the uniquely magical sound of the steel pan drum into…

The latest update to Ableton Live is making the workflow smoother than ever before and…
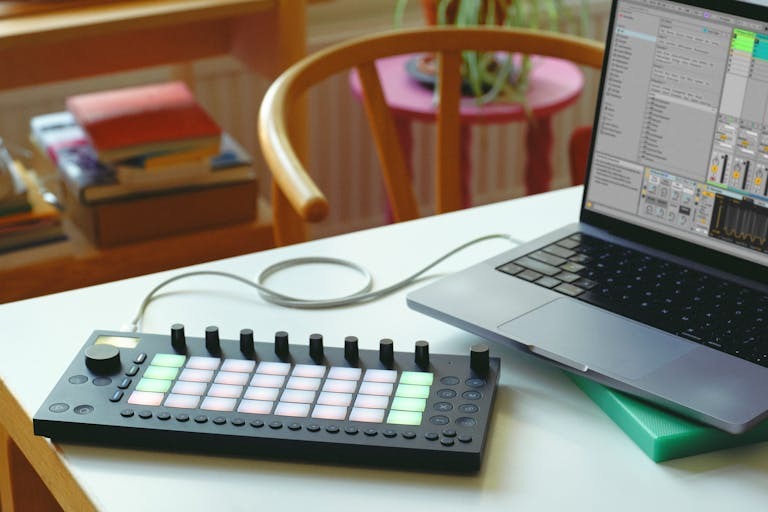
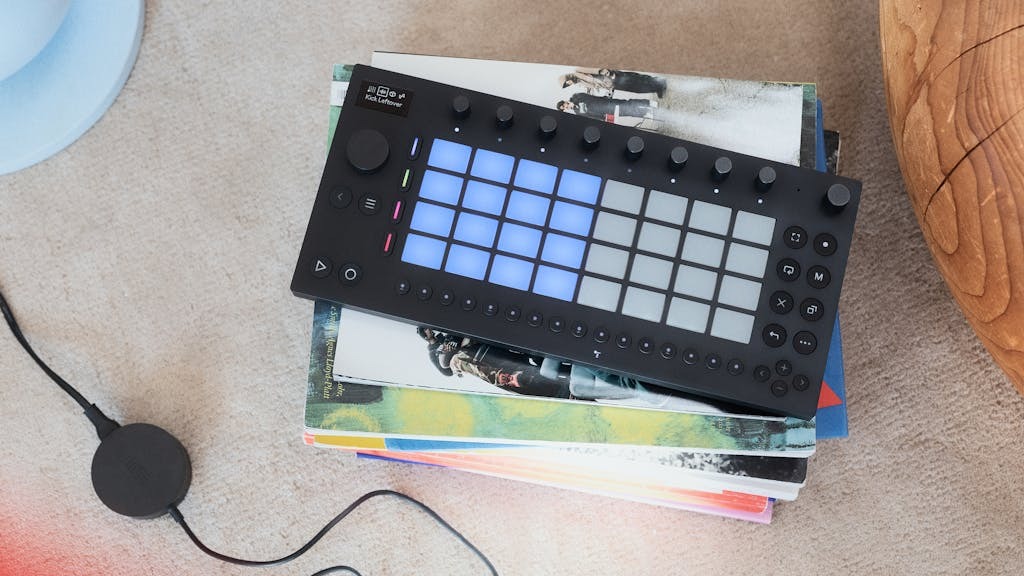
Meet the new beatmaking device for creating music on the go, from the champions of…
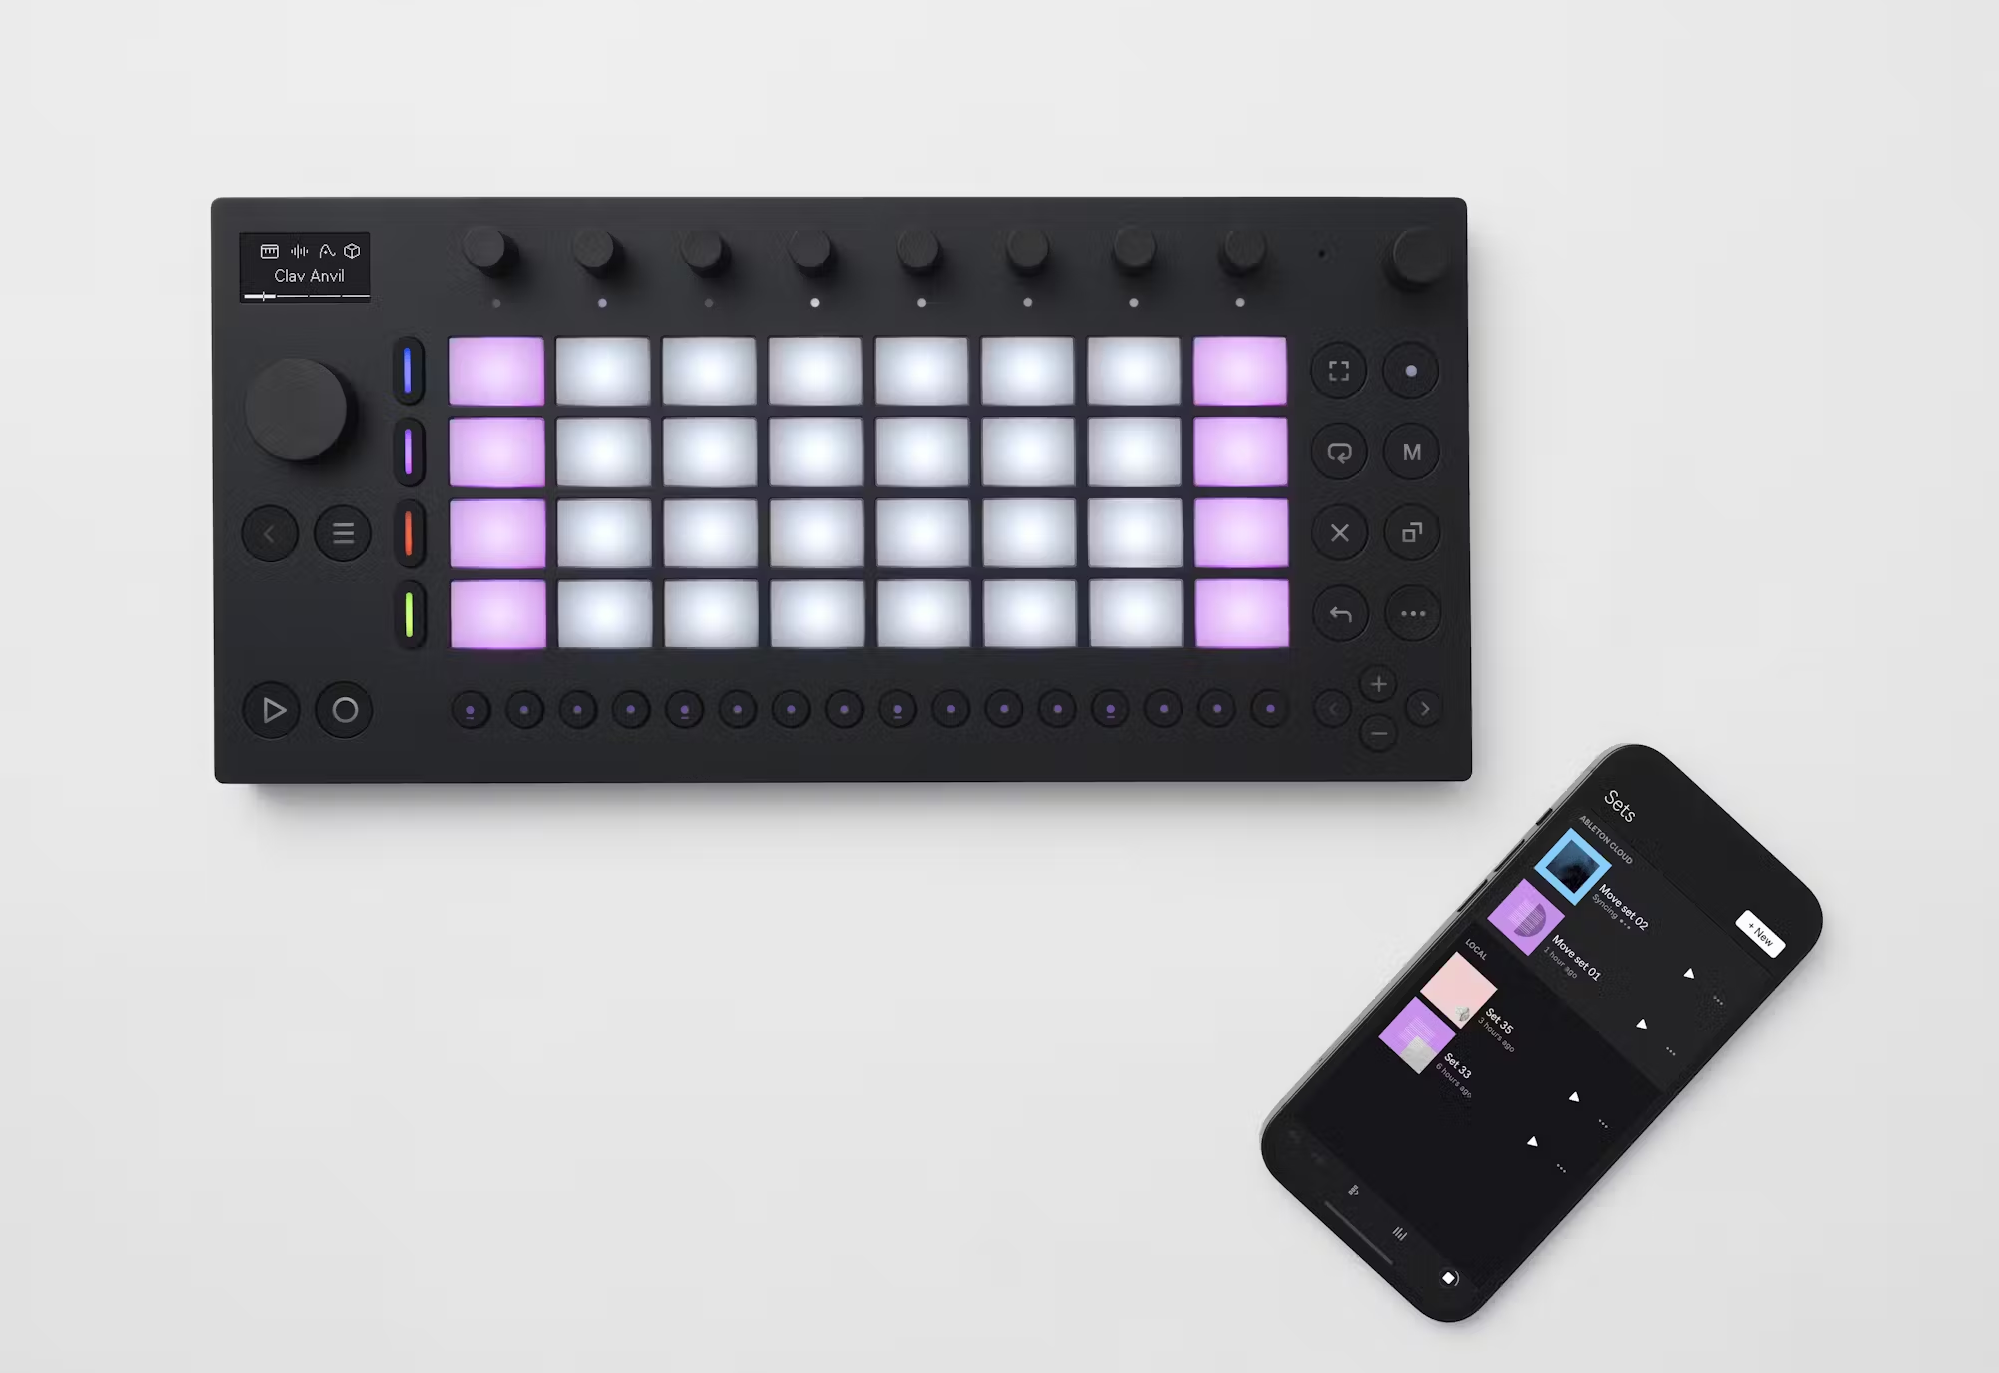
Take your voice memos and phone audio into the mix with a new update that…
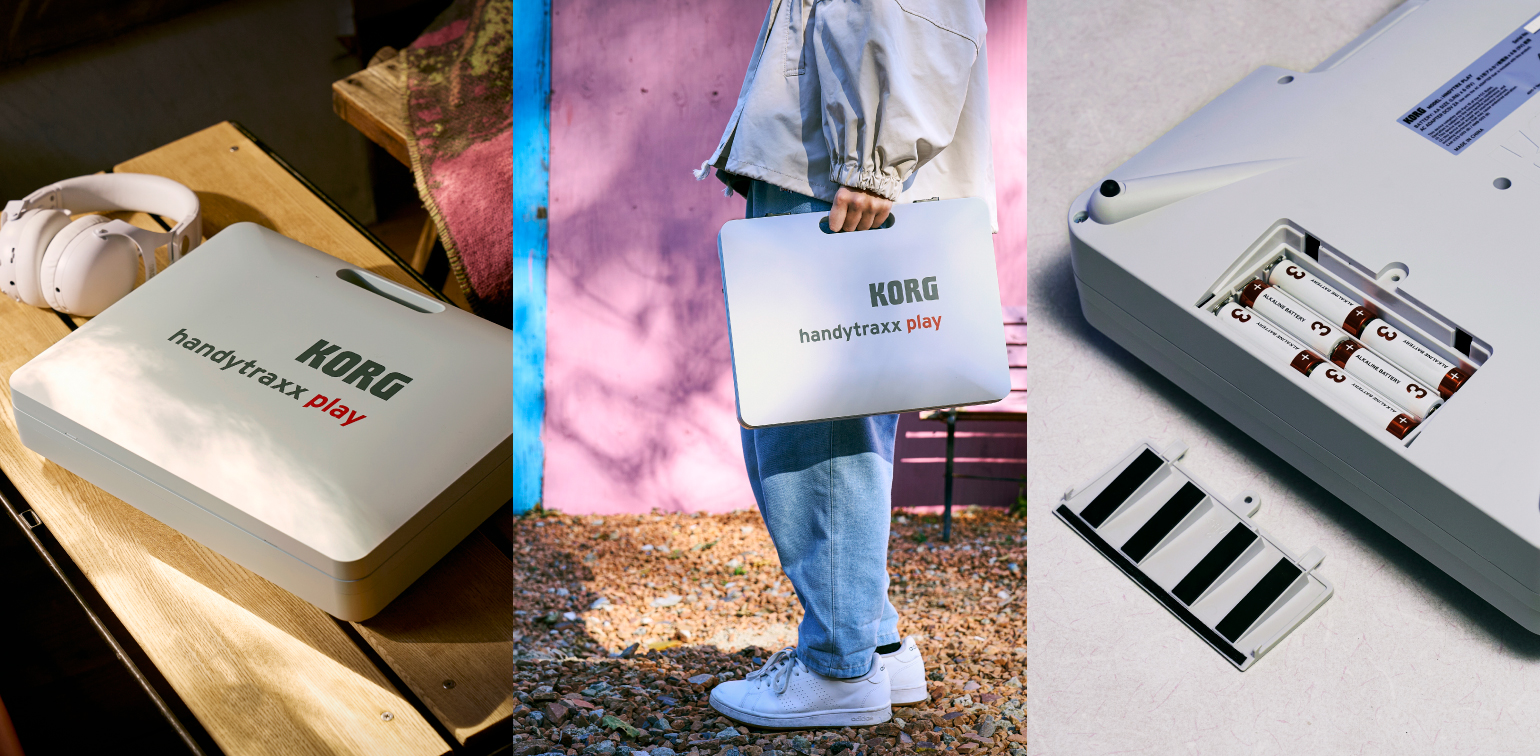
Listening to your records anywhere but home has long been an issue. Korg look to…
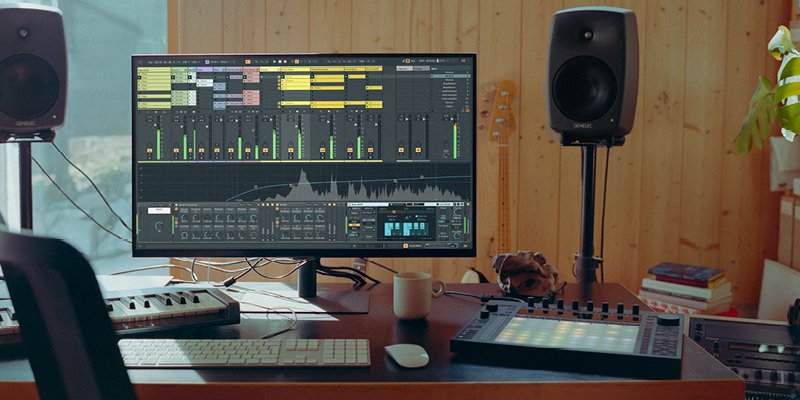
Ableton's latest update brings even more power and potential to music producers and creators around…
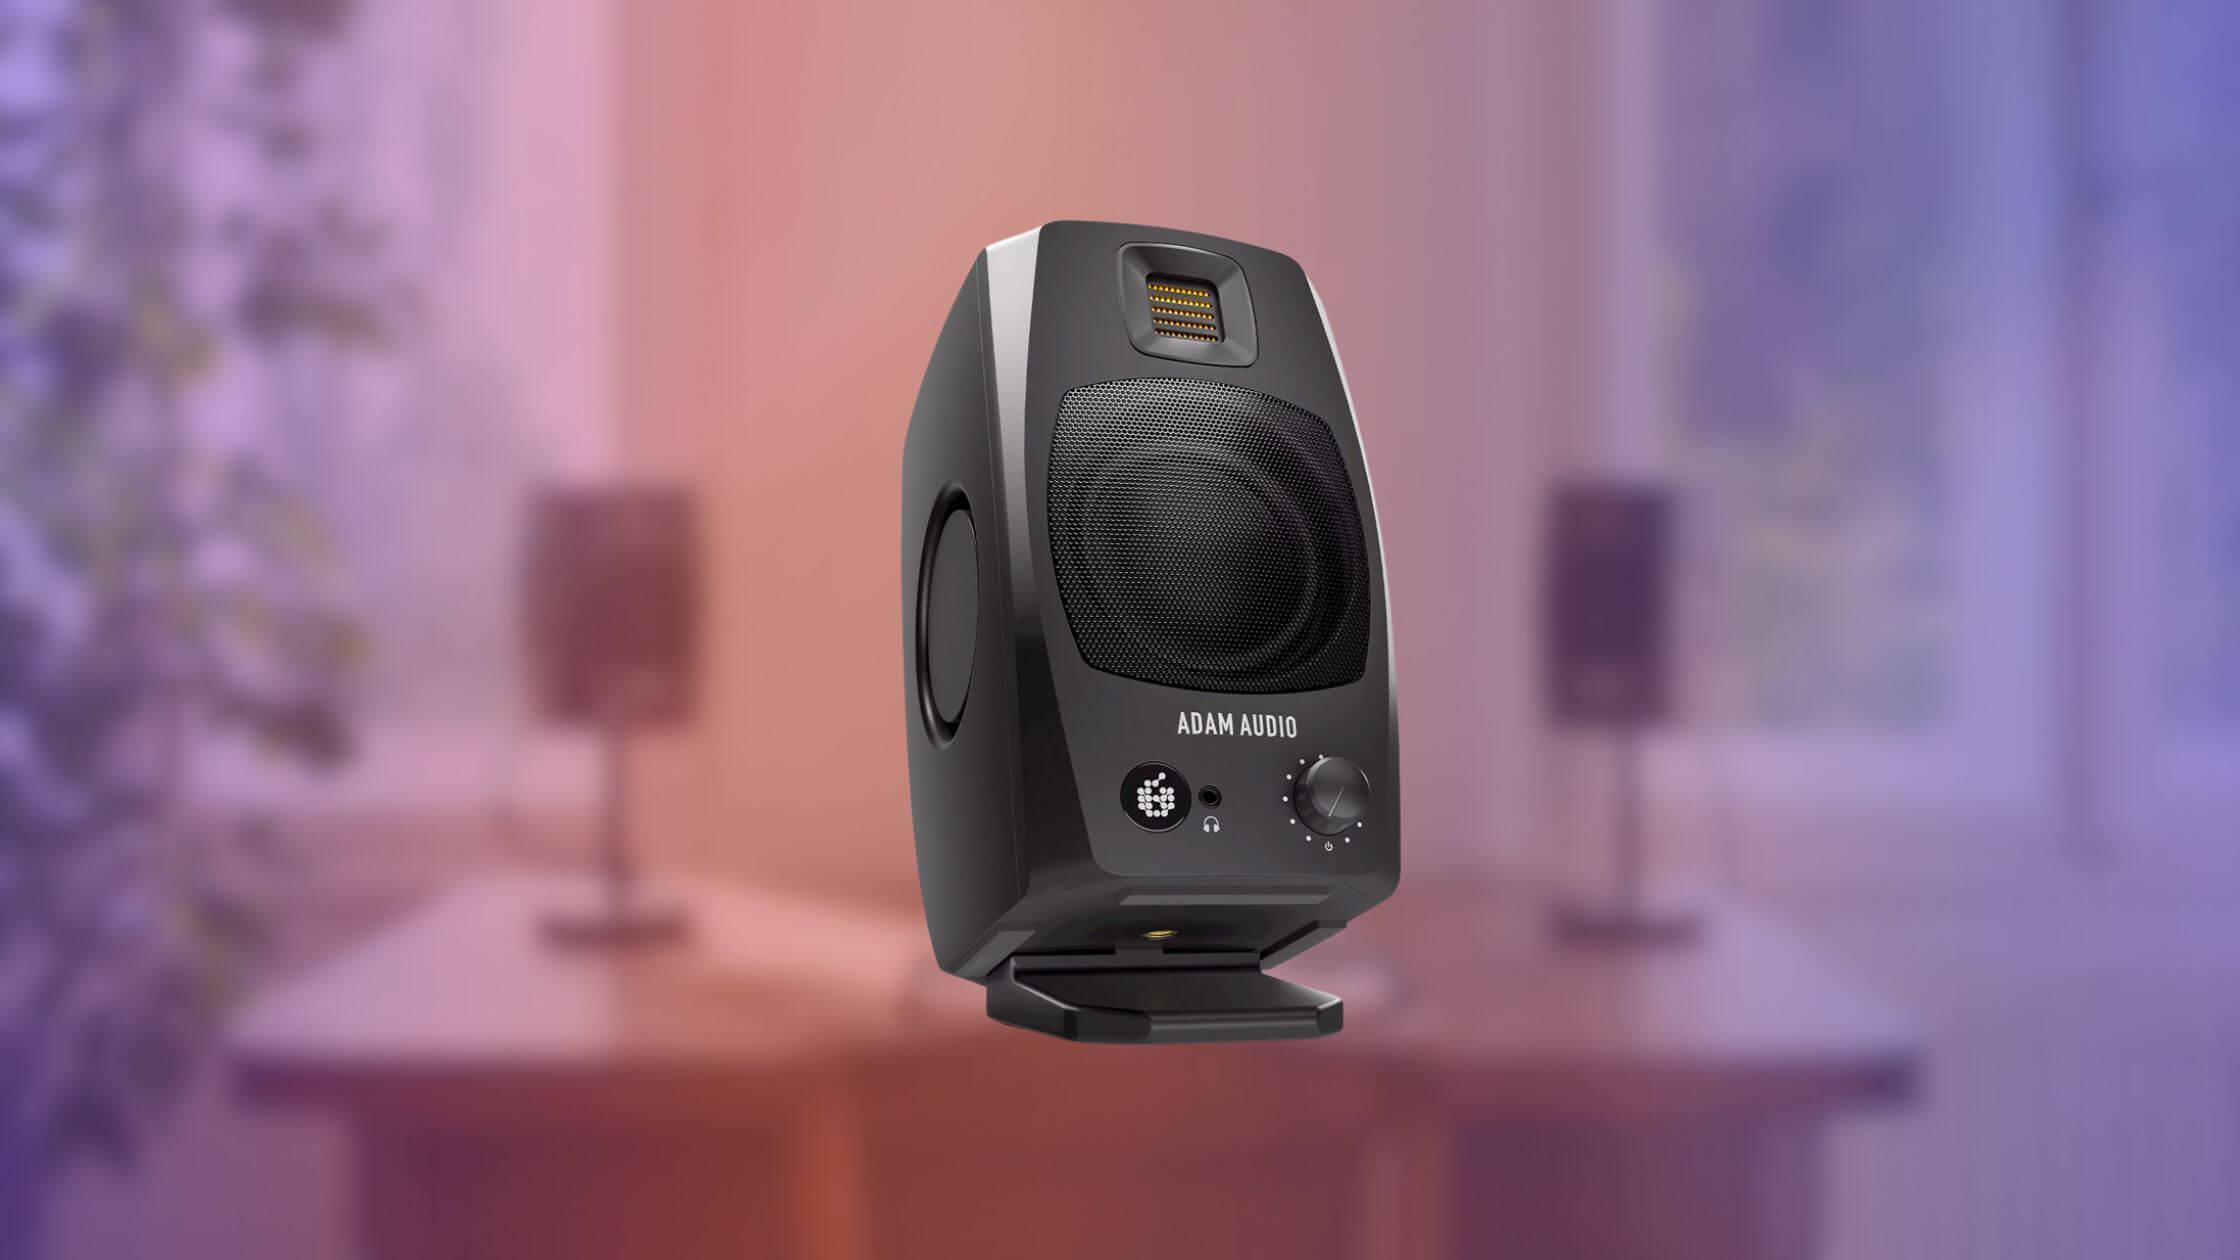
ADAM Audio has launched the D3V Desktop Monitors for music producers, songwriters and audio enthusiasts.